
Disclaimer: This is a full dissection and rebuild tutorial for the RM2 (older not newest model that will come later). If you are not mechanically inclined or have any doubts do not attempt this. This being said, if you choose to proceed ECF nor I assume any responsibility for damaging your RM2 or self in the process.
This being said lets start:
-What I use
micro philips head, micro flathead, channel lock pliers and tweezers(tweezers not necessary for RM2 dissection)

-Remove RM2 from REO, Remove post philips head screws and coil/wick.

-Taking your pliers lightly grab each post and unscrew them counterclockwise to remove them(you will notice they are both different threads/lengths)

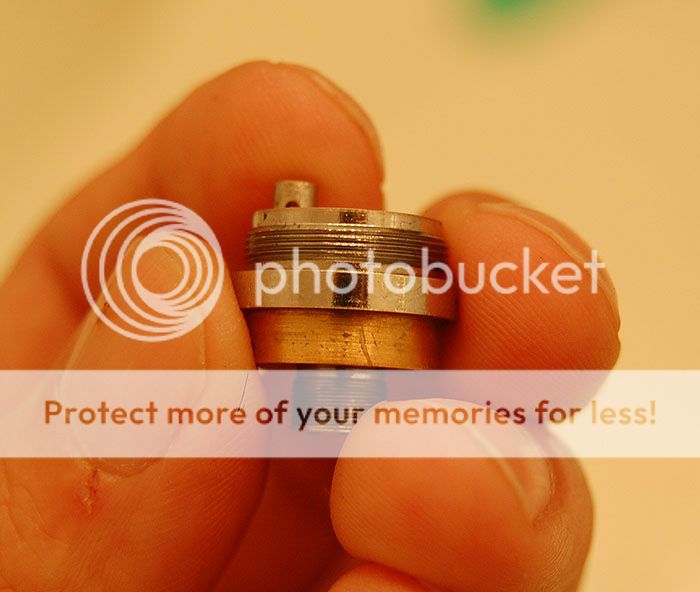
-Taking your flathead screwdriver turn the bottom pin/screw counterclockwise to remove the ceramic base.
-Per Drifters good advice Make sure at the end when reassembling the atomizer keep this brass 510 pin flush but it should never be countersunk or concave keeping it from completing the circuit or it will not fire. Push and hold the cap down tight while just snugging this pin into the threads and you should not have an issue...I never have but just in case someone does.

-You will notice in the pic coming next the ceramic base has a brass piece in it with 2 threaded holes. One of them is where the shorter post threads into. The center is where the 510 brass firing pin/screw thread into. This is important to note because during reassembly its MUCH easier to put back together by screwing the shorter post into the brass piece in the ceramic prior to putting it into the base.

-shorter post threaded into brass base of ceramic top view.

-after thoroughly cleaning it all out (make sure your drains are plugged up unless you like loosing stuff down it) you will need to ensure the posts/holes are lined up properly. Prior to disassembly w/ the cap on I took a cobalt bit and scratched a marker into the brass on the bass of the RM2 which is not visible when threaded on for a point of reference. This is my air hole mark. If you don't do this you could reassemble it and have your air hole on the opposite side of the coil.
-Looking at the pic below you will notice there are 2 threaded holes in the cup/base portion of the RM2. You need to put the ceramic piece into the cup and move it till the ceramic holes line up with the 2 holes in the cup. While doing this make sure your posts are at a proper position for the coil to end up at your caps air hole at final assembly.

-REMEMBER THE POSTS ARE BRASS...DON'T BE AN ...... AND OVER SQUEEZE OR OVER TIGHTEN ANYTHING! IT ONLY NEEDS TO BE SNUG....YOU BREAK IT OR STRIP SOMETHING THEN YOU CAN THANK YOURSELF.
-Reassembled on Grand
