
Here's how I modified the Ijoy Exo-S RBA to work in the Eleaf Ello tank.
I got these tanks with my Pico 21700 Kits and the Pico 25 kits. The rba fits the tank with 2ml or 4ml glass. The modification would be the same regardless.
The reason for the modification - You can't use the Ijoy Exo-s RBA in the Ello as-is because the o-ring seal at the bottom of the glass completely blocks the wick holes on the RBA. You'd be vaping burnt wick because the Ello's o-ring/seal hugs the rba very snuggly right above the RBA's wick ports. You'd be lucky to get a drop of juice to them even with high PG juices.
The tool I used to make my new wick holes is a manual nibbler tool, however you can use a drill. The idea is to made side wick holes on the RBA chamber. Once this mod is done, the stock wick ports won't be used anymore.
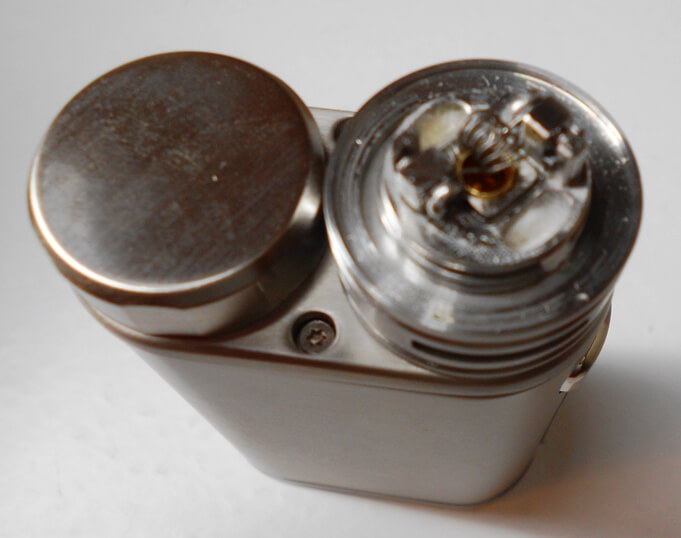
Top/inner view with the original wick holes packed tight with cotton. I did this to plug them up just in case some juice does get to the holes, which would result in
eliquid eventually flooding the RBA and leaking out of the airflow since I'm no longer going to be wicking down to the stock wick holes...
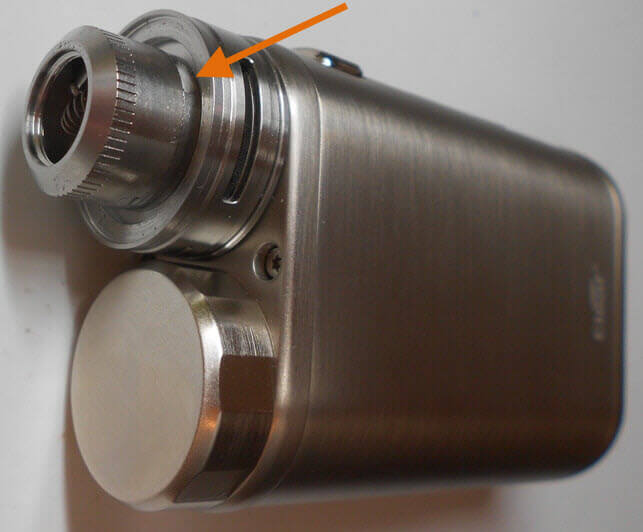
Pic with the chamber screwed on. You can see how low the wick holes sit. If I were to install the o-ring/seal the wick ports would completely cover and seal-up the wick ports.
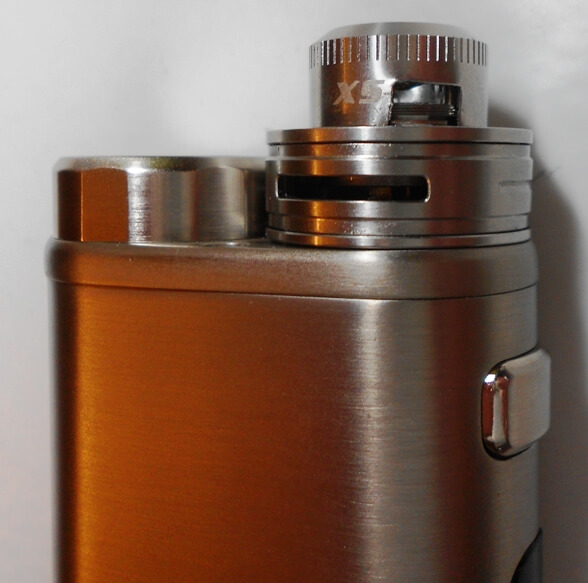
Here's the chamber screwed on with my square wick holes I made with my nibbler tool. Not great looking, but it does the job. You can see how the nibbler does bend the metal a bit, but it hasn't affected the chamber's ability to screw onto the deck. But like I said, you can use a drill to drill holes instead of "nibbling out a notch.
With the RBA wicked up and the tank assembled (2ml glass), notice how even the bottom my my own wick holes are covered by the tank's o-ring/seal. The RBA's stock wick ports are covered up completely...
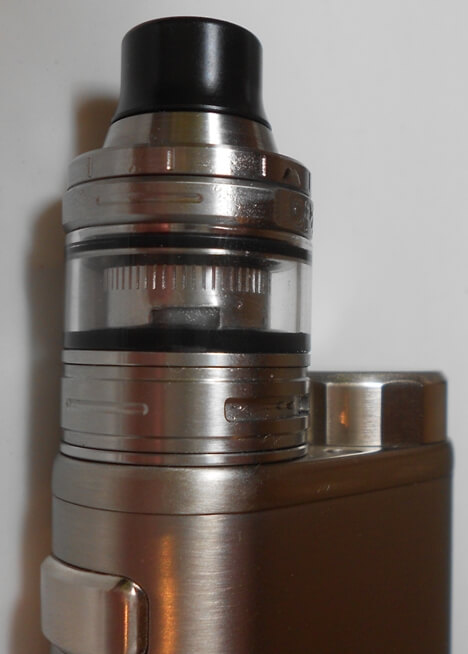
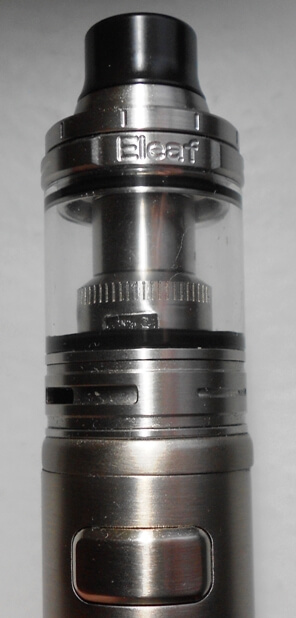
With 4ml glass (chimney extension) to show how well the chimney threads screw into the top of the RBA chamber - seals very well...
I've been vaping on this for over a year off and on without issue. With the new wick holes on the side of the chamber, it's basically wicked just like the Kanger Subtank RBA (Plus version).
No other modifications were made. You just make one wick hole on each side if the chamber. But you have to make sure you make the holes to line up with where the coil holes are going to be. So just screw the chamber on the deck, mark the chamber where the original wick holes are below it, then take the chamber off and make your new wick holes where you marked the chamber. Pretty easy.
I got these tanks with my Pico 21700 Kits and the Pico 25 kits. The rba fits the tank with 2ml or 4ml glass. The modification would be the same regardless.
The reason for the modification - You can't use the Ijoy Exo-s RBA in the Ello as-is because the o-ring seal at the bottom of the glass completely blocks the wick holes on the RBA. You'd be vaping burnt wick because the Ello's o-ring/seal hugs the rba very snuggly right above the RBA's wick ports. You'd be lucky to get a drop of juice to them even with high PG juices.
The tool I used to make my new wick holes is a manual nibbler tool, however you can use a drill. The idea is to made side wick holes on the RBA chamber. Once this mod is done, the stock wick ports won't be used anymore.
Top/inner view with the original wick holes packed tight with cotton. I did this to plug them up just in case some juice does get to the holes, which would result in
eliquid eventually flooding the RBA and leaking out of the airflow since I'm no longer going to be wicking down to the stock wick holes...
Pic with the chamber screwed on. You can see how low the wick holes sit. If I were to install the o-ring/seal the wick ports would completely cover and seal-up the wick ports.
Here's the chamber screwed on with my square wick holes I made with my nibbler tool. Not great looking, but it does the job. You can see how the nibbler does bend the metal a bit, but it hasn't affected the chamber's ability to screw onto the deck. But like I said, you can use a drill to drill holes instead of "nibbling out a notch.
With the RBA wicked up and the tank assembled (2ml glass), notice how even the bottom my my own wick holes are covered by the tank's o-ring/seal. The RBA's stock wick ports are covered up completely...
With 4ml glass (chimney extension) to show how well the chimney threads screw into the top of the RBA chamber - seals very well...
I've been vaping on this for over a year off and on without issue. With the new wick holes on the side of the chamber, it's basically wicked just like the Kanger Subtank RBA (Plus version).
No other modifications were made. You just make one wick hole on each side if the chamber. But you have to make sure you make the holes to line up with where the coil holes are going to be. So just screw the chamber on the deck, mark the chamber where the original wick holes are below it, then take the chamber off and make your new wick holes where you marked the chamber. Pretty easy.
