I have a friend who also vapes, and I figured I would make him an organizer to pay him back for all of the good food he cooks when I'm over on the weekends to hang out. Building it out of Ambrosia Maple and stainless steel hardware. It'll be 3 tiers, will hold 11 atomizers and will have holes to store 6 batteries and an assortment of screw drivers. It will also have some flat areas to simply stand up mods to keep them off the table.
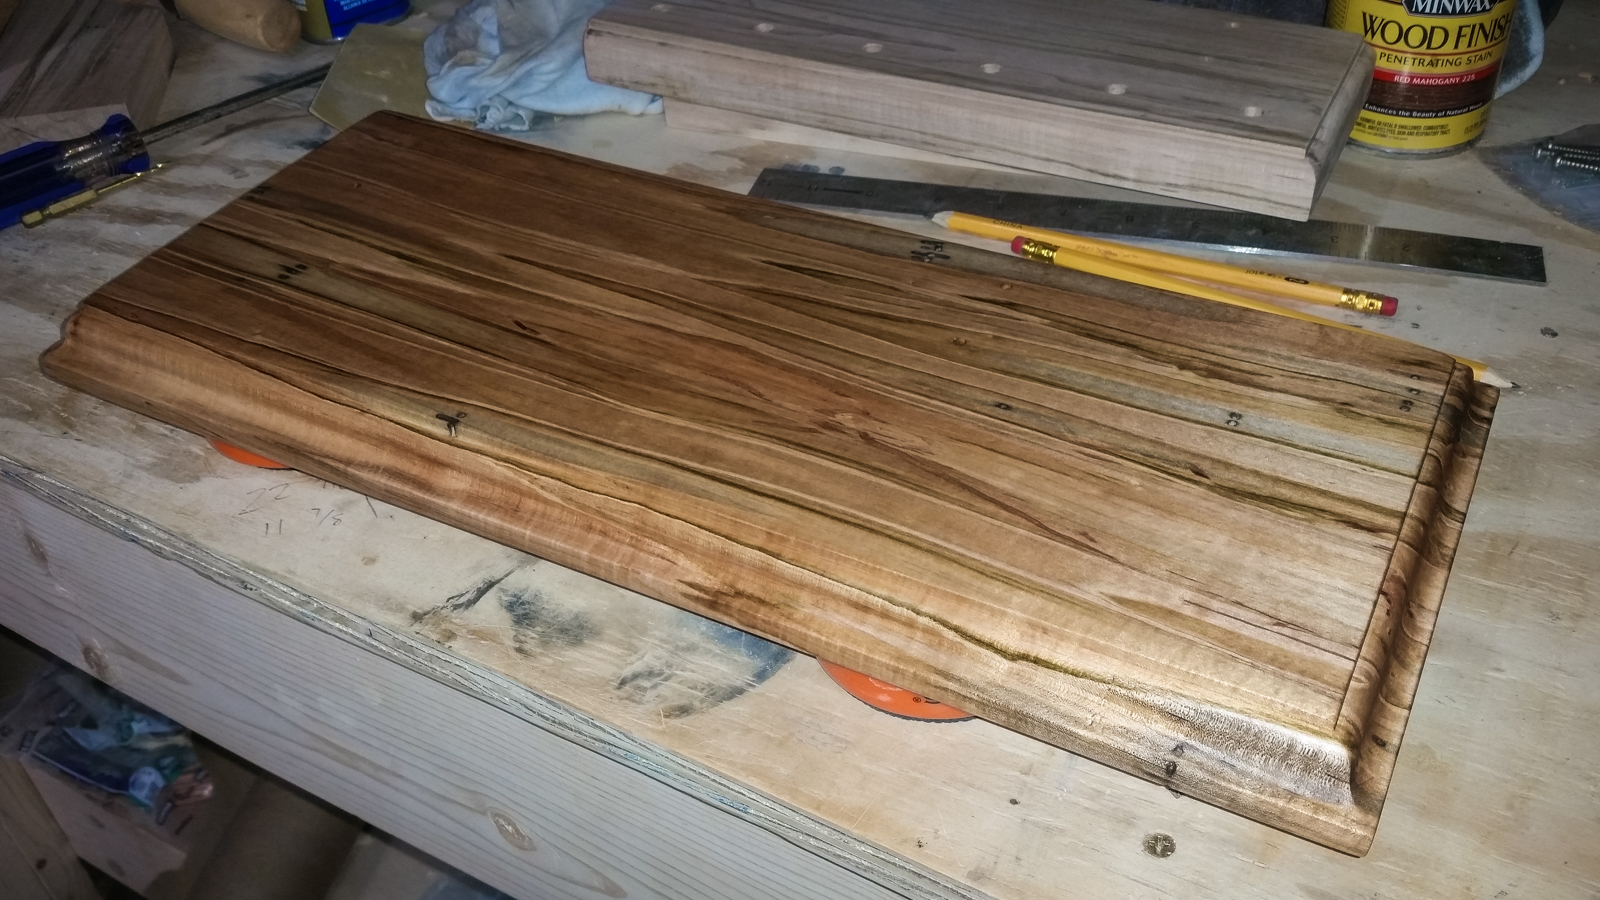
Everything is cut, most of the holes are drilled, and all I lack now is a few more coats of finish and assembly.
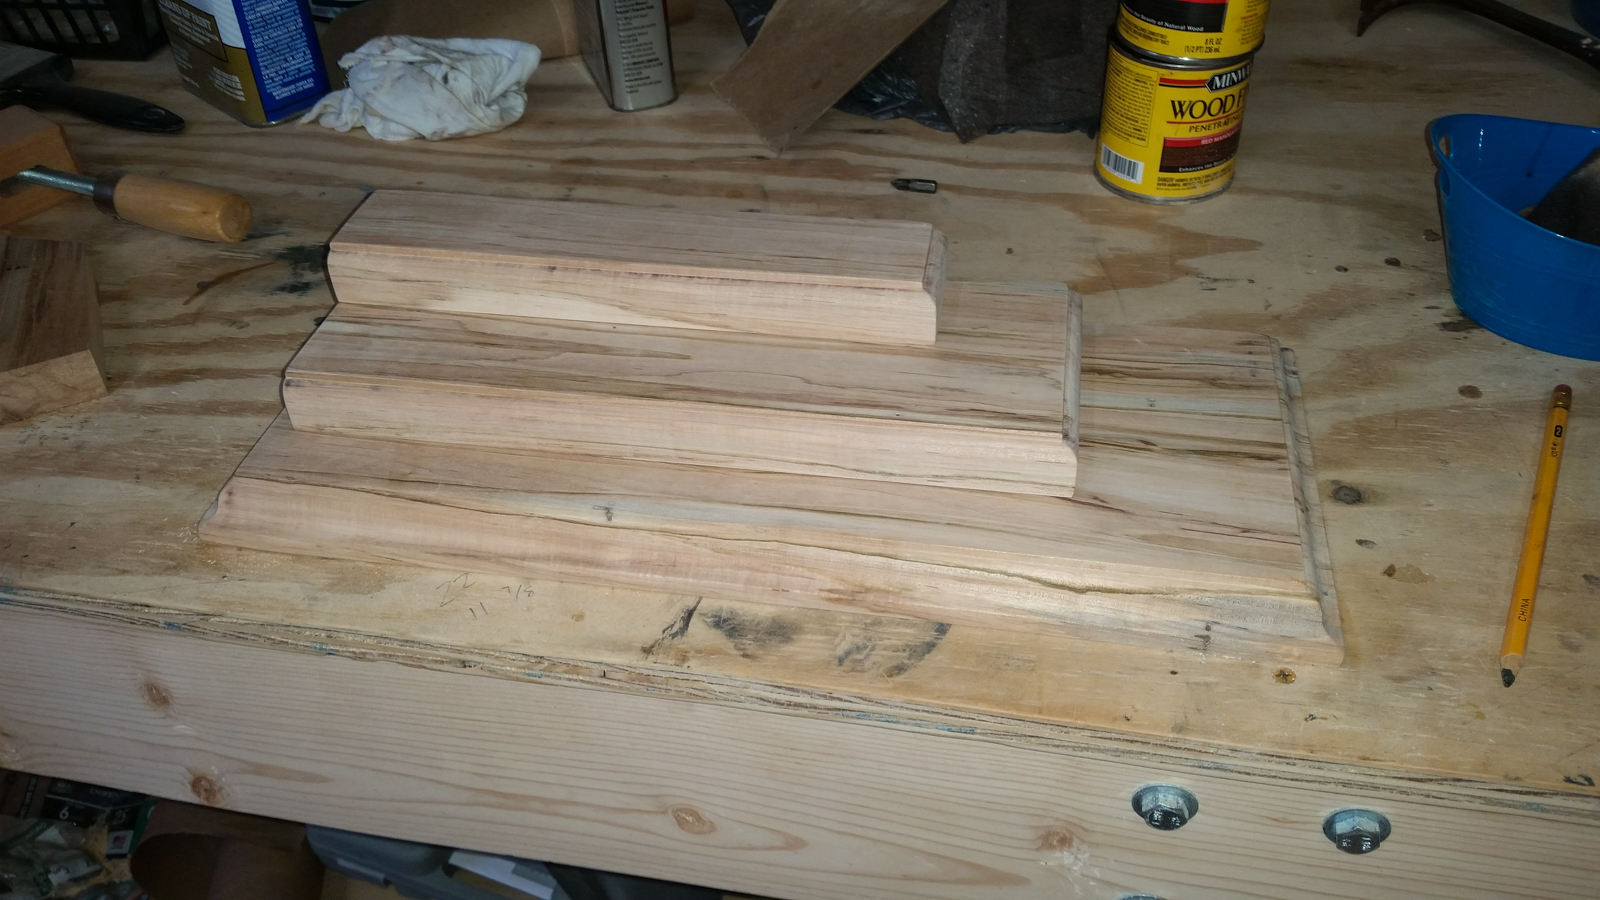
This is roughly the layout, though the top tier isn't positioned correctly in the picture, and the holes aren't drilled at this point.
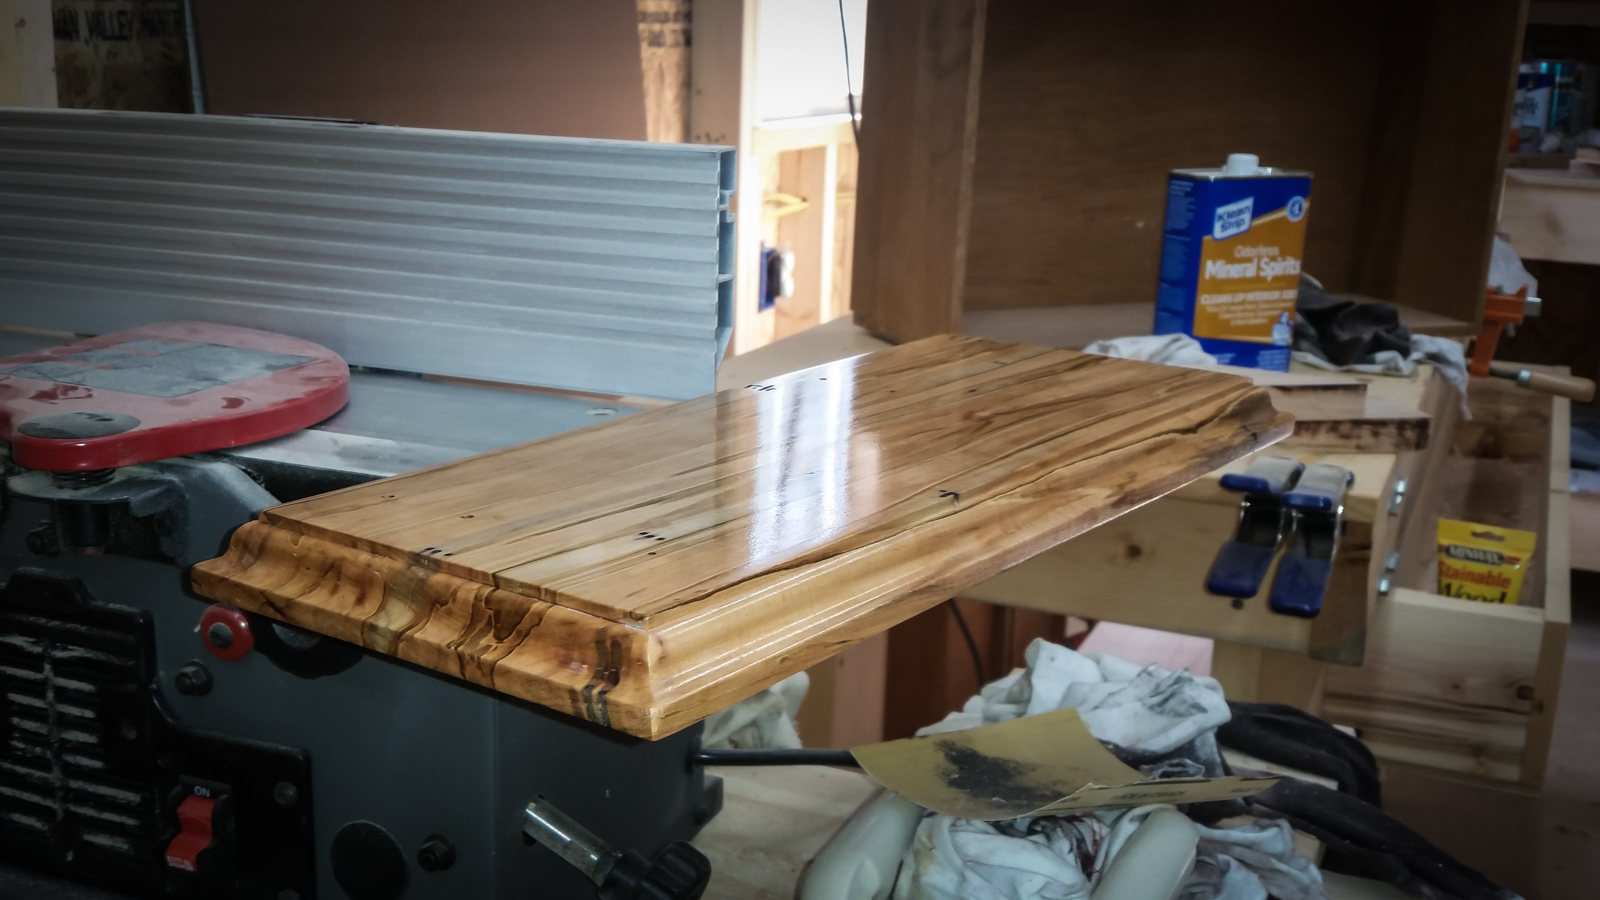
This is the base layer with the first coat of finish applied. I will apply 5 or 6 coats in total, and it should come out glass smooth and glossy.
I will post more pictures later. I should be mostly finished with it tomorrow. I like it so much, I may use the left over wood to make myself a smaller one. In the future, I'll change the design, as I don't quite like it as much as I did on paper. But it's my first try, so that's to be expected.
Everything is cut, most of the holes are drilled, and all I lack now is a few more coats of finish and assembly.
This is roughly the layout, though the top tier isn't positioned correctly in the picture, and the holes aren't drilled at this point.
This is the base layer with the first coat of finish applied. I will apply 5 or 6 coats in total, and it should come out glass smooth and glossy.
I will post more pictures later. I should be mostly finished with it tomorrow. I like it so much, I may use the left over wood to make myself a smaller one. In the future, I'll change the design, as I don't quite like it as much as I did on paper. But it's my first try, so that's to be expected.