PIF - Coil & Wicking for Rebuildables

Status
Not open for further replies.

etherealink

Ultra Member
ECF Veteran
Oct 25, 2013
1,304
3,035
43
Junction, IL
Hey there folks, I wanted to start a thread to help rebuilders (or those interested in them) to get started and iron out basic problems.

Primary topics are going to be safety, direct from manufacturer info on hardware and basic electrical theory. Let's face it, you don't have to "understand" Ohms law to rebuild, but being familiar with it and how it applies to vaping safety are critical. And not just for Sub-ohm Cloud Chasers either, for anyone that rebuilds.

Know your hardware and its limits and how to work with them. The result is a satisfying build and vape; the result of not knowing, or pushing the limits anyway... let's not scare everyone off just yet.

If rebuildables are your thing or you're just curious about them, pull up a chair and get ready to experience a world of limitless variation and possibilities.

And as always, keep it safe and Embrace the Suck!!
 

etherealink

Ultra Member
ECF Veteran
Oct 25, 2013
1,304
3,035
43
Junction, IL
Before I get going on this I just want to say that I'm posting this here (instead of the many threads on ECF) to help those people that are struggling without reason, due to those that helped me learn what I know. To that end I'll name just a few.

Rip Tripper (comedy fiend and coil geek)

Grimm Green (Hardware Guru)

Phil Busardo (Reviewer of everything vaping related)

M.C. Vapes (First class in safety, always)

Deedupdex (an artist with kanthal, check out his thread)

And without a doubt, the father of our beloved modern Micro Coil:
Super_x_Drifter (without you it wouldn't be the same vape, see him on the micro coil thread and say hi)

To those of you I forgot to mention, please understand its not on purpose and simply a brain fart from cloud chasing lol.

Everything with rebuilding takes time, and by learning from these incredibly talented and creative people we get to stand on the shoulders of giants and glimpse the future of vaping. I am humbled to simply get to talk to them and pick their brains.
 

etherealink

Ultra Member
ECF Veteran
Oct 25, 2013
1,304
3,035
43
Junction, IL
OK, I wanted to make the first post here about battery safety and I had fully intended for that to be the case but there was a bit of a problem... mainly that I need to do a bit of research about how to present this in a way that people can understand. So, the safety lecture has to wait for now.

Now what I am going to start with is simple coil building, or coils 101.
We're going to talk about basic tools and optional tools that might be needed when building coils and why you may need them. Also, I am going to explain how to determine the approximate resistance of your coil before you even cut the wire off the spool.

Beyond that I am going to show you a simple technique that will let you build a coil that you can repeat each and every time you grab for your wire, and even gives you the possibility of changing up your vaping experience with how you wrap your coils and even how to change it completely.

We're going to discuss why coils *seem* to operate like one resistor instead of a long one wrapped around a screwdriver. And yes, even what all that means.

So let's get started!!
 

etherealink

Ultra Member
ECF Veteran
Oct 25, 2013
1,304
3,035
43
Junction, IL
Basic tools:

When wrapping coils for vaping there are a few basic tools that are pretty much universal and apply to all styles of coils for all styles or builds. If you have to put together a must-have toolbox, these are the things you want to stock it with.

--------------

A Ruler: Marked out to the 1/16", this will help you to figure out the resistance of your coils before you even get out your wire.

Needle Nose Pliars: To help you bend wires of larger gauge and tighten up your coils (more on why later).

Side-cut wire cutters: To cut wire to length and trim off the leads of your coil after mounting it. The side cut variety gets you into tight spaces easily.

Tapered/Pointed tweezers: Both to help with wicking and with adjusting your coils to get them to fire correctly, many more uses... more later!

Scissors (very sharp): Most wick material is very flimsy, so to trim it, the sharper the better.

Nail clippers: If you're using Silica or ekowool these make trimming it easier, I'll explain why.

On top of that, you'll want a assorted group of precision screwdrivers or Allen wrenches or drill bits to wrap your coils on. Being able to repeat the diameter of your coil is one of the keys to making the vape the way you want it every time... keep it all handy.

Embrace the Suck!!
 

super_X_drifter

ECF Guru
ECF Veteran
Verified Member
Oct 4, 2012
10,635
45,119
Somewhere out there
www.youtube.com

etherealink

Ultra Member
ECF Veteran
Oct 25, 2013
1,304
3,035
43
Junction, IL
OK folks, I'm not an expert by any means, but I have got to say something after what I saw on another forum (a guy wanting to sub-ohm and asking for cloud builds without having an ohm meter or multimeter) and seeing things like Shari just asked (about building with the Ti wire for her ProVari, no offence intended) I just have to explain how to calculate wire length for resistance and to control what's going on before you even get started.

So here we go:
Kanthal (Nichrome, the above mentioned titanium) is a resistance wire, meaning it resists the flow of electricity. When it does this, it converts that electrical energy into light and heat... and with ejuice and a wick, vapor. *grin*

So, here is the simplest way to know for sure what your resistance will be: measure your wire (to the 1/16"). Every gauge of wire as its own resistance and is clearly listed online (see temco http://www.temcoindustrialpower.com/product_selection.html?p=kanthal_a1 for more complete info) but here is a general listing of resistance per inch of the most commonly used sizes for vaping.

22ga(.64mm) - 0.109 ohms/in
24ga(.51mm) - 0.173 ohms/in
26ga(.40mm) - 0.276 ohms/in
28ga(.32mm) - 0.439 ohms/in
29ga(.29mm) - 0.546 ohms/in
30ga(.25mm) - 0.697 ohms/in
32ga(.20mm) - 1.091 ohms/in
34ga(.16mm) - 1.758 ohms/in
36ga(.13mm) - 2.783 ohms/in

And yes, I listed the metric diameter because many suppliers list it on the packaging as well as the AWG (American Wire Gauge) and because we have overseas folks here too. The higher gauge wires (34 and up) are normally used in rebuilding atomizer heads, like those used in protanks and the larger diameter wires are mostly used in low ohm and sub-ohm vaping as they have more room in the build area and they are looking for lower resistance.

************

Now, let's get a bit creative and build something just to show we can prove what we just learned... OK?

Lets go with Shari's example, a 1.2 ohm coil on a 2mm (1.98mm or 1/16" is a true microcoil). Now, since this is going on her Russian 91%, we have some room to work with in terms of wire but we're going to use 28ga for this example.

Looking at the chart above you see that 28ga wire has a resistance of 0.439 ohms/in, and that means that all we have to do is divide the resistance we want by the natural resistance of the wire (1.2÷0.439=2.73in or 69mm). For those of you with Vapers Toolbox on Android, it should read 2 5/8" and those on computer can check Steam Engine (http://www.steam-engine.org/coil.asp) will see 67mm. The calculator method isn't perfect, but being slightly *high* in resistance is always better than being slightly low.

So, grab your 28ga wire and your cutting tool of choice and measure out about 3 1/4" (77mm). The extra length is for the leads to the posts and so you have some room to work with on the last wrap.

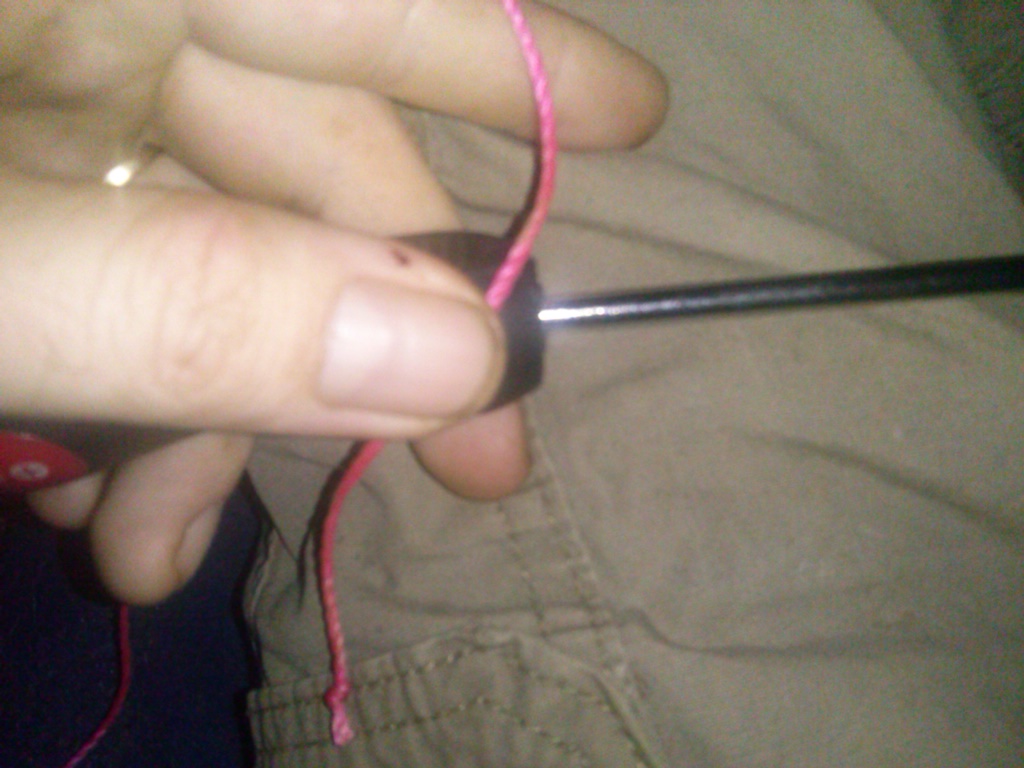
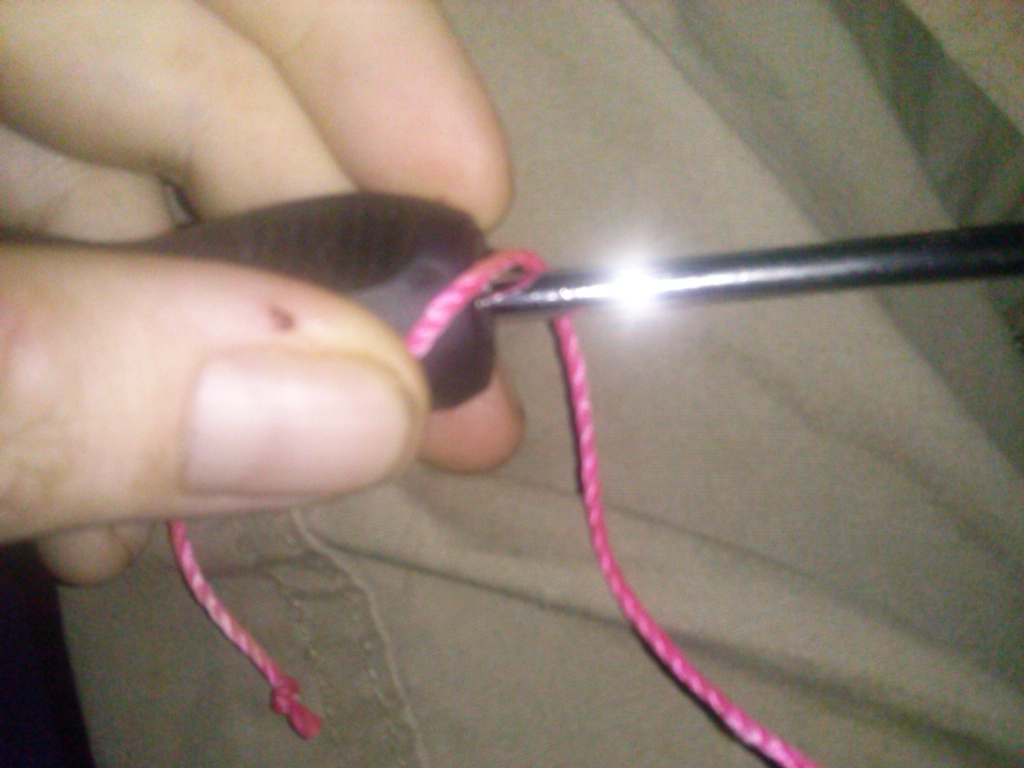
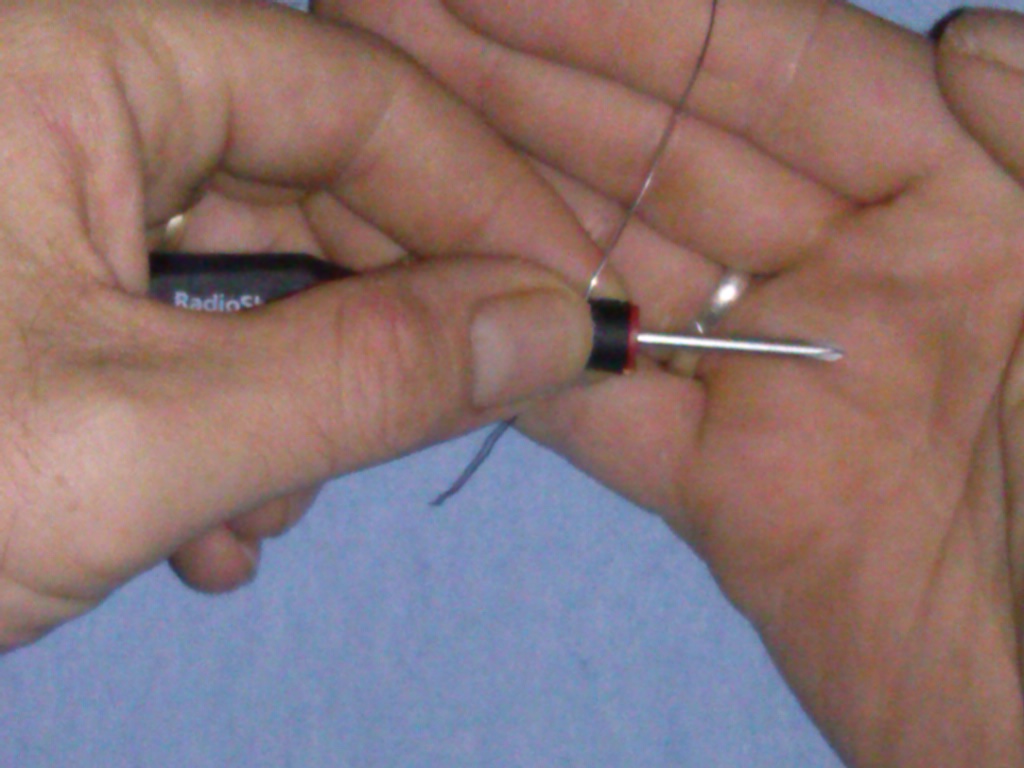
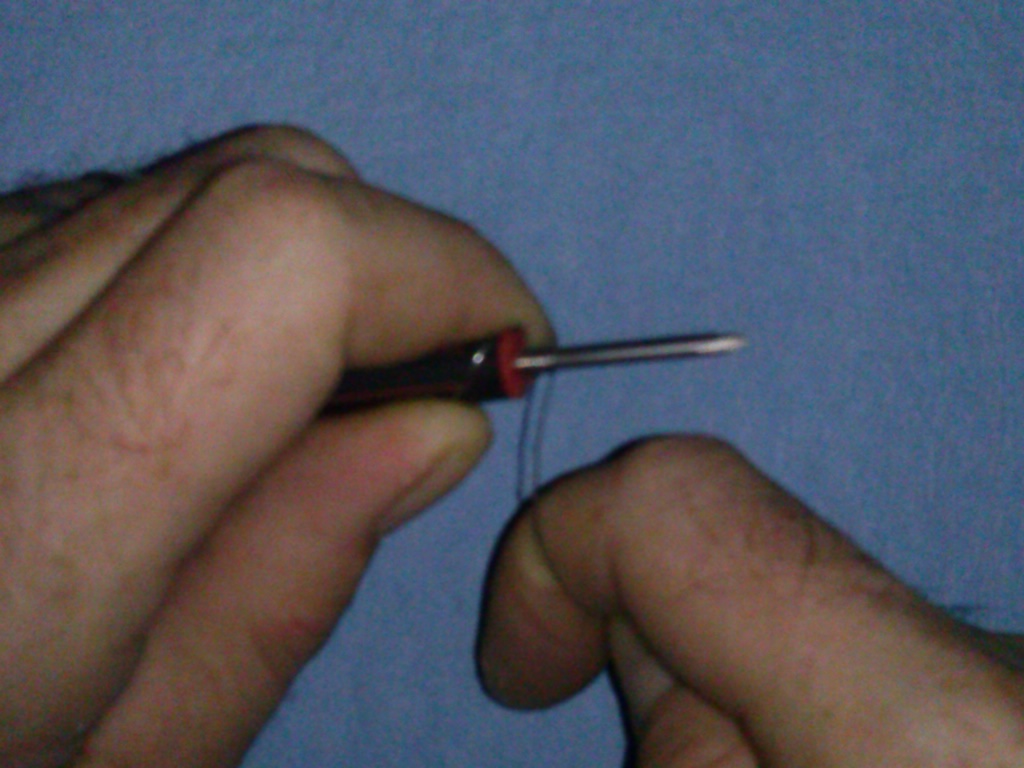
Now let's wrap that baby and start blowing clouds! Hang on just a second... got everything you need, including something to test that new coil? A regulated mod that can test resistance is OK, but if you are going to start playing around or are using a mechanical mod take the time to get a multimeter (about $20 @ Walmart) and learn to use it.

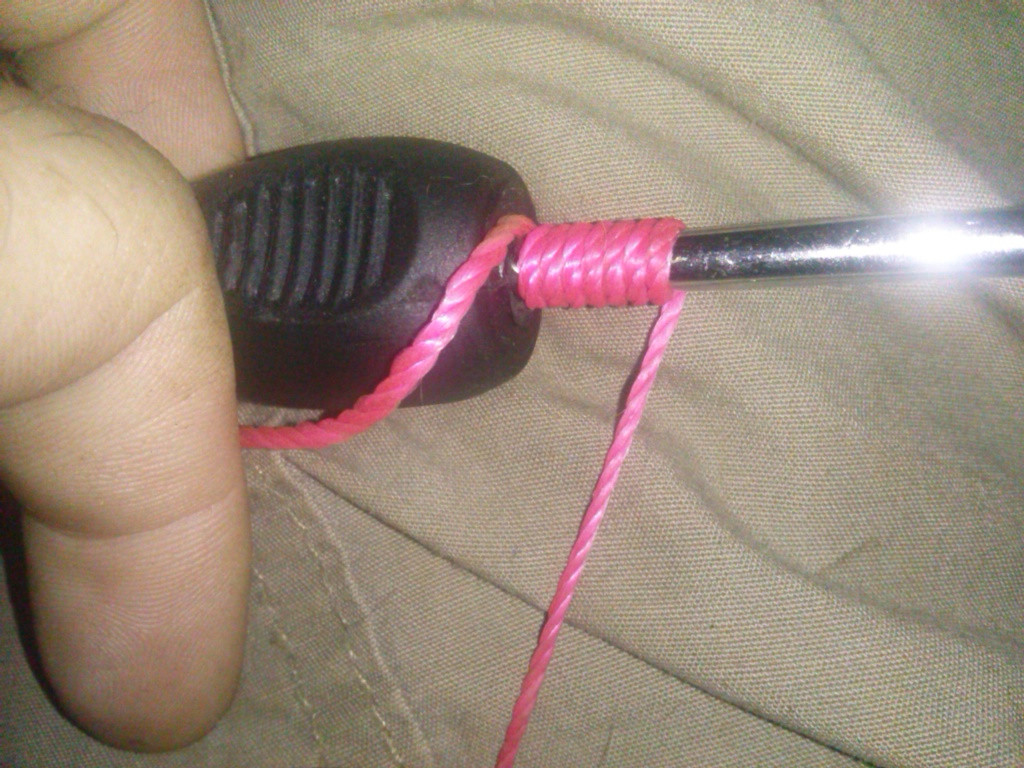
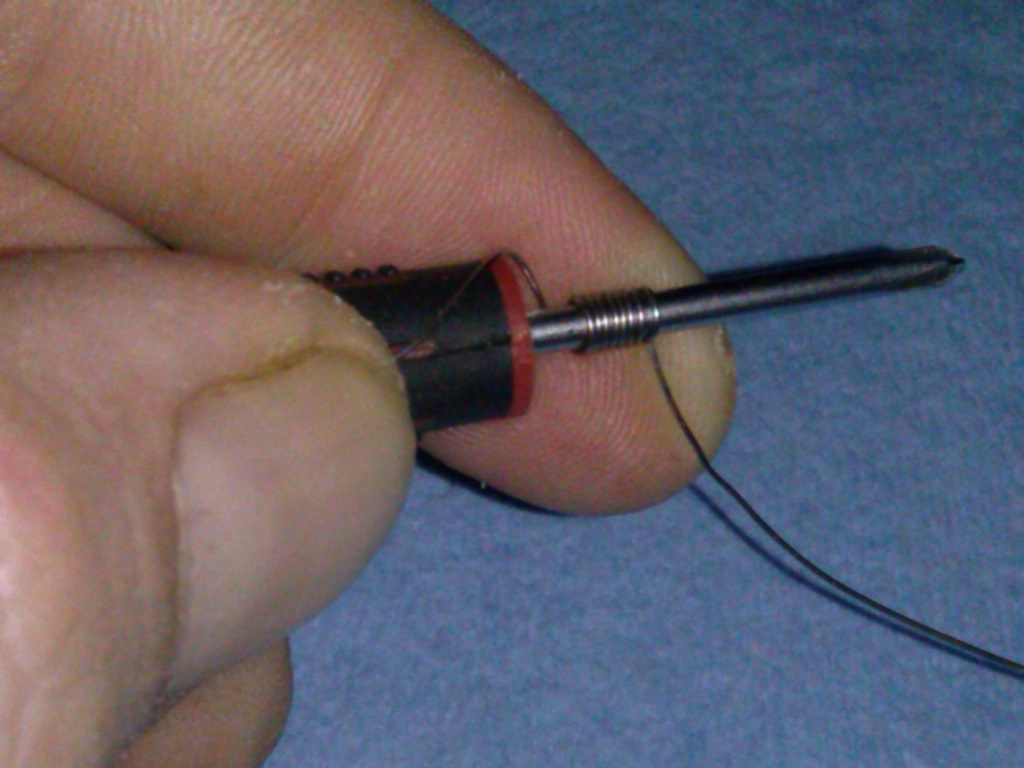
Now we can wrap that rascal!

Grab your precision screwdriver/drill bit/Allen wrench/coiling jig and let's get to work. Leave about a quarter inch of a lead on the coil (the coil jig will take care of that for you as you trap the wire) and give it 8 wraps. Be sure to leave the leads on opposite sides because of the atty its going on, an RDA would have them on the same side (thus the 8/7 wrap).

Now all you have to do is mount and test your new coil. If it reads 1.2 ohms, or close to it, you're good to go. If not, let's figure out why.

Are your screws tight, did you wrap it on the right size mandrel, was the wire the right gauge & length? If all the answers are yes then you should be within a few tenths of an ohm, if you are way off that mark you may want to start over.

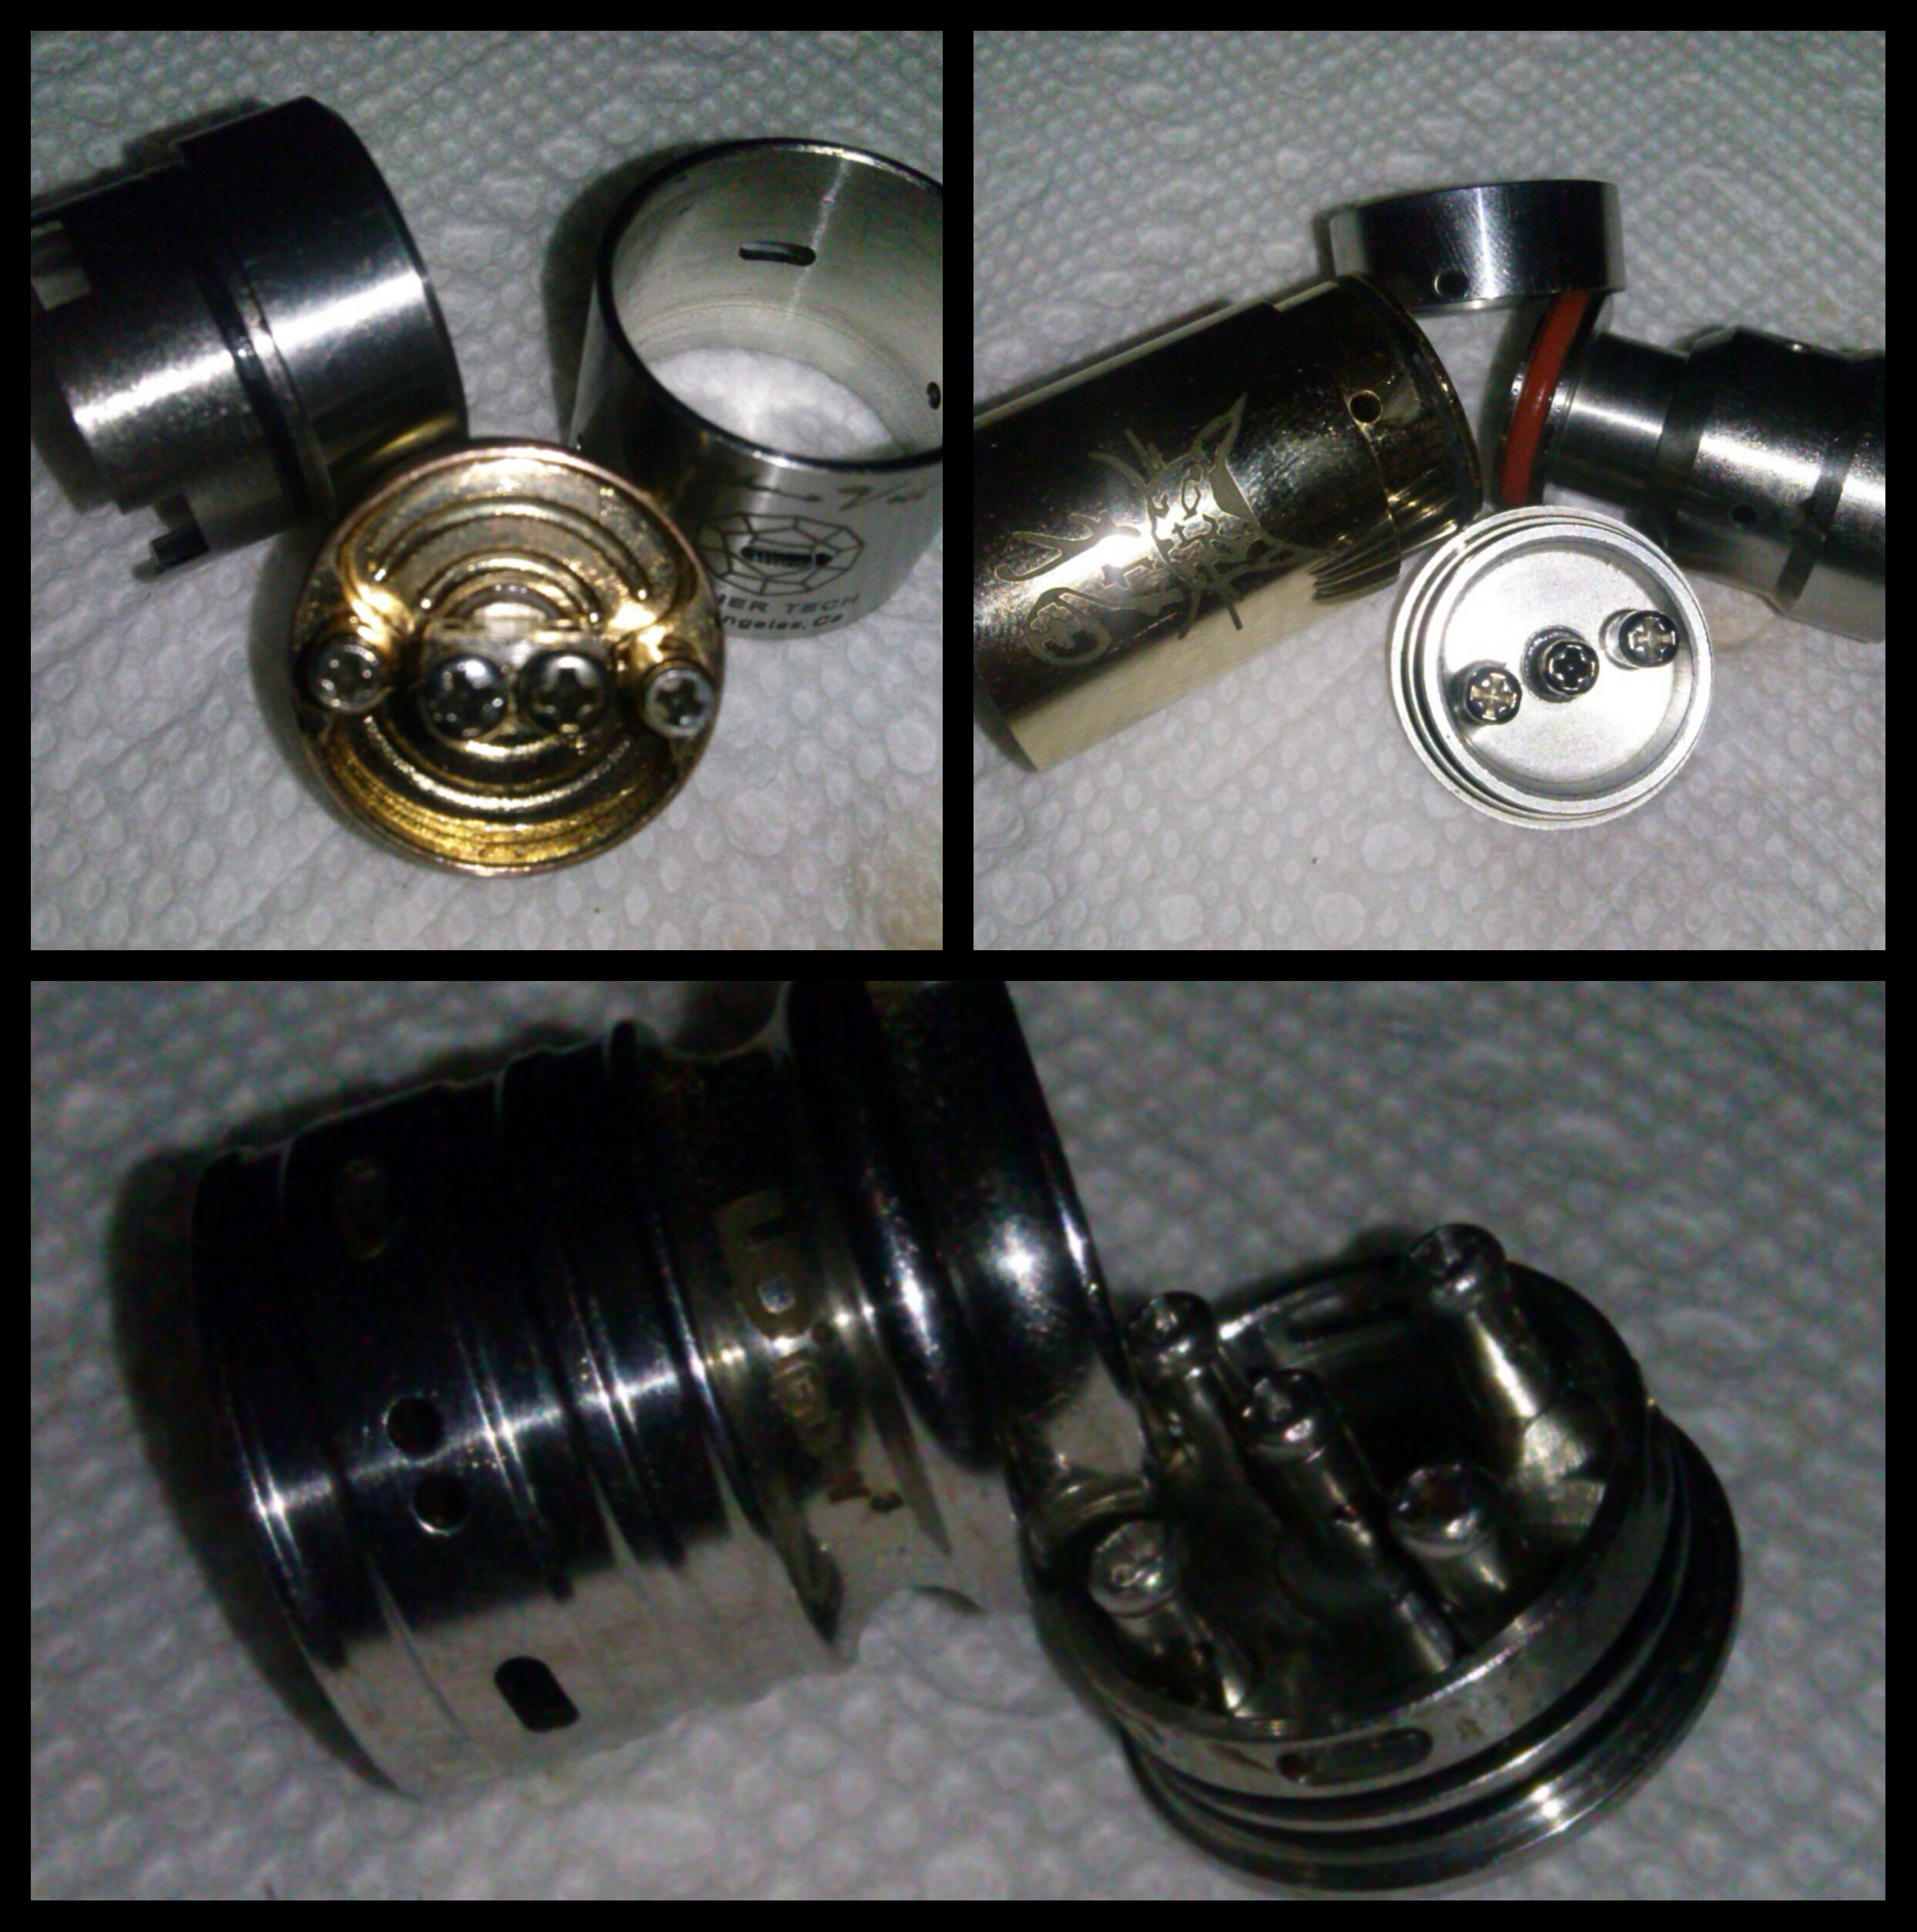
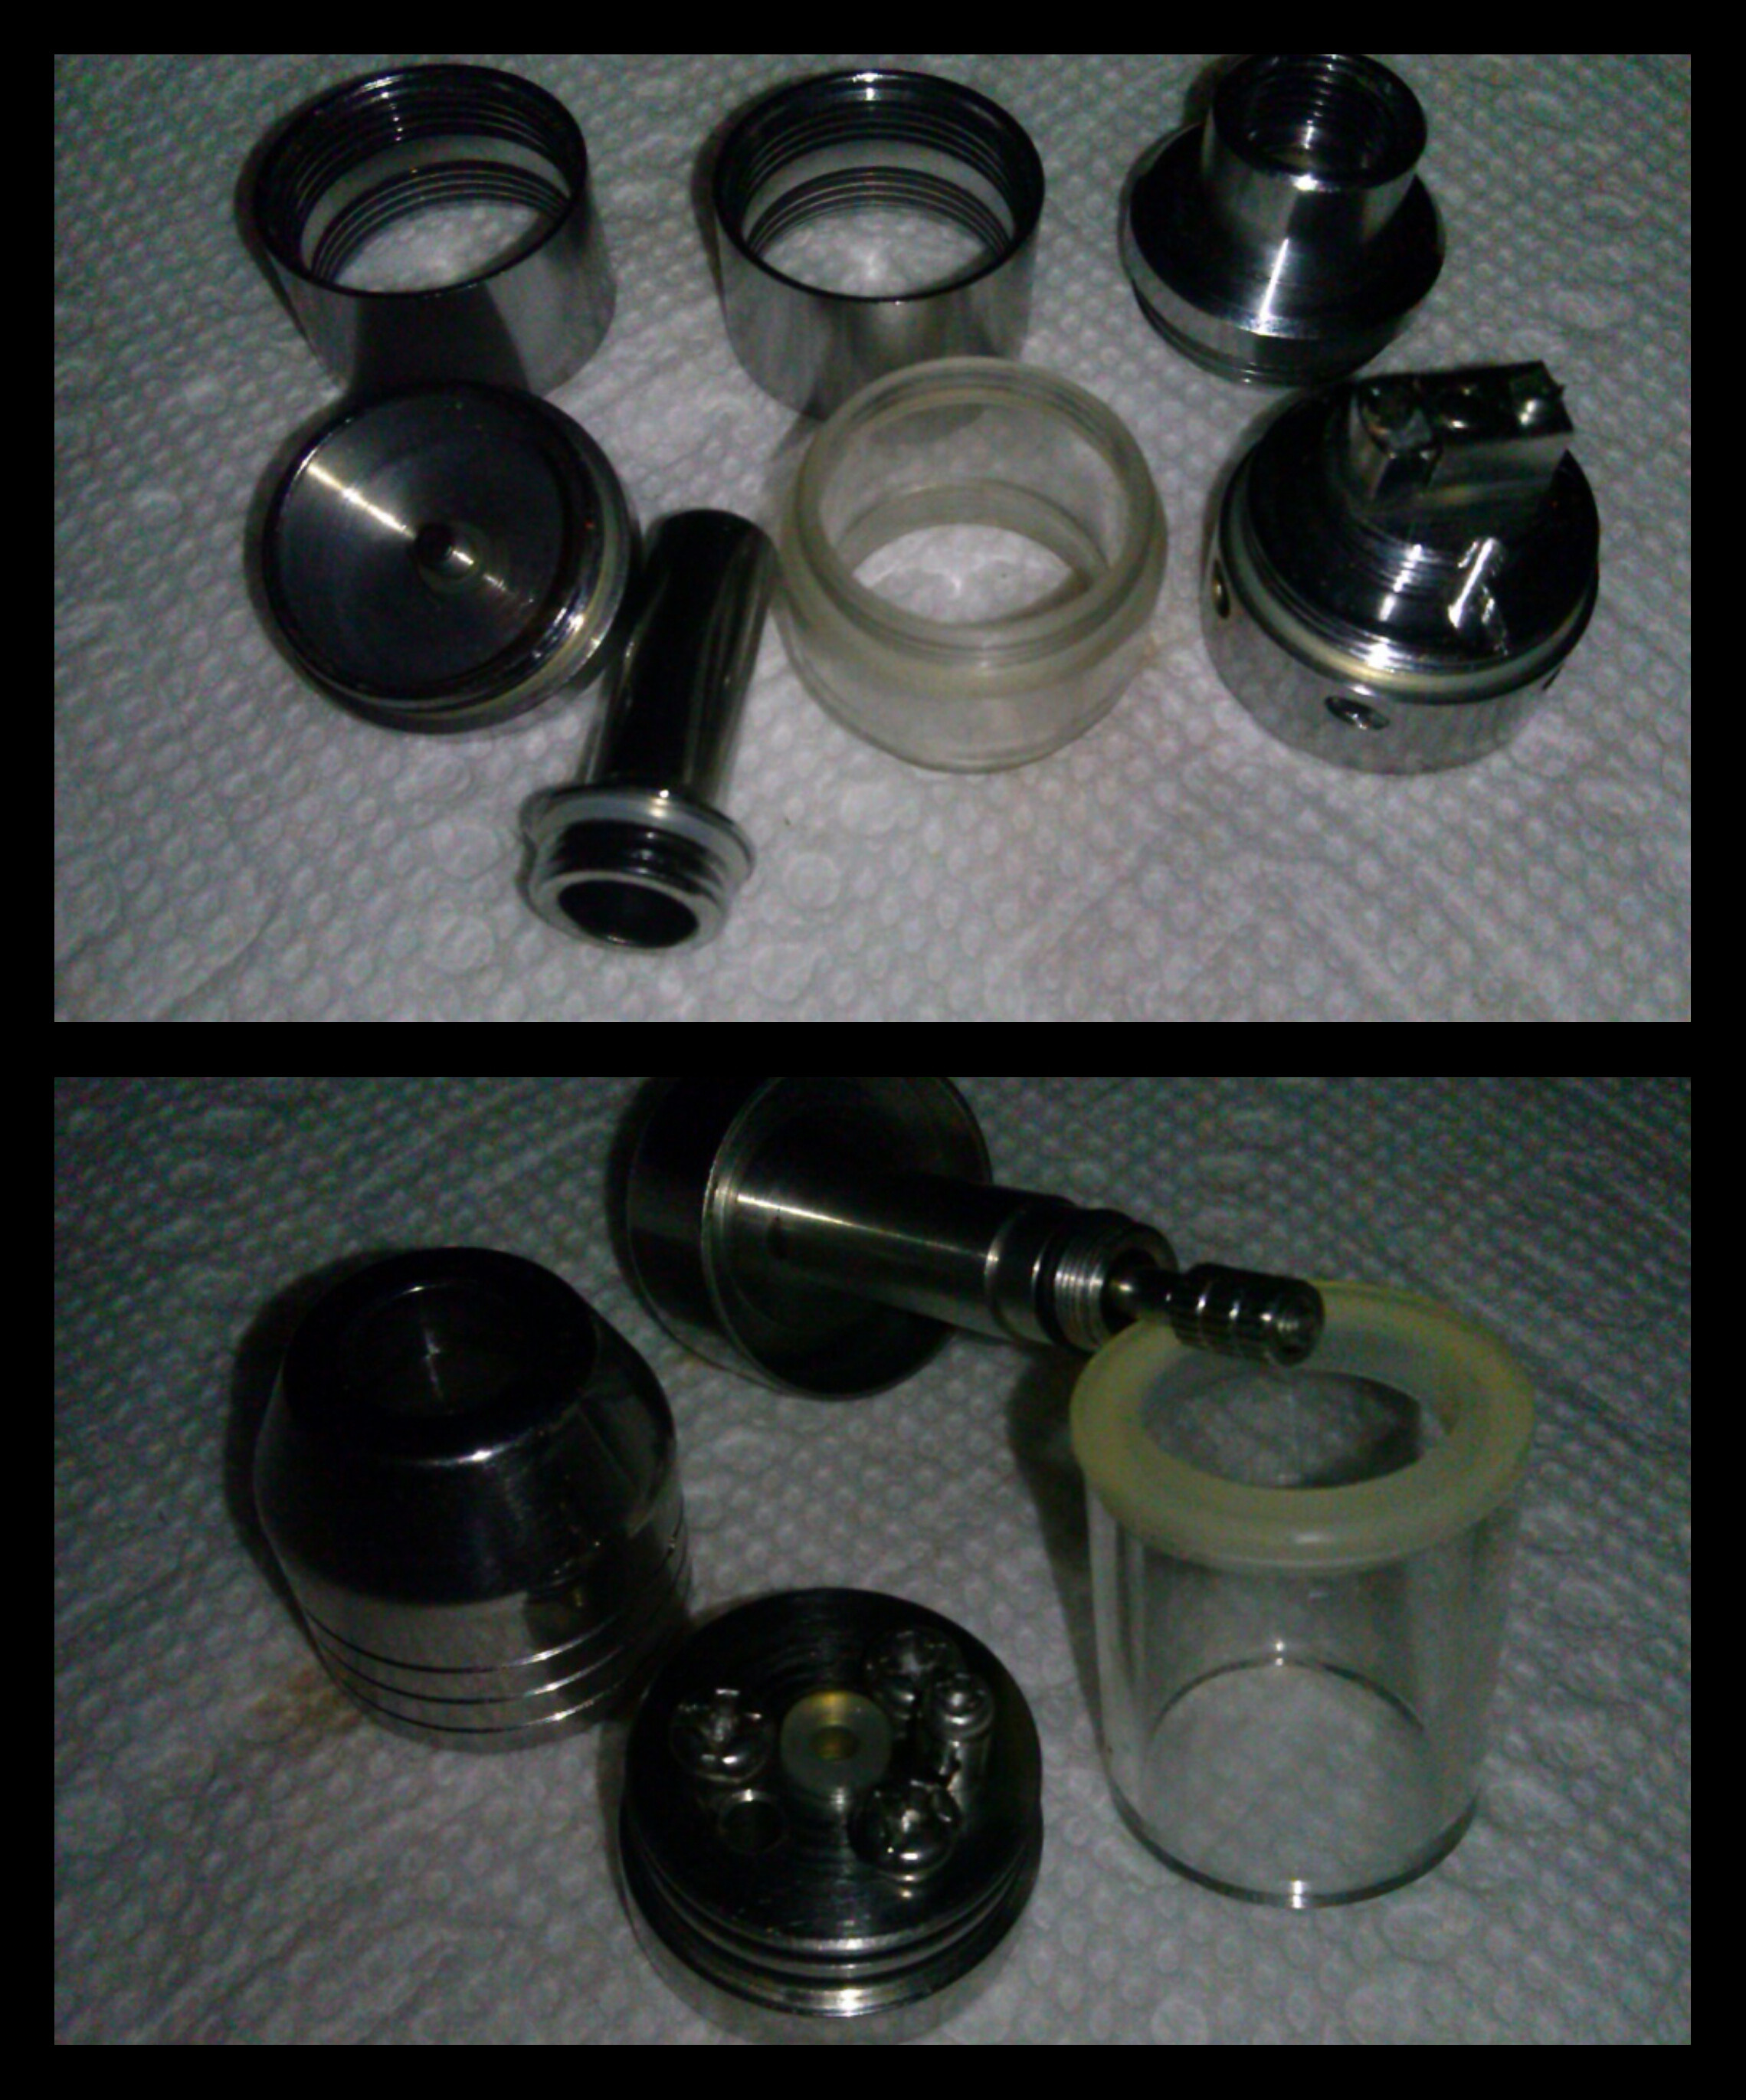
A more in-depth coil wrapping tutorial with many more views will be on my PIF thread for rebuildables (here) and on my ECF blog... with many many pictures!
 

etherealink

Ultra Member
ECF Veteran
Oct 25, 2013
1,304
3,035
43
Junction, IL
Great idea etherealink.
Since I have a tendency to go too in depth with electrical theory I will just sit back and pop in if something in depth is needed.

Thanks for the visit, Mundy! For those of you that don't know, Alex is the inventor of "Mundy's Magic Wire", a twisted and counter-twisted (I think) ribbon wire that causes some variations in the particle size of the vapor and boosts flavor exponentially.

Check out his thread for more details and marvel at the beauty when you get a chance to vape this beauty. His thread: http://www.e-cigarette-forum.com/forum/showthread.php?p=10840754

Actually Alex, I could use a bit of help with the phenomenon of microcoil acting as one solid resistor and what happens when batteries go into thermal runaway.

I dealt with electronics in the military to an extent but I am by no means an electrician lol.

I'm heading back to writing Coil building 101 and hope to be done with it and on to Wicking 101 by the end of the night.

Thanks again for the visit, hope to see you back soon!
 

etherealink

Ultra Member
ECF Veteran
Oct 25, 2013
1,304
3,035
43
Junction, IL
OK folks, been a rough time as of late so the thread here has been a bit shabby, but I'm ready to bring the next instalment to all of you out there in Vape Land.

Last time we were here I gave you a basic overview of how to measure your wire for resistance before you start to wrap the coil and, now I'm going to get more in-depth about the process of wrapping the wire itself and cleaning up your coil before you mount it on your atomiser.

Here we go, first off (with pics) this is the basic method I use to make my coils. Please note that this is not wire, but string so its easier to see:

Start by cutting your wire to the desired length and getting your screwdriver/drill bit/Allen wrench (I prefer the screwdrivers because you can keep tension on the coil and compress it against the handle) and pinch the wire between your thumb and the handle, like this:
4SL5qHa.jpg


Then slip the long tail over the shaft of the screwdriver, like so:
SV8qNxv.jpg


Next, make your first wrap around the back of the screwdriver and back to the front. This makes your first wrap of your coil; the process is the same with wire:
dOmTrH0.jpg


hORaE9L.jpg


Now, simply make the number of wraps suggested by the coil calculator of choice (or until you have a short tail left, if using the calculator and wire length method) and make sure you keep tension on the wire the whole time and that your wraps lay as close to each other as possible without overlapping.

Result with string (to see easily):
nCRJbwc.jpg


And with wire:
5eT5dys.jpg


In the second shot, with the wire, you'll notice that my index finger is behind the coil and holding it tight to the screwdriver. This is to keep tension on the wire for the next step - unwrapping the "Anchor" wrap from the handle of the screwdriver. Remember, we started counting our wraps with the first one that was on the shaft of the screwdriver and *not* counting the anchor wrap. Simply pinch the coil wraps with your index finger and thumb of your other hand and gently unwrap the anchor and pull it tight.

Unwrapping the "Anchor":
qiaccAj.jpg


If you have pliars handy (and you should), grab both legs and hold them tight then pull on the legs and screwdriver to put some consistent tension on the entire coil. Remember to hold tight on both legs so you don't pull the coil apart when adding tension... if you do, just rewrap the coil and take it from there.

*Note: if your atomiser needs legs on opposite sides from each other (eg. Kayfun or Russian styles), you can still pull them around to control tension and clean up the coil before mounting. Just move them to where you need them when you mount the coil.

Now to keep going, fingernails are handy to help squeeze the coil against the handle but not needed. Simply keep the tension on the legs of the coil (I use hemostats and vice-grips on heavier wire) and squeeze the wraps against the handle.

6nignbt.jpg


Now you are ready to mount that coil and tease it a bit to make sure it fires from the inside out and that your legs don't heat up with your coil.

As a reminder, even if you are using a coil calculator or the calculator method, always - Always test your coil before you fire it!

Mount your new beauty and make sure your screws are tight, then simply squeeze gently (without pushing the fire button/switch) if your wraps move slightly while mounting.

With some practice this simple method makes building your coil a less-than-a-minute job that you can repeat every single time.

Next time we will discuss multiple coils and what they do to the resistance of the total build, as well as multi-strand and twisted wires.

Stay tuned for that and wicking in the future! And remember, Stay safe... Vape long and prosper!
 
Last edited:

etherealink

Ultra Member
ECF Veteran
Oct 25, 2013
1,304
3,035
43
Junction, IL
Hey folks, I've got another thing I want to go over before I get into wicking and this one will help , hope make part of the discussions in the thread easier to understand in the future.
*****

So, you've been reading along and decided to pull the trigger and get that cool looking RDA in the local store and try your first build.

Now, we'll assume you have wick & wire (and all the tools) at home so we'll skip that for now. And you get home with your shiny new cloud-monster and yank the cap off...

*Wait A Minute!!*

RDA's are known for having the best flavor and vapor production of anything out there, so do you really want to taste whoever's hands that were on it and any chemicals left from manufacturing? Didn't think so, so let's give it a bath first. Get out your screwdriver and either remove the post screws totally or make sure they are snugged down.

fpNLP9P.jpg

Post screws...

I suggest a very fine wire strainer to help keep small parts in check and not down the drain. But anyway, run some hot dishwater and lets get squeaky clean. If you're OCD like me, get them dry and grab a toothbrush and the rubbing alcohol... but I digress lol.

Now, if this is your first RDA let's break down the various parts so we all know what's where. These aren't my terms per se, but what is being used around the web currently. So here we go.

Top cap - this covers up your build and gives you a clearly defined "vapor chamber". It also holds your drip tip quite nicely.

Various Top Caps
vSRIlnW.jpg


And yes, some top caps are in multiple pieces (Igo w3, Plume Veil & Cat RDA's):
m3FRAVZ.jpg


Also, there are RBA's that have tanks (AGA-T2 & Kayfun 3.1):
lqS0VvN.jpg


Drip tips - also called mouthpieces, they are basically that, the thing you put your lips on to take a drag of your RDA/RBA. Some cloud chasers are even "curb stomping" the top cap, for more vapor (minimal IMO).

Drip tips...
U3UniAx.jpg


Build deck - here's where the magic happens, this is where you mount your build and wick it and where you will be very familiar with. We'll break down its various parts too.

Various build decks...
Tx6f52u.jpg


****************
OK, let's break that down with some close ups and explain the basic parts that all RDA build decks have in common.

Connection posts and screws of various types, these trap and hold the legs or leads of your coils to make an electrical connection.
fpNLP9P.jpg


O-rings, these help seal excess air from the vapor chamber and keep juice from spilling out onto your Mod. You can also see the 510 connector here that attaches the atomiser to your mod.
N0qIlpb.jpg


Finally, the positive pin, this is what does the work and transfers energy from your battery to the build when you push the fire button.
TOppcIM.jpg


*************

Now that you have a basic understanding of the parts of an RDA you can understand a bit more of what's going on inside a build.

Hope it helps when you're picking out your next rda!

Vape strong and Prosper...
 
  • Like
Reactions: hejira
Status
Not open for further replies.

Users who are viewing this thread