
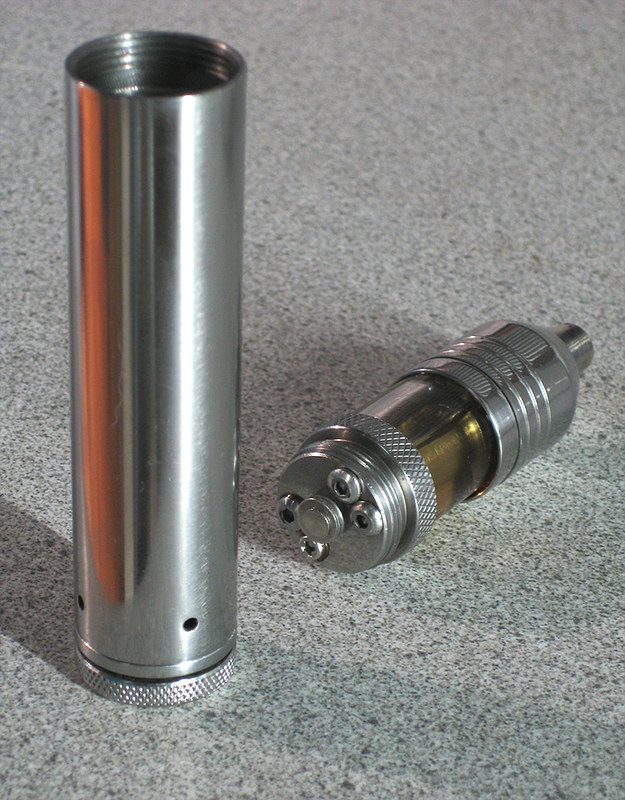
Here it is folks take two AGA-Ts use the top plates of both and the extra silicone grommets (you will work out where to put these), plug a few holes (do this well if you don't want juice in your battery tube) reverse the positive pin, shim with washers to adjust for battery fit, and bob's your mother's uncle")
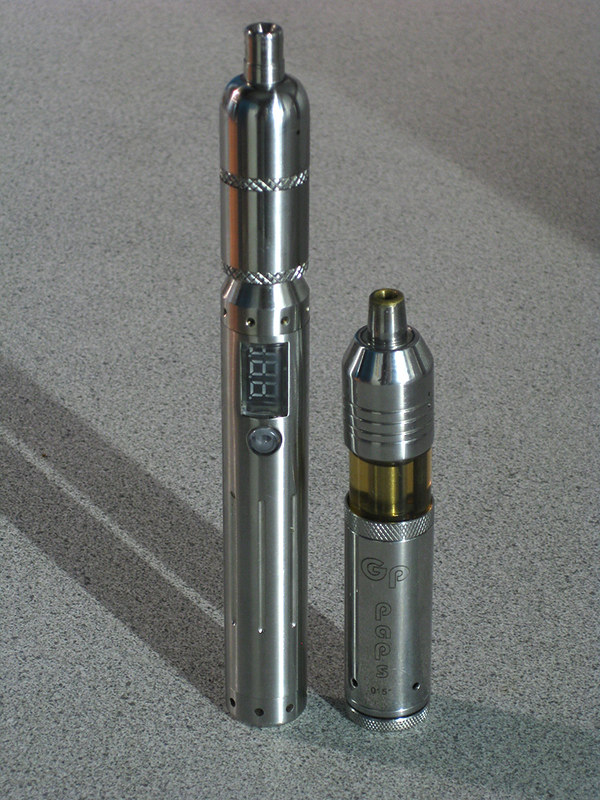
18650 Mode
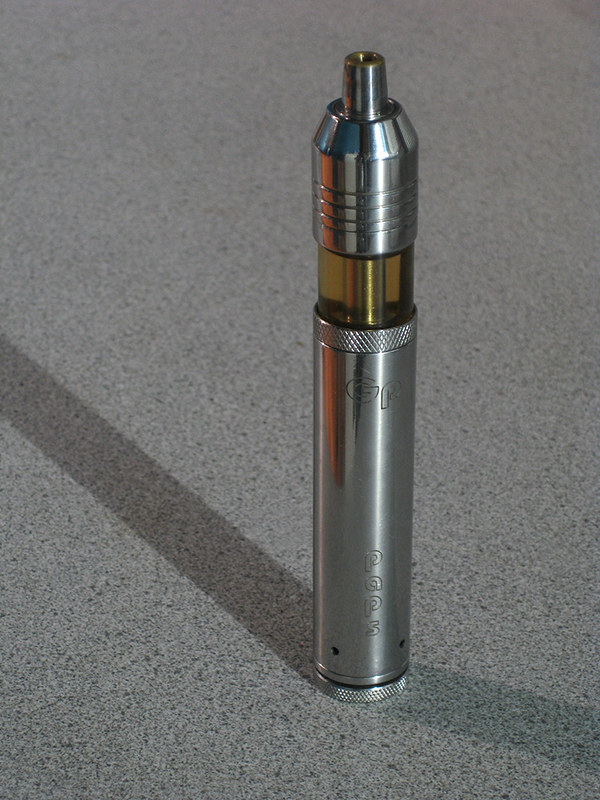
18350 Mode
The guts
18650 Mode
18350 Mode
The guts
Last edited:


