
here is my first tutorial so sorry if it sucks, I want to thanks ooSTURMoo for showing me this I just made it more detailed.
Items required:
Ce3 xl or phoenix atty (vaporalley.com)
Silica rope from cov or 100% cotton yarn from Michael's (experimental safer wick)
32g kanthal a1 (eBay)
No resistance wire (cov or Michael's in the jewelry bead dept.)
Wire cutters
Multimeter or provari to check resistance.
I usually guess my resistance, with 32g 1inch equals roughly one ohm..
Here we go
Here is the carto or whatever its called in the package. One already built in the provari

cotton yarn ill be using in the tutorial

resistance and no resistance wire

screw on atty into any mod

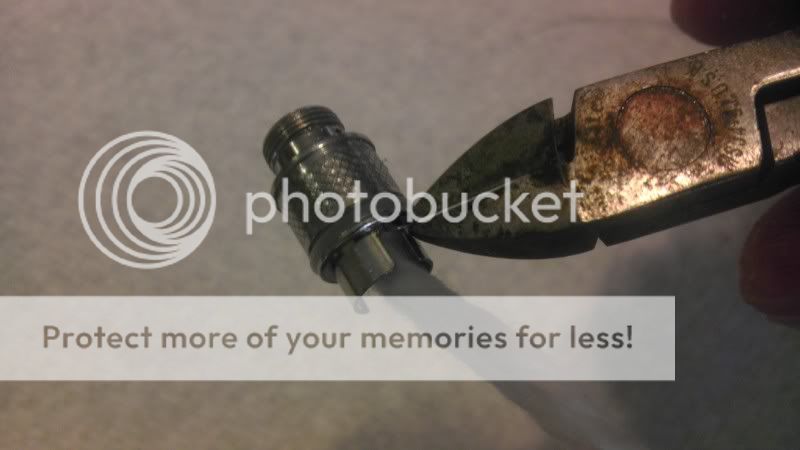
gently pry out tube

chamber tube will pop out and also pull silicone gasket out

pry out center pin on bottom also remove gasket carefully with tweezers

pin and gasket removed

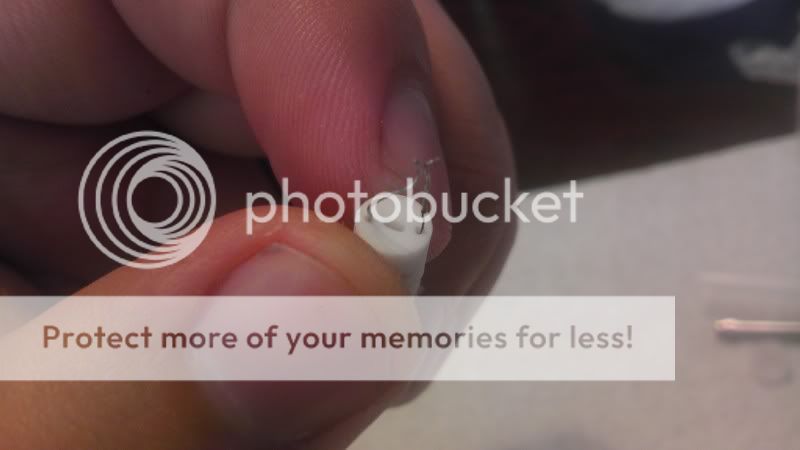
push ceramic cup out from front, should just slide out

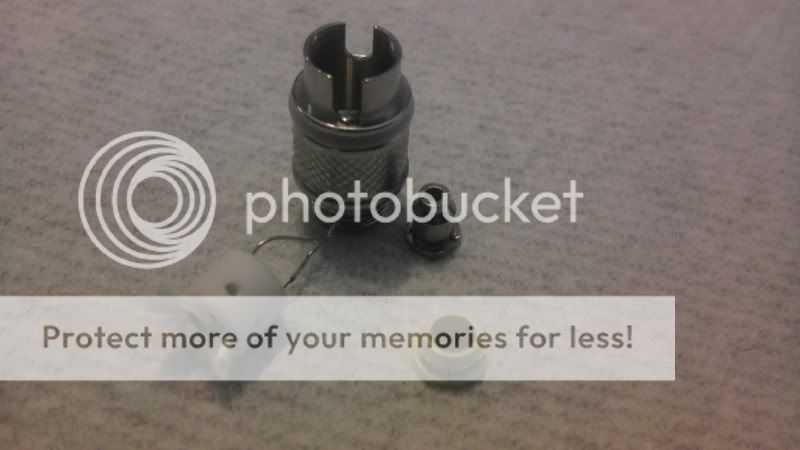
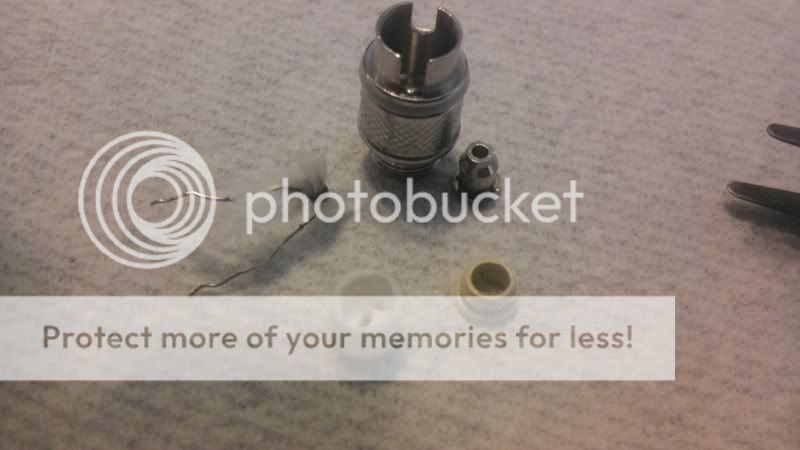
all pieces
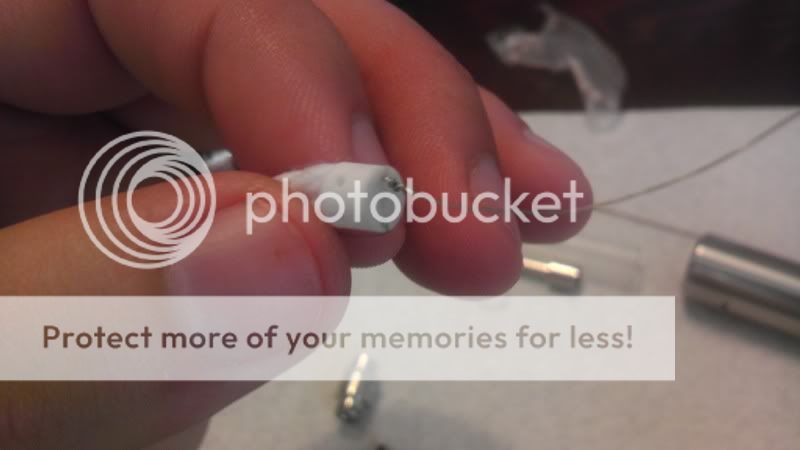
now remove the coil and wick from ceramic cup


now we prepare wick and coil

resistance

use paper clip for wick stability

wrap make sure coils are a bit separated from each other and are not wider than ceramic cup

slide resistance wire end tails through ceramic cup holes


slide paper clip out and pull wires from bottom so coil is pulled into the cup

now bend one of the wires up toward the top of the cup, this will be our negative

now cut a piece of no resistance wire

twist the no resistance wire to the wire sticking straight down, get as close to cup as you can

now wrap no resistance wire downwards on whats already wrapped

cut excess off

hard part done, now we slide ceramic cup into the base. it has to have some slip fit to it so negative can ground right, this is where you get to play with negative best way i find that helps is not to make a tight corner bend on the ceramic when bending the wire up several steps back

positive wire on back

install rubber gasket

pull wire down to add some tension, dont go crazy on the pull just a small amount of force and bend towards front

insert pin


cut excess off

tuck away small wire left towards center of pin

push negative to the left with tweezers to create a nice crease where the wick groove is and cut excess
fold your wick tails back

insert top coil chamber cover

trim wick tails


pull cover off and add a bit of juice to test resistance, only need to be done if testing on provari. still add a small amount of juice if not using provari so it can be primed

once you have your coil chamber top back on, slide clear tube over the base

install silicone gasket on top, there is a side up so pay attention when pulling apart what side it is


finished

this took me about a half hour to do taking pics and all, it should take around 15 tops, remeber to fill these with syringe upside down or they will leak horribly, also dont wrap resistance wire too tight around wick or you will choke it out and it wont wick. anything i might have missed please point out, i hope this helps most of you interested in learning how to rebuild your attys. remember, this same technique can be applied to 510s and 306s if pulled apart properly. also, if you grind the knurlls down on the base slide a regular carto tube over it, punch it, you can use em on the big carto tanks. sturm did that and he says it works perfect. hope it helps.
Items required:
Ce3 xl or phoenix atty (vaporalley.com)
Silica rope from cov or 100% cotton yarn from Michael's (experimental safer wick)
32g kanthal a1 (eBay)
No resistance wire (cov or Michael's in the jewelry bead dept.)
Wire cutters
Multimeter or provari to check resistance.
I usually guess my resistance, with 32g 1inch equals roughly one ohm..
Here we go
Here is the carto or whatever its called in the package. One already built in the provari
cotton yarn ill be using in the tutorial
resistance and no resistance wire
screw on atty into any mod
gently pry out tube
chamber tube will pop out and also pull silicone gasket out
pry out center pin on bottom also remove gasket carefully with tweezers
pin and gasket removed
push ceramic cup out from front, should just slide out
all pieces
now remove the coil and wick from ceramic cup
now we prepare wick and coil
resistance
use paper clip for wick stability
wrap make sure coils are a bit separated from each other and are not wider than ceramic cup
slide resistance wire end tails through ceramic cup holes
slide paper clip out and pull wires from bottom so coil is pulled into the cup
now bend one of the wires up toward the top of the cup, this will be our negative
now cut a piece of no resistance wire
twist the no resistance wire to the wire sticking straight down, get as close to cup as you can
now wrap no resistance wire downwards on whats already wrapped
cut excess off
hard part done, now we slide ceramic cup into the base. it has to have some slip fit to it so negative can ground right, this is where you get to play with negative best way i find that helps is not to make a tight corner bend on the ceramic when bending the wire up several steps back
positive wire on back
install rubber gasket
pull wire down to add some tension, dont go crazy on the pull just a small amount of force and bend towards front
insert pin
cut excess off
tuck away small wire left towards center of pin
push negative to the left with tweezers to create a nice crease where the wick groove is and cut excess
fold your wick tails back
insert top coil chamber cover
trim wick tails
pull cover off and add a bit of juice to test resistance, only need to be done if testing on provari. still add a small amount of juice if not using provari so it can be primed
once you have your coil chamber top back on, slide clear tube over the base
install silicone gasket on top, there is a side up so pay attention when pulling apart what side it is
finished
this took me about a half hour to do taking pics and all, it should take around 15 tops, remeber to fill these with syringe upside down or they will leak horribly, also dont wrap resistance wire too tight around wick or you will choke it out and it wont wick. anything i might have missed please point out, i hope this helps most of you interested in learning how to rebuild your attys. remember, this same technique can be applied to 510s and 306s if pulled apart properly. also, if you grind the knurlls down on the base slide a regular carto tube over it, punch it, you can use em on the big carto tanks. sturm did that and he says it works perfect. hope it helps.
")