
I just recently wrote a review for Oxva/Oxbar but here I am again with a new member to the Oxva Xlim family. This time I was sent the Oxva Xlim C Pod Kit in order to provide a fair and honest review. I have reviewed a lot of simple pod kits in the last month or two but this one is a little different as it isn’t the same old simple pod where you just fil and vape. The Xlim C does have a standard 2ml pod but the coils are changeable and it also offers three different output levels thanks to the Photon chipset and also has an adjustable airflow control. These features combined with a 900mah battery and fast charging at 5V/2A makes for the promise of an enjoyable experience. We will have to wait and see if those hopes are brought to life by the end of the review.
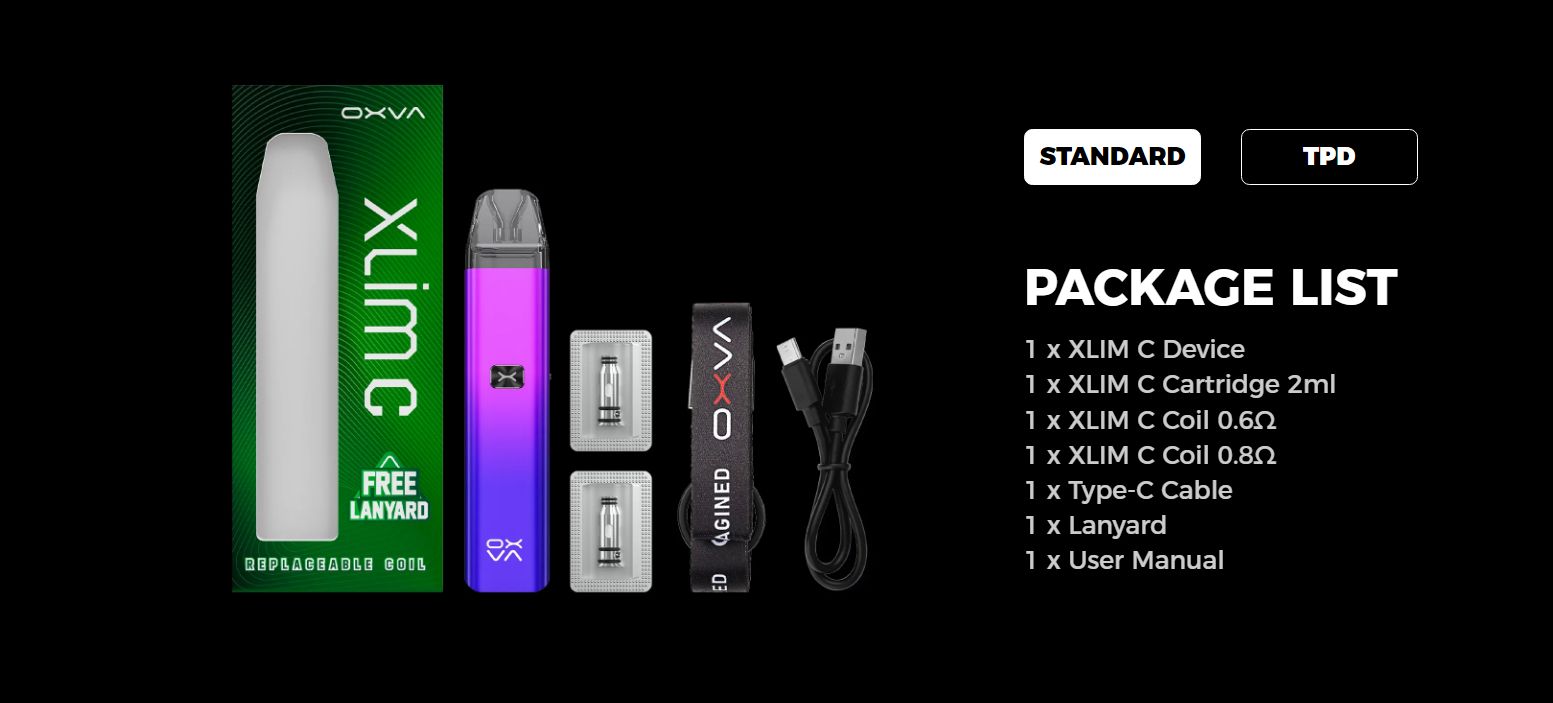
WHAT’S IN THE BOX?
1* Xlim C Device
1* Xlim C Cartridge 2ml
1* Xlim C Coil 0.6ohm
1* Xlim C Coil 0.8ohm
1* Type-C Cable
1* Lanyard
1* User Manual
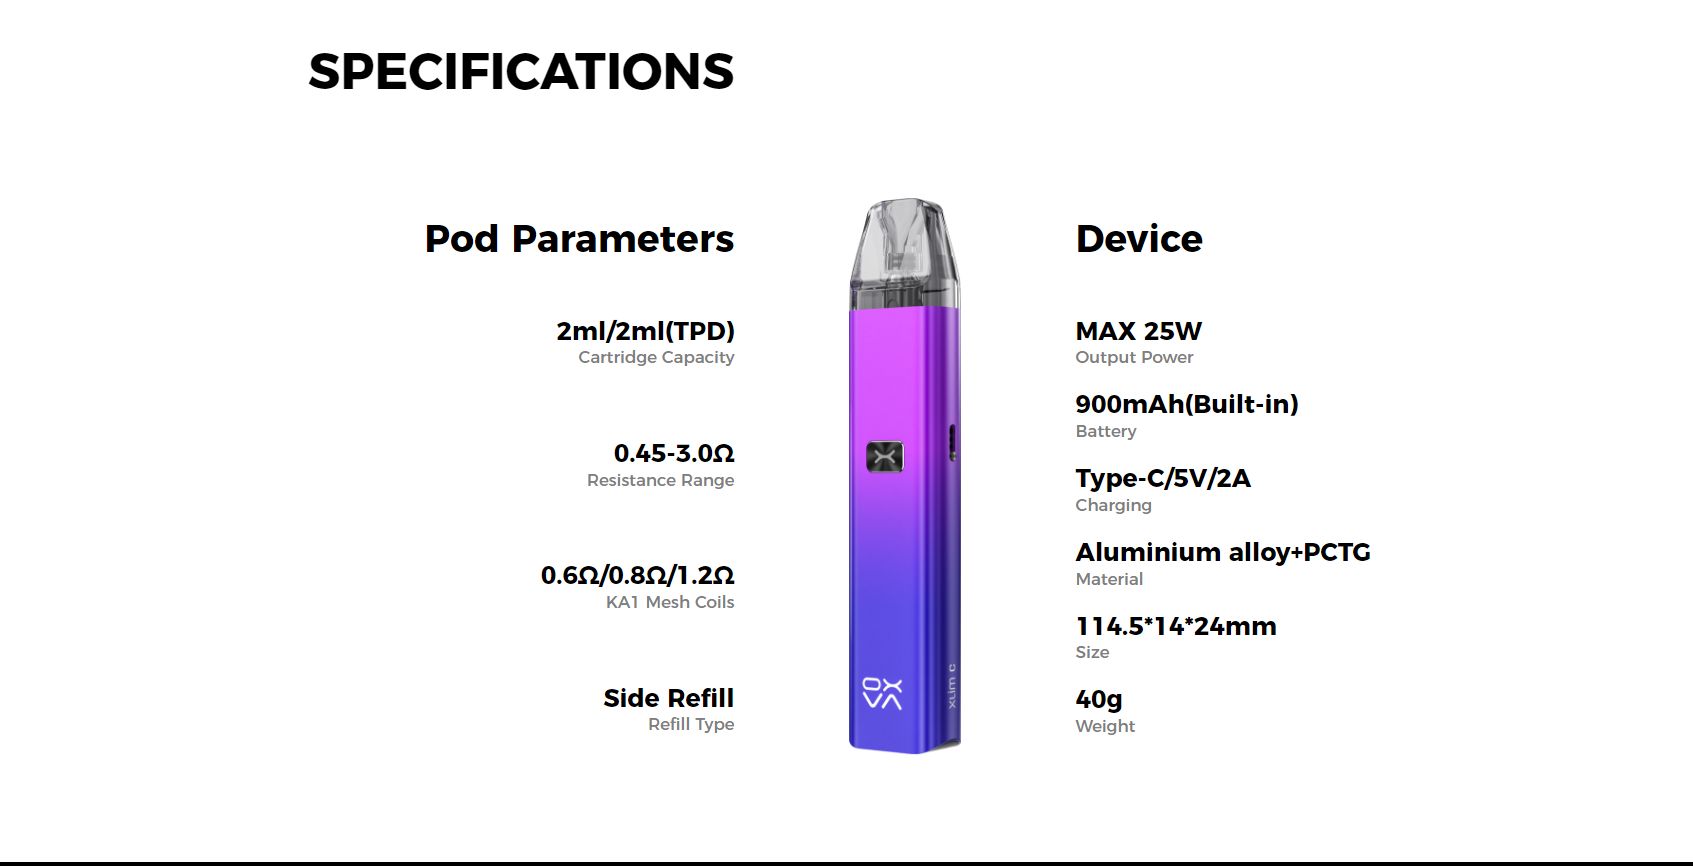
SPECIFICATIONS:
Cartridge Capacity: 2ml
Resistance Range: 0.45ohm-3.0ohm
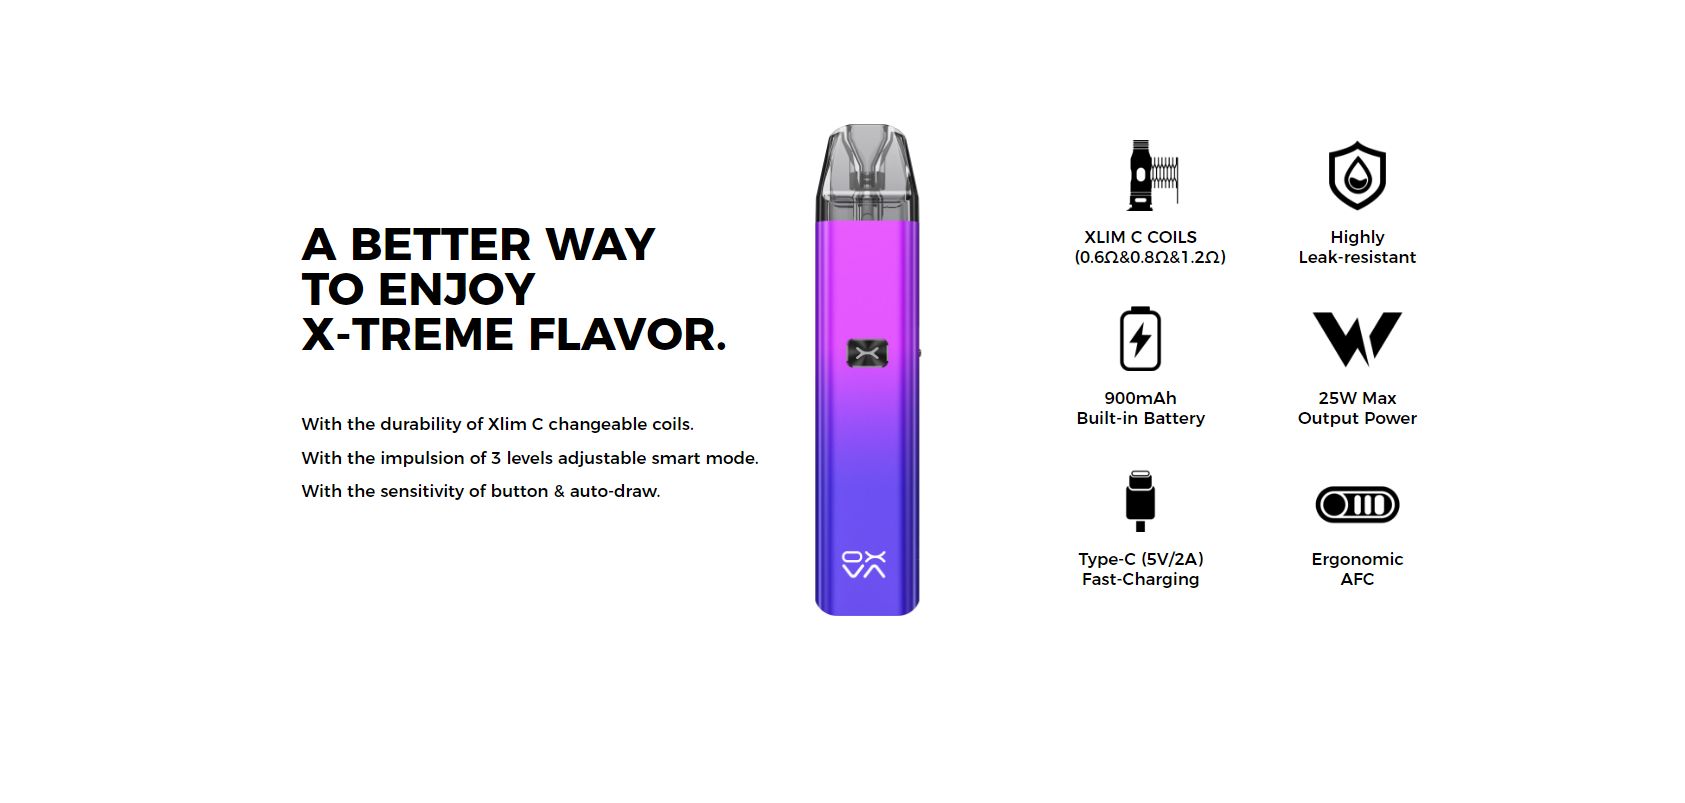
Compatible Coil: 0.6ohm/0.8ohm/1.2ohm KA1 mesh coil
Filling Type: Side filling
Output Power Max: 25W
Battery Capacity: 900mAh
Charging: Type-C, 5V/2A
Material: Aluminum alloy + PCTG
Device Size: 114.5*14*24mm
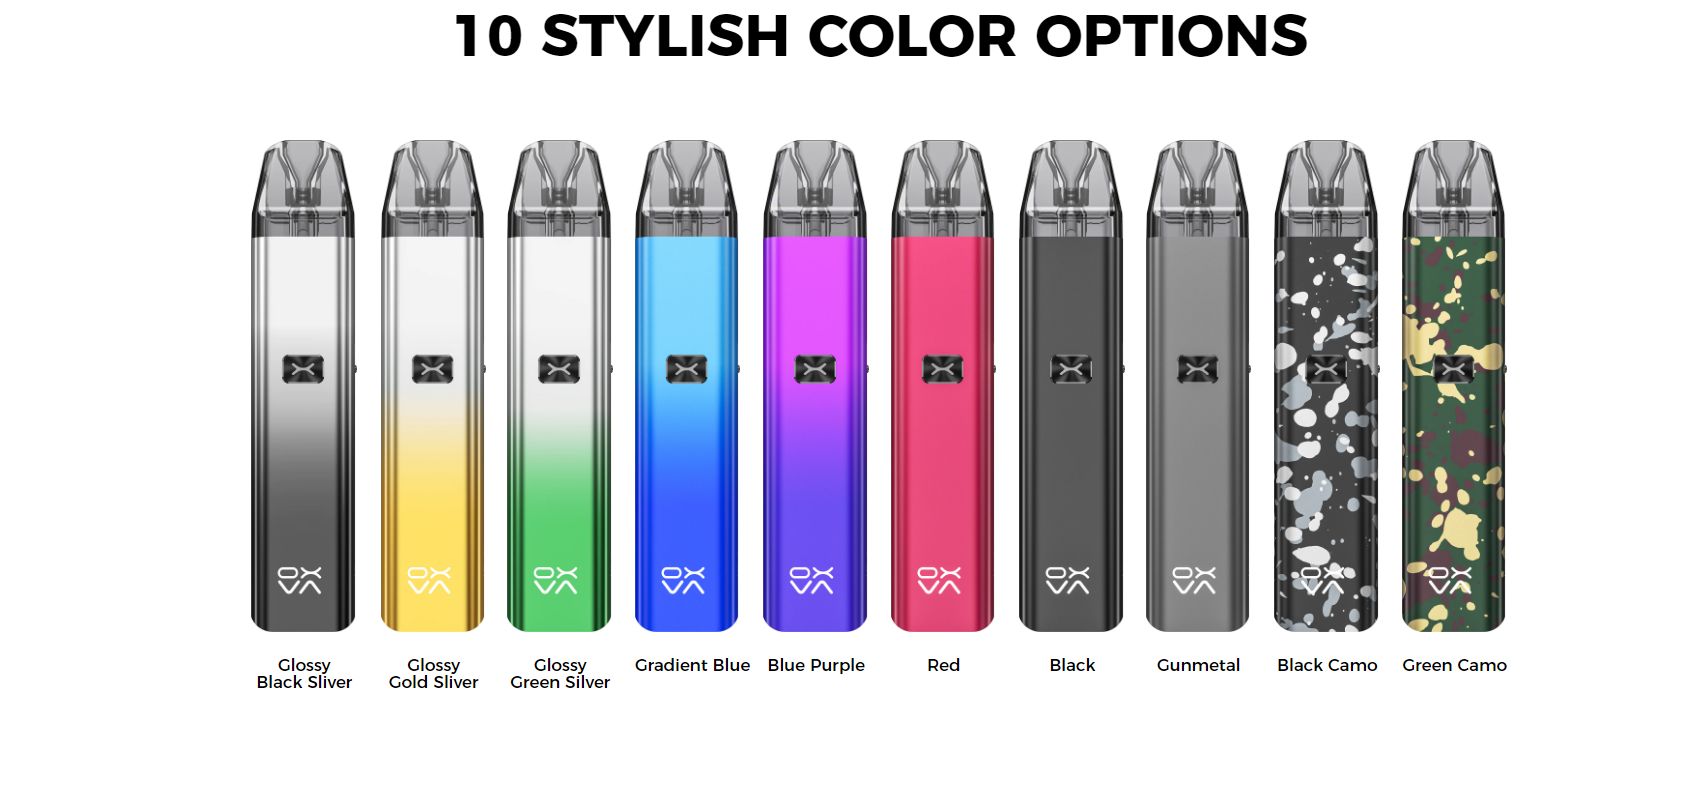
Color: Glossy Black Silver, Glossy Gold Silver, Gradient Blue, Blue Purple, Red, Black, Gunmetal, Black Camo, Green Camo
FEATURES
1. Highly leak-resistant
2. 25W max output power
3. 900mAh built-in battery
4. Type-C fast charging
5. Compatible with Xlim C coils (0.6ohm&0.8ohm&1.2ohm)
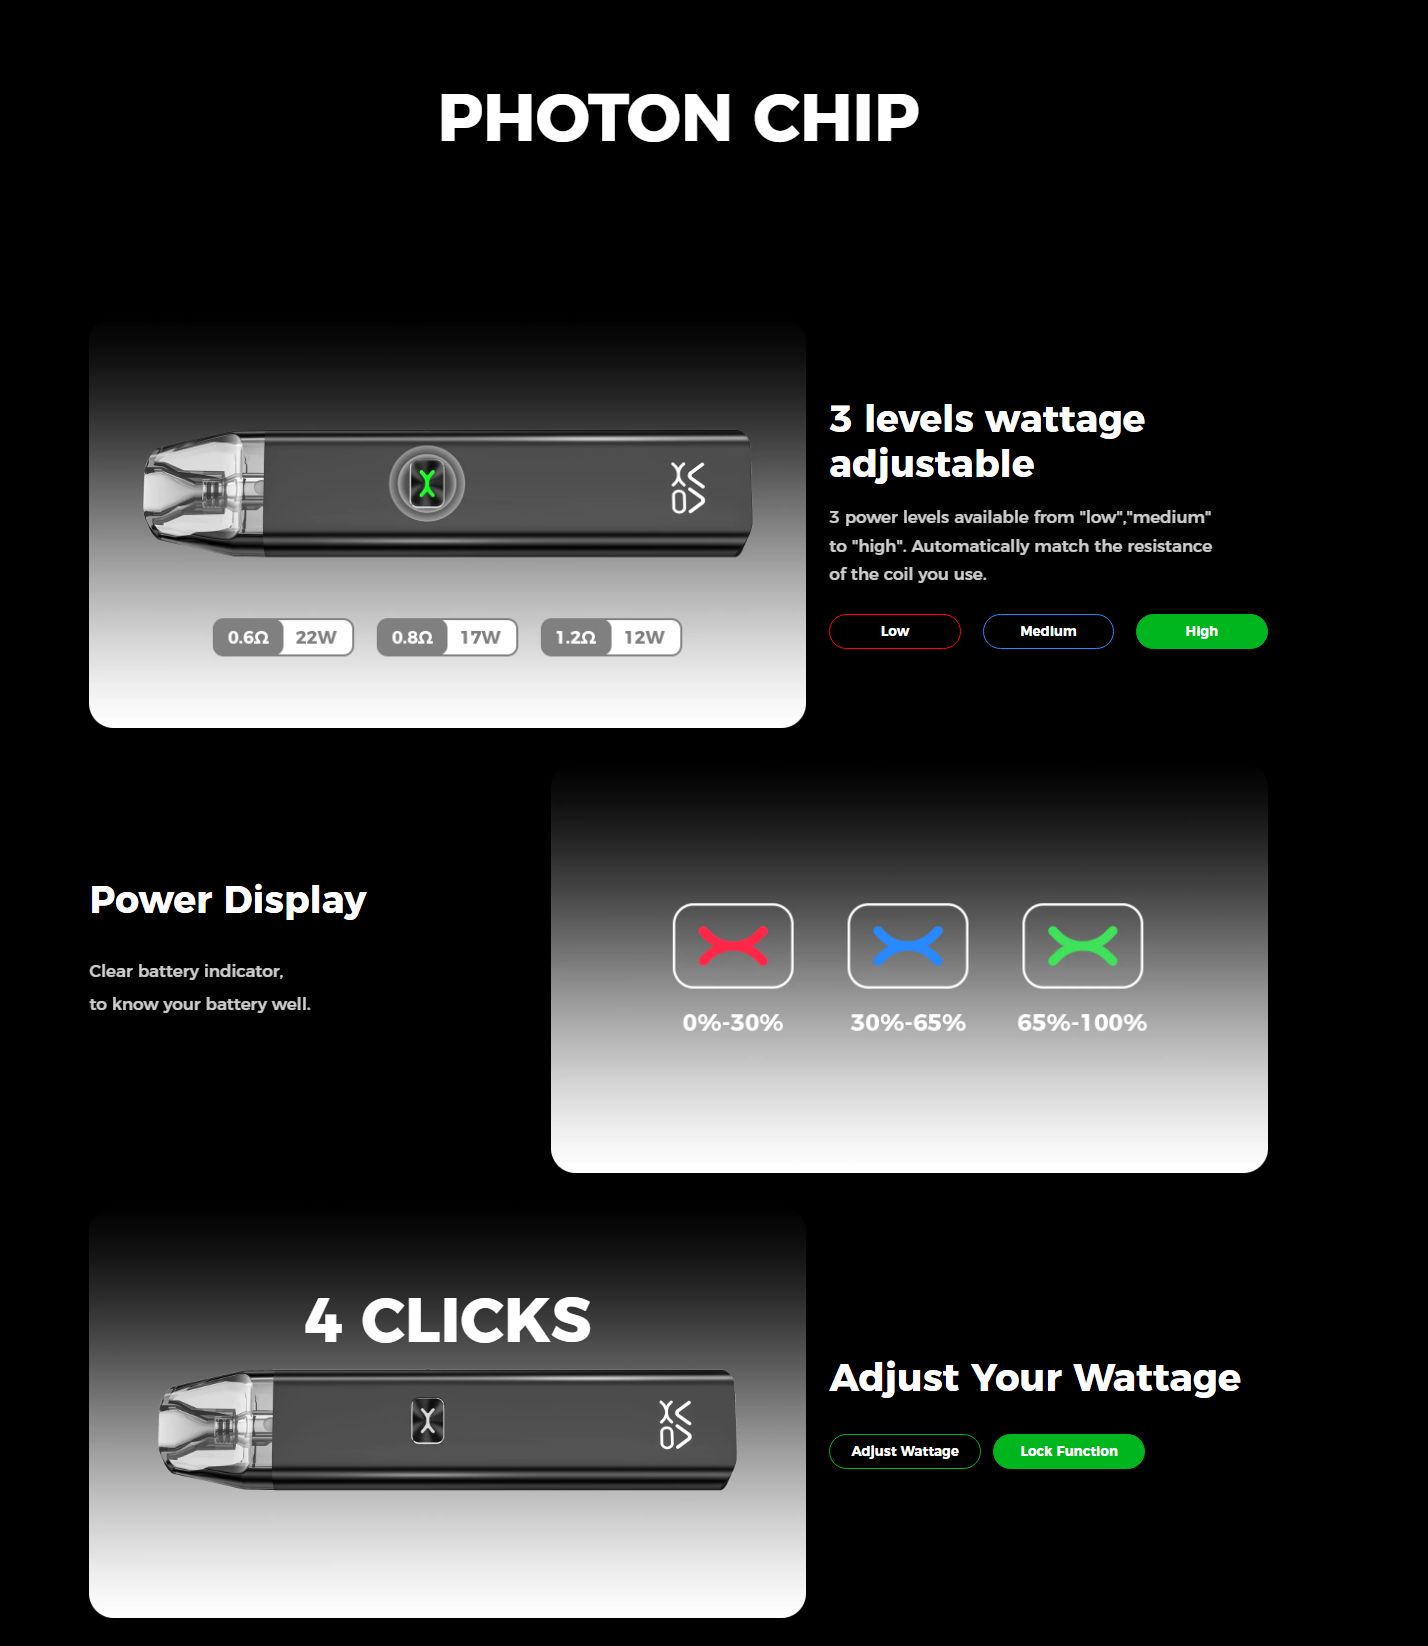
6. 3-level adjustable wattage: Low, Medium, and And High
7. Button & auto-draw
8. Provides RDL & MTL vaping
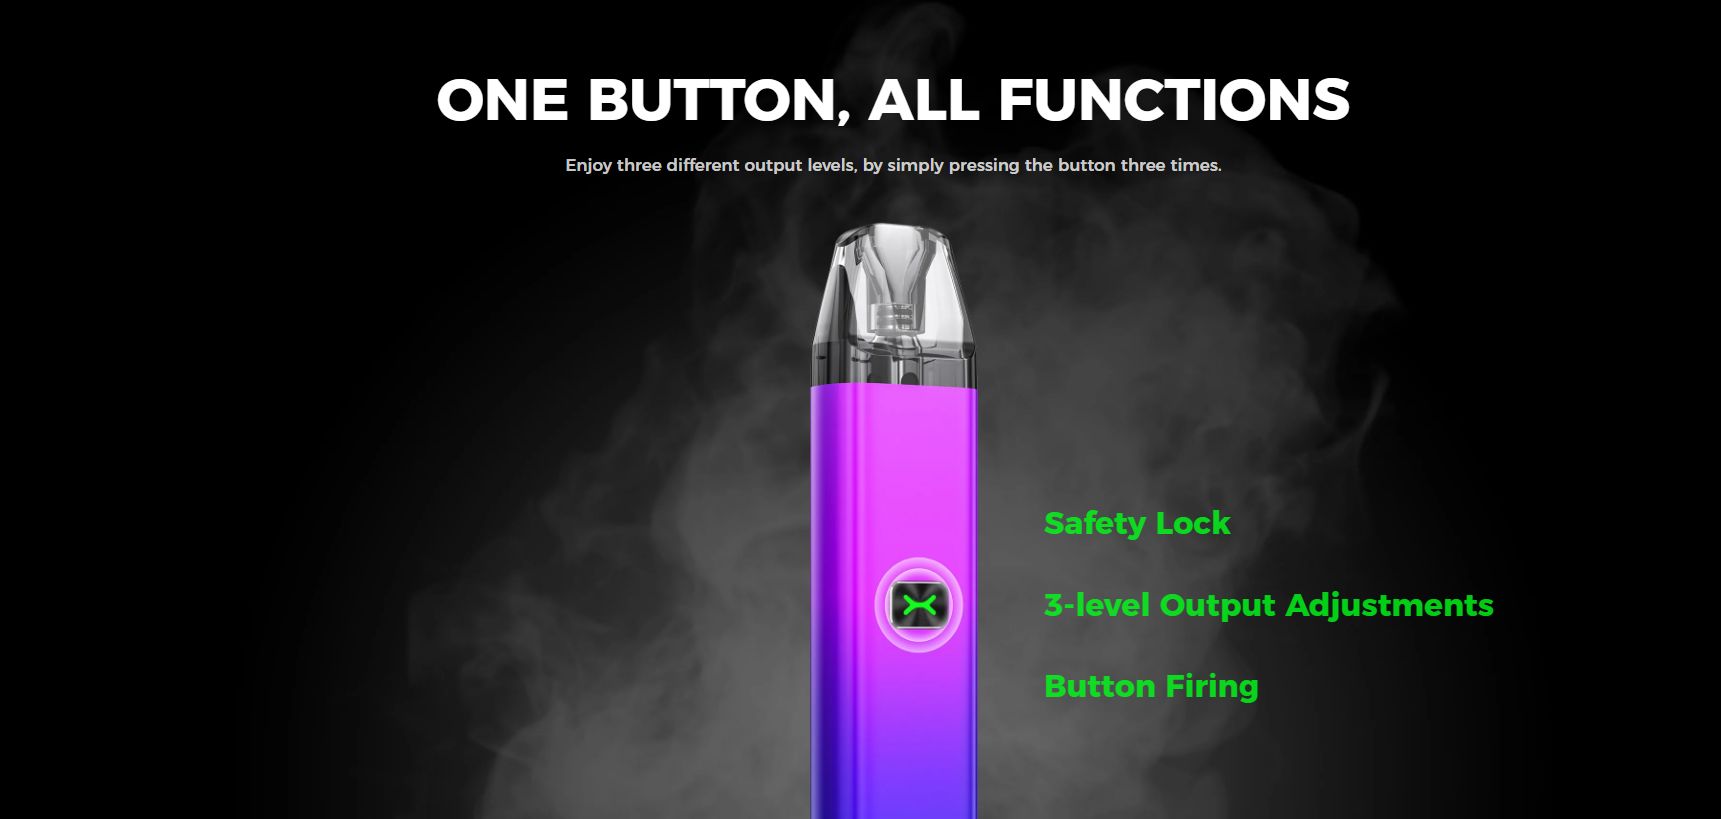
9. One button for all functions
10. Clear battery indicator


INITIAL THOUGHTS:
The packaging for the Xlim C is quite like what you might expect from a pod device from Oxva. It comes in a green box with silver writing that does a nice job of standing out. The front has a clear window that allows you to see the device inside. If you read many of my reviews then you know that I like this type of packaging. The front also alerts you to the fact that there is a free lanyard included if you like that sort of thing.
The back side of the package gives a brief description of the Xlim C and a list of contents. There is also social media links, company information, an authenticity code, and a bar code listing the version of the device. As you can see, I received the black camo version for this review. I had requested two samples so that I could test the two different coils side by side but that evidently was not able to happen.


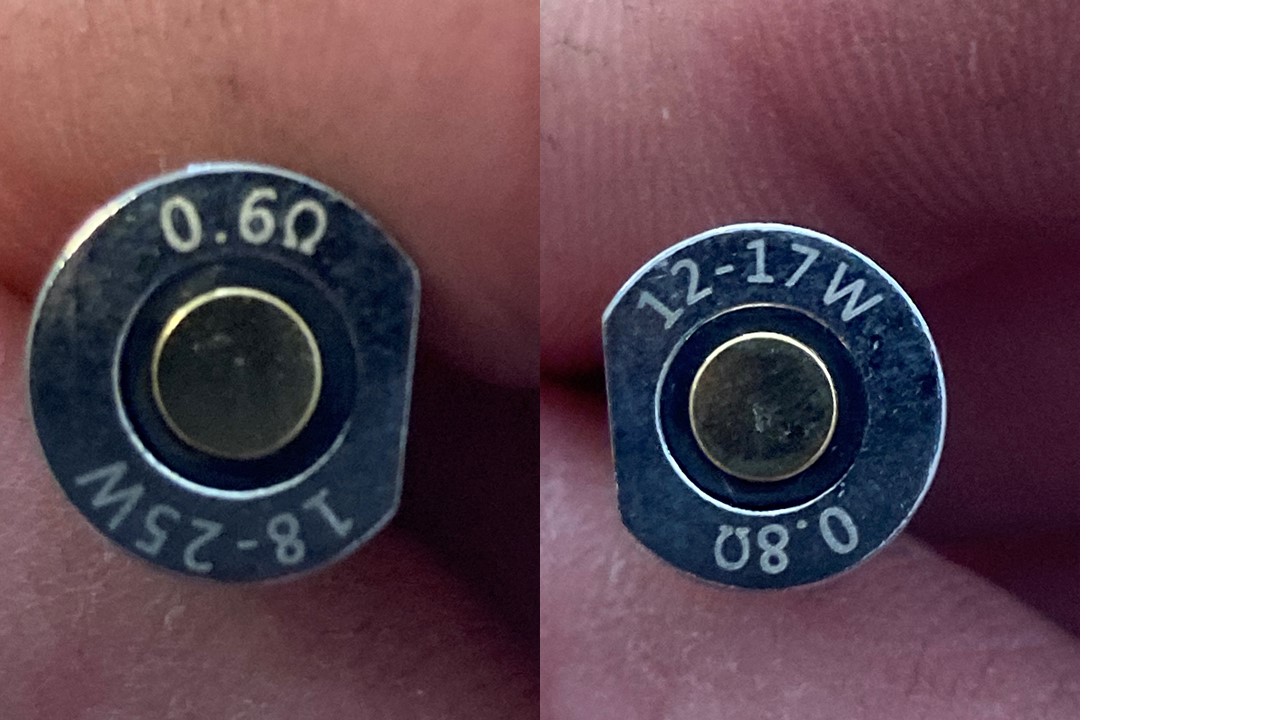
The Xlim C kit includes the device with the pod pre-installed but no coil inside the pod. After removing the plastic tray from the box there is a smaller white box underneath the tray that contains the user manual, two coils sealed in foil packs, an Oxva lanyard, and a USB-C charging cable. The coils included in the kit are the new Xlim C coils which are actually available in three different resistance ratings but included in the kit are the .6 and .8 ohm versions with an optional 1.2 ohm coil available for separate purchase. The .6 ohm coil is rated for 18-25 watts while the .8 ohm coil is rated for 12-17 watts.
The coils have an interesting design to me. The shape kind of reminds me of a bullet. It not only has double o rings at the bottom around the airflow inlet but also has double o rings at the top of the coils to assist in preventing leaking.


The Xlim V2 pods are not interchangeable with the Xlim C. It might have been nice if the people that already had the Xlim devices could have used these new pods with replaceable coils thus cutting down on waste when throwing away an entire pod when it is spent.
The coils for the Xlim C are a simple push in style coil. One side of the coils is flat and that must be aligned with the flat on the bottom of the pod. There is also an arrow on the bottom of the pod showing the side to point the flat toward. The bottom of the pod has the usual two magnets to hold it in place securely in the battery portion.
I usually don’t have very good fingernails and the rubber plug that must be lifted to fill the pod was a little difficult for me to get a grip on. The side of the flap that you need to lift is almost too recessed. I understand it has to fit flush to go into the opening in the battery but was just a bit too recessed in my opinion.


The battery portion of the Xlim C has a single button on the front with an X on it that illuminates when firing or charging the unit. Near the bottom of that same side is the Oxva logo. The single button has a few different features. When you take a puff it illuminates to show the battery level in green, blue, or red. The button operation is as follows.


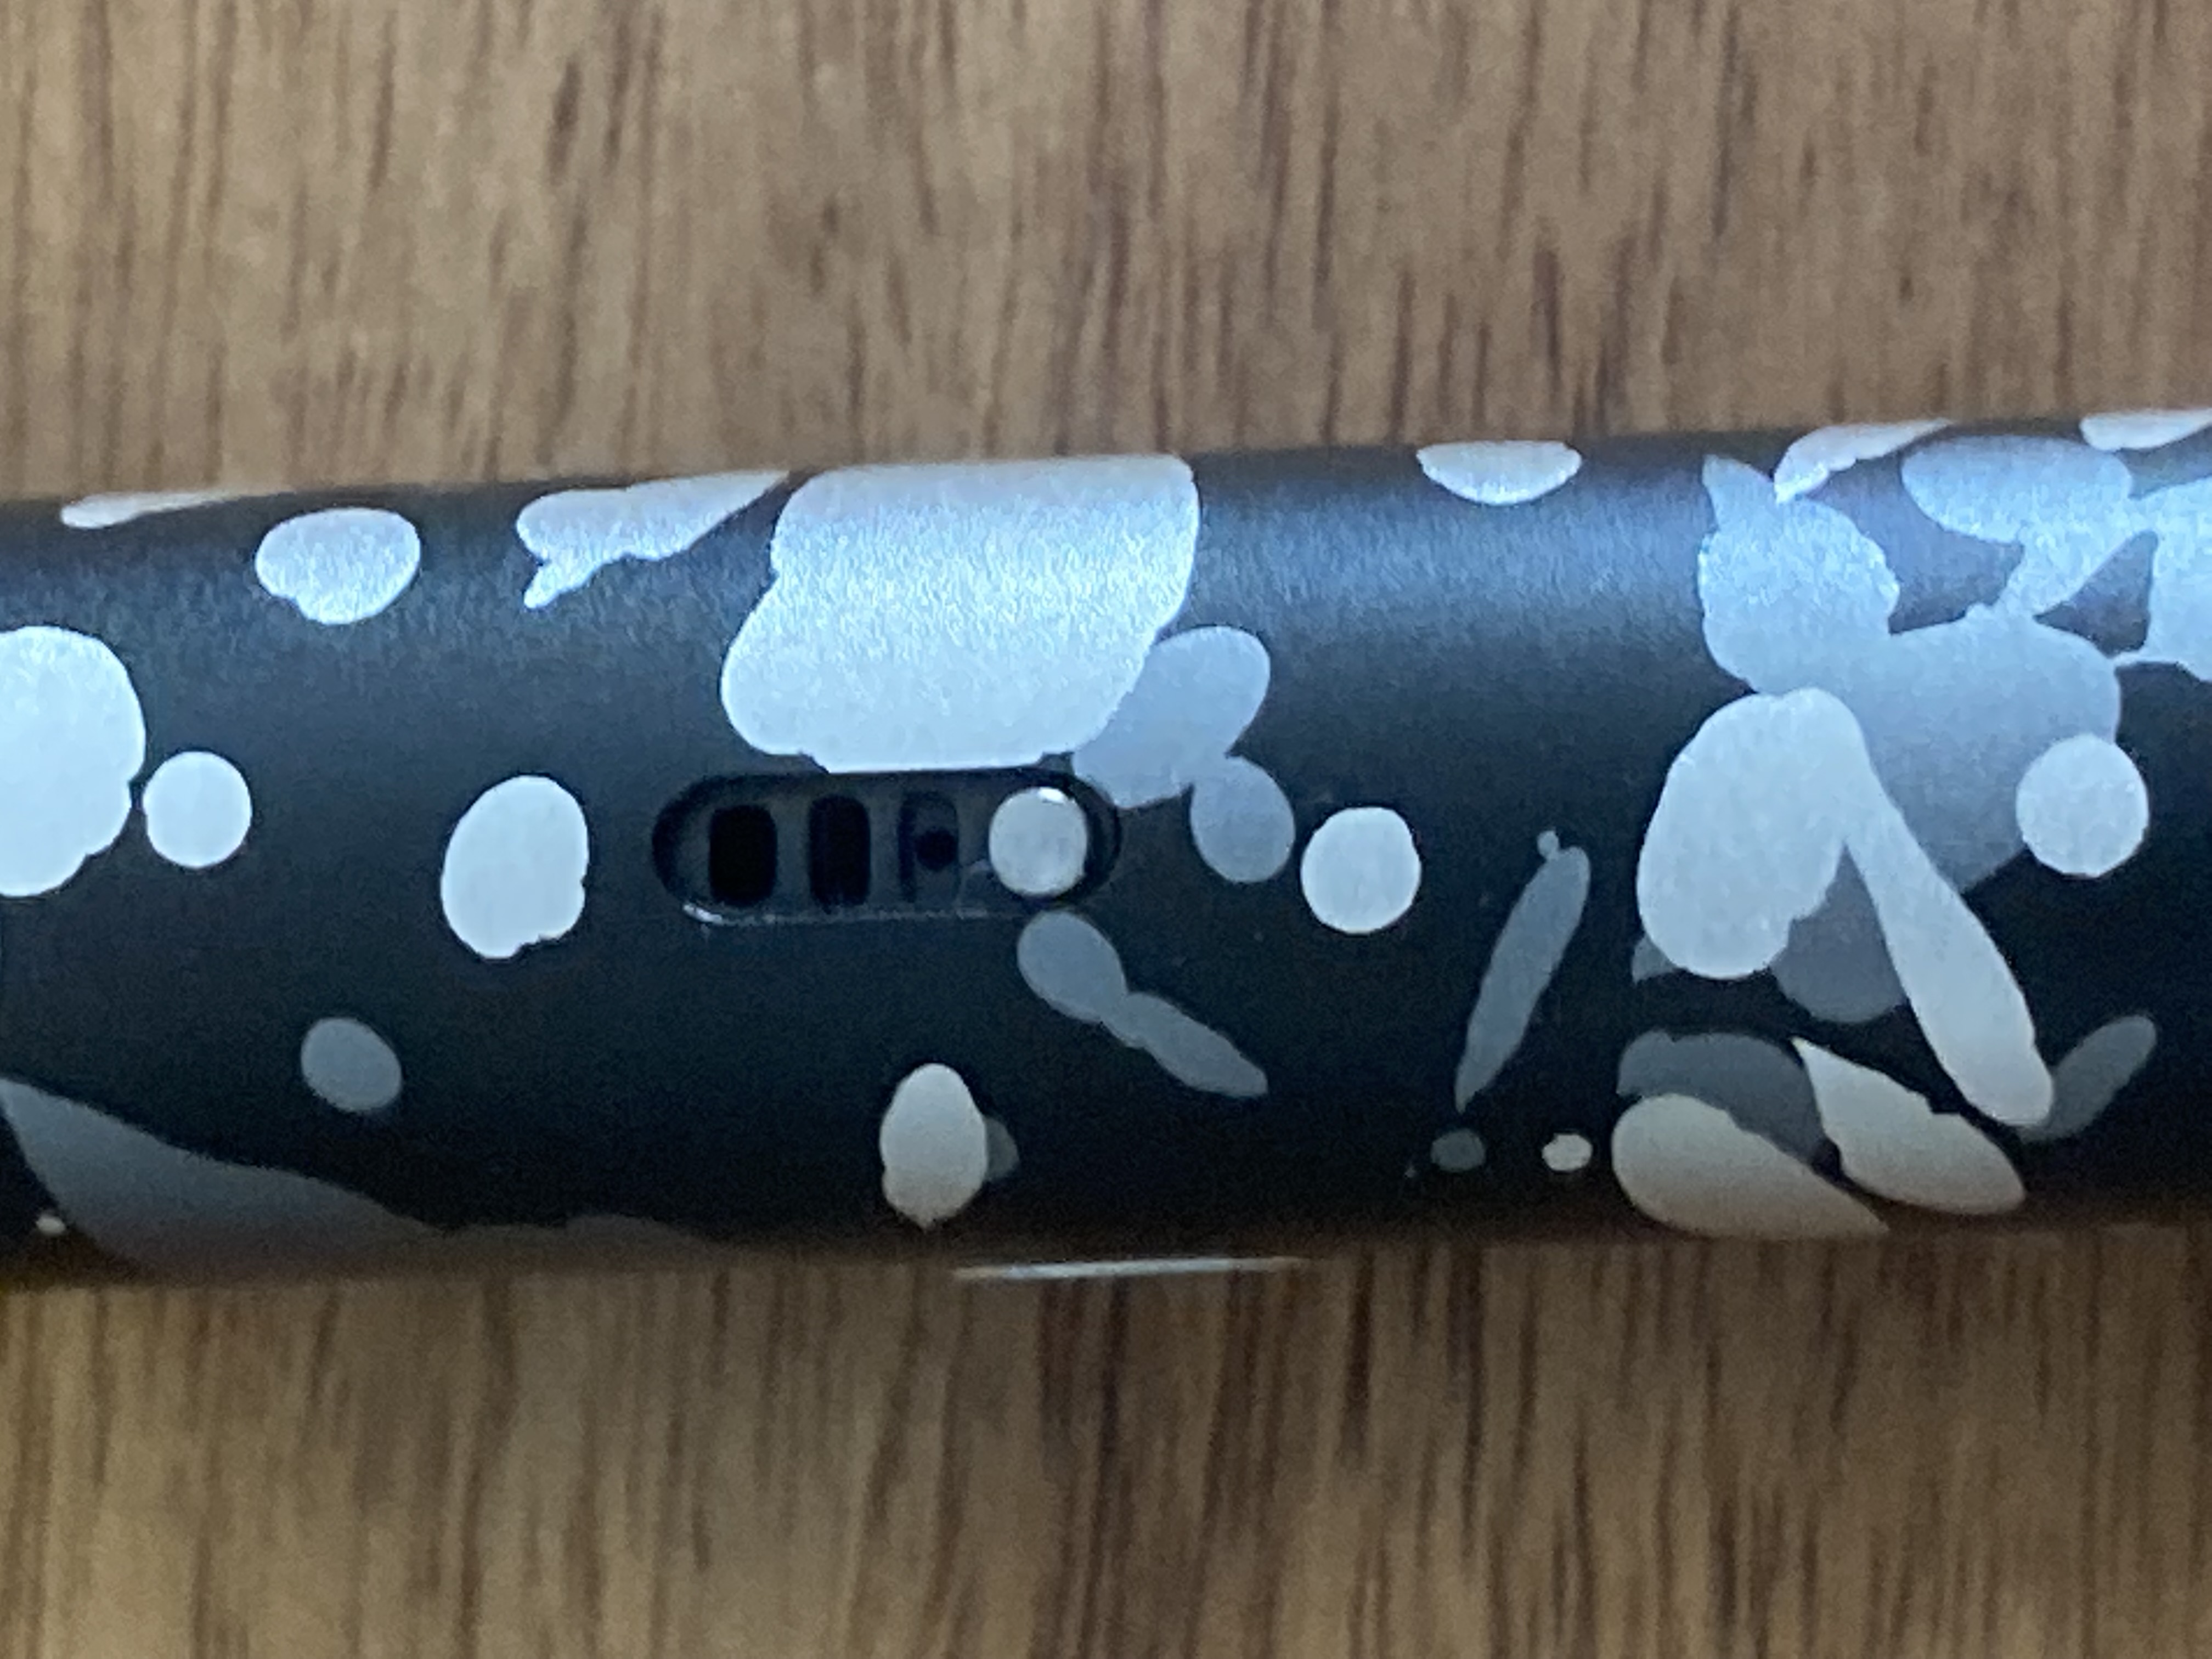
On one side of the Xlim C is the sliding airflow adjustment. Might sound silly but the black camo is done so well that to me it almost makes the airflow adjuster hard to see. There are three holes in the adjuster to allow the user to go from a fairly restrictive direct lung to an MTL vape. Also on that same side is the Xlim C name near the bottom of the mod.

The bottom of the Xlim C is where you will find the USB-C charging port rated for 5V/2A and is able to charge the 900mah battery in about 30 minutes.

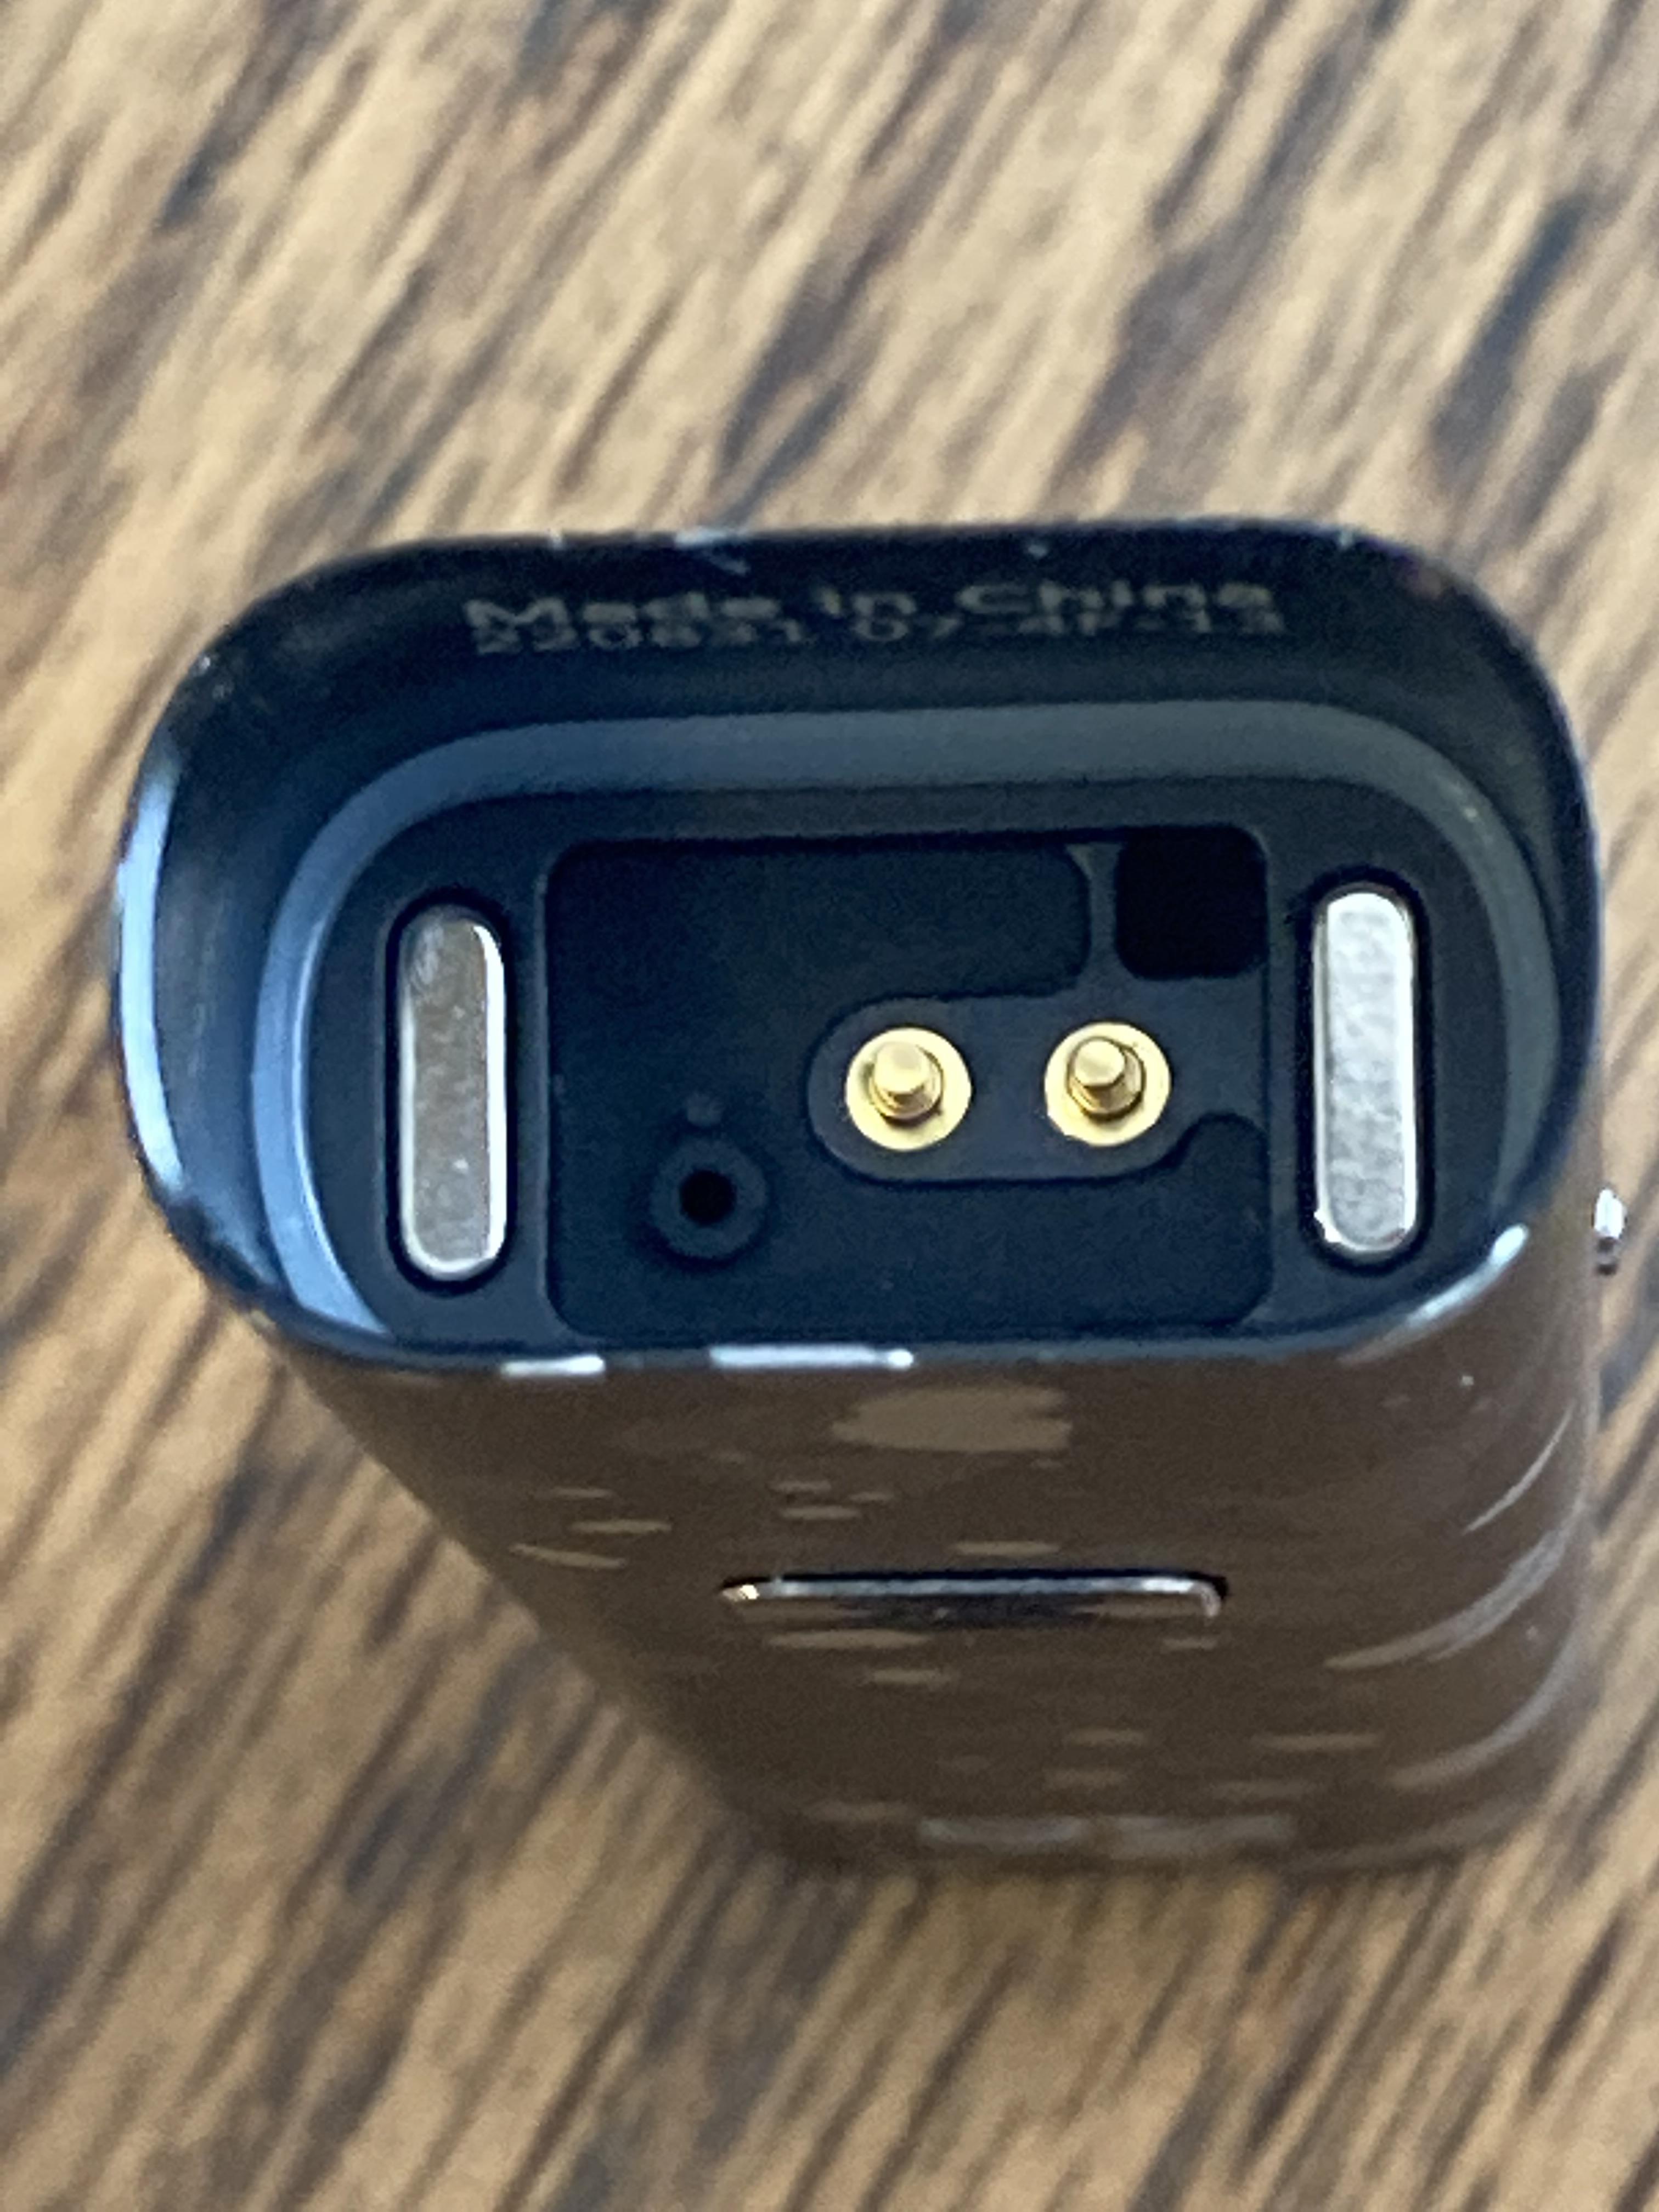
The pod opening on the Xlim C has two magnets, two spring loaded gold plated contacts, and the usual raised airflow sensor opening. Also on the top right of the picture below you can see the fairly large airflow opening that feeds the airflow via the airflow adjuster on the side of the battery.
FINAL THOUGHTS:
I would call the Oxva Xlim C a full featured pod device compared to most of the pods that I have been receiving for review and there has been a lot of them lately. I think the 900mah battery capacity is decent but would never turn down a little higher capacity. I like that the battery can be charged in as little as 30 minutes.
I started out testing the Xlim C by plugging it in and making sure it was fully charged. While that was taking place I went ahead and primed the .6 ohm coil, installed it in the single pod included, and filled the pod so the coil could get fully saturated before using it. The .6 coil I believe is designed to be used in an RDL type of vaping scenario so made sure the airflow control was completely open. I know everyone likes different things but felt like the airflow with this coil hit that awkward spot for me where it is too loose for MTL and a little too tight for RDL. I did try closing the airflow some but it made the vapor warmer than I like even though I tried it in all three power levels. Normally I would like a coil close to this resistance but for the maximum amount of airflow available it wasn’t a good fit for me personally. A little more airflow and it would have been perfect.
After a couple days of use with the .6 ohm coil, I went ahead and switched out to the .8 ohm coil with the same RY4 cream liquid that I used with the first coil. I use other pods with .8 ohm coils/pods so had a feeling this one was going to be a better fit for me. I closed down the airflow so just two holes were open and it was a good fit for me. I tried it in all three power levels and could honestly use this coil in any of the three and be happy with it. The change in power levels is noticeable but not drastic. Both coils produced good flavor and a fair amount of vapor for a pod device. I just needed a little more air for the .6 ohm coil.
So, would I recommend the Oxva Xlim C for you? I think I would. It is still a small pocket friendly pod device but is packed with extra features that aren’t found on that many pod devices. The flavor and vapor production are respectable and the device itself is nice looking in my opinion.
I’d like to thank Oxva and Jocelyn for sending the Oxva Xlim C for this review. As always, a big thank you to the readers. I’ll see you on the next review. Below is a link to the website if you’d like to take a look around the Oxva website.
xlimc – OXVA
WHAT’S IN THE BOX?
1* Xlim C Device
1* Xlim C Cartridge 2ml
1* Xlim C Coil 0.6ohm
1* Xlim C Coil 0.8ohm
1* Type-C Cable
1* Lanyard
1* User Manual
SPECIFICATIONS:
Cartridge Capacity: 2ml
Resistance Range: 0.45ohm-3.0ohm
Compatible Coil: 0.6ohm/0.8ohm/1.2ohm KA1 mesh coil
Filling Type: Side filling
Output Power Max: 25W
Battery Capacity: 900mAh
Charging: Type-C, 5V/2A
Material: Aluminum alloy + PCTG
Device Size: 114.5*14*24mm
Color: Glossy Black Silver, Glossy Gold Silver, Gradient Blue, Blue Purple, Red, Black, Gunmetal, Black Camo, Green Camo
FEATURES
1. Highly leak-resistant
2. 25W max output power
3. 900mAh built-in battery
4. Type-C fast charging
5. Compatible with Xlim C coils (0.6ohm&0.8ohm&1.2ohm)
6. 3-level adjustable wattage: Low, Medium, and And High
7. Button & auto-draw
8. Provides RDL & MTL vaping
9. One button for all functions
10. Clear battery indicator
INITIAL THOUGHTS:
The packaging for the Xlim C is quite like what you might expect from a pod device from Oxva. It comes in a green box with silver writing that does a nice job of standing out. The front has a clear window that allows you to see the device inside. If you read many of my reviews then you know that I like this type of packaging. The front also alerts you to the fact that there is a free lanyard included if you like that sort of thing.
The back side of the package gives a brief description of the Xlim C and a list of contents. There is also social media links, company information, an authenticity code, and a bar code listing the version of the device. As you can see, I received the black camo version for this review. I had requested two samples so that I could test the two different coils side by side but that evidently was not able to happen.
The Xlim C kit includes the device with the pod pre-installed but no coil inside the pod. After removing the plastic tray from the box there is a smaller white box underneath the tray that contains the user manual, two coils sealed in foil packs, an Oxva lanyard, and a USB-C charging cable. The coils included in the kit are the new Xlim C coils which are actually available in three different resistance ratings but included in the kit are the .6 and .8 ohm versions with an optional 1.2 ohm coil available for separate purchase. The .6 ohm coil is rated for 18-25 watts while the .8 ohm coil is rated for 12-17 watts.
The coils have an interesting design to me. The shape kind of reminds me of a bullet. It not only has double o rings at the bottom around the airflow inlet but also has double o rings at the top of the coils to assist in preventing leaking.
The Xlim V2 pods are not interchangeable with the Xlim C. It might have been nice if the people that already had the Xlim devices could have used these new pods with replaceable coils thus cutting down on waste when throwing away an entire pod when it is spent.
The coils for the Xlim C are a simple push in style coil. One side of the coils is flat and that must be aligned with the flat on the bottom of the pod. There is also an arrow on the bottom of the pod showing the side to point the flat toward. The bottom of the pod has the usual two magnets to hold it in place securely in the battery portion.
I usually don’t have very good fingernails and the rubber plug that must be lifted to fill the pod was a little difficult for me to get a grip on. The side of the flap that you need to lift is almost too recessed. I understand it has to fit flush to go into the opening in the battery but was just a bit too recessed in my opinion.
The battery portion of the Xlim C has a single button on the front with an X on it that illuminates when firing or charging the unit. Near the bottom of that same side is the Oxva logo. The single button has a few different features. When you take a puff it illuminates to show the battery level in green, blue, or red. The button operation is as follows.
- Press the fire button 5X to turn the device on/off
- Press the fire button 4X to deactivate the fire button so it is an auto draw only operation
- Press the fire button 3X to switch between the three available power levels which are Green(high), Blue(medium), and Red(low)
- Vape over 8 seconds = Red light flashes 3 times and stops working
- High Temperature = Red light flashes 5 times and stops working
- Low Battery = Red light flashes 10 times
- Short circuit = Red light flashes 3 times
- Green light = 65-100%
- Blue light = 30-65%
- Red light = <30%
On one side of the Xlim C is the sliding airflow adjustment. Might sound silly but the black camo is done so well that to me it almost makes the airflow adjuster hard to see. There are three holes in the adjuster to allow the user to go from a fairly restrictive direct lung to an MTL vape. Also on that same side is the Xlim C name near the bottom of the mod.
The bottom of the Xlim C is where you will find the USB-C charging port rated for 5V/2A and is able to charge the 900mah battery in about 30 minutes.
The pod opening on the Xlim C has two magnets, two spring loaded gold plated contacts, and the usual raised airflow sensor opening. Also on the top right of the picture below you can see the fairly large airflow opening that feeds the airflow via the airflow adjuster on the side of the battery.
FINAL THOUGHTS:
I would call the Oxva Xlim C a full featured pod device compared to most of the pods that I have been receiving for review and there has been a lot of them lately. I think the 900mah battery capacity is decent but would never turn down a little higher capacity. I like that the battery can be charged in as little as 30 minutes.
I started out testing the Xlim C by plugging it in and making sure it was fully charged. While that was taking place I went ahead and primed the .6 ohm coil, installed it in the single pod included, and filled the pod so the coil could get fully saturated before using it. The .6 coil I believe is designed to be used in an RDL type of vaping scenario so made sure the airflow control was completely open. I know everyone likes different things but felt like the airflow with this coil hit that awkward spot for me where it is too loose for MTL and a little too tight for RDL. I did try closing the airflow some but it made the vapor warmer than I like even though I tried it in all three power levels. Normally I would like a coil close to this resistance but for the maximum amount of airflow available it wasn’t a good fit for me personally. A little more airflow and it would have been perfect.
After a couple days of use with the .6 ohm coil, I went ahead and switched out to the .8 ohm coil with the same RY4 cream liquid that I used with the first coil. I use other pods with .8 ohm coils/pods so had a feeling this one was going to be a better fit for me. I closed down the airflow so just two holes were open and it was a good fit for me. I tried it in all three power levels and could honestly use this coil in any of the three and be happy with it. The change in power levels is noticeable but not drastic. Both coils produced good flavor and a fair amount of vapor for a pod device. I just needed a little more air for the .6 ohm coil.
So, would I recommend the Oxva Xlim C for you? I think I would. It is still a small pocket friendly pod device but is packed with extra features that aren’t found on that many pod devices. The flavor and vapor production are respectable and the device itself is nice looking in my opinion.
I’d like to thank Oxva and Jocelyn for sending the Oxva Xlim C for this review. As always, a big thank you to the readers. I’ll see you on the next review. Below is a link to the website if you’d like to take a look around the Oxva website.
xlimc – OXVA

