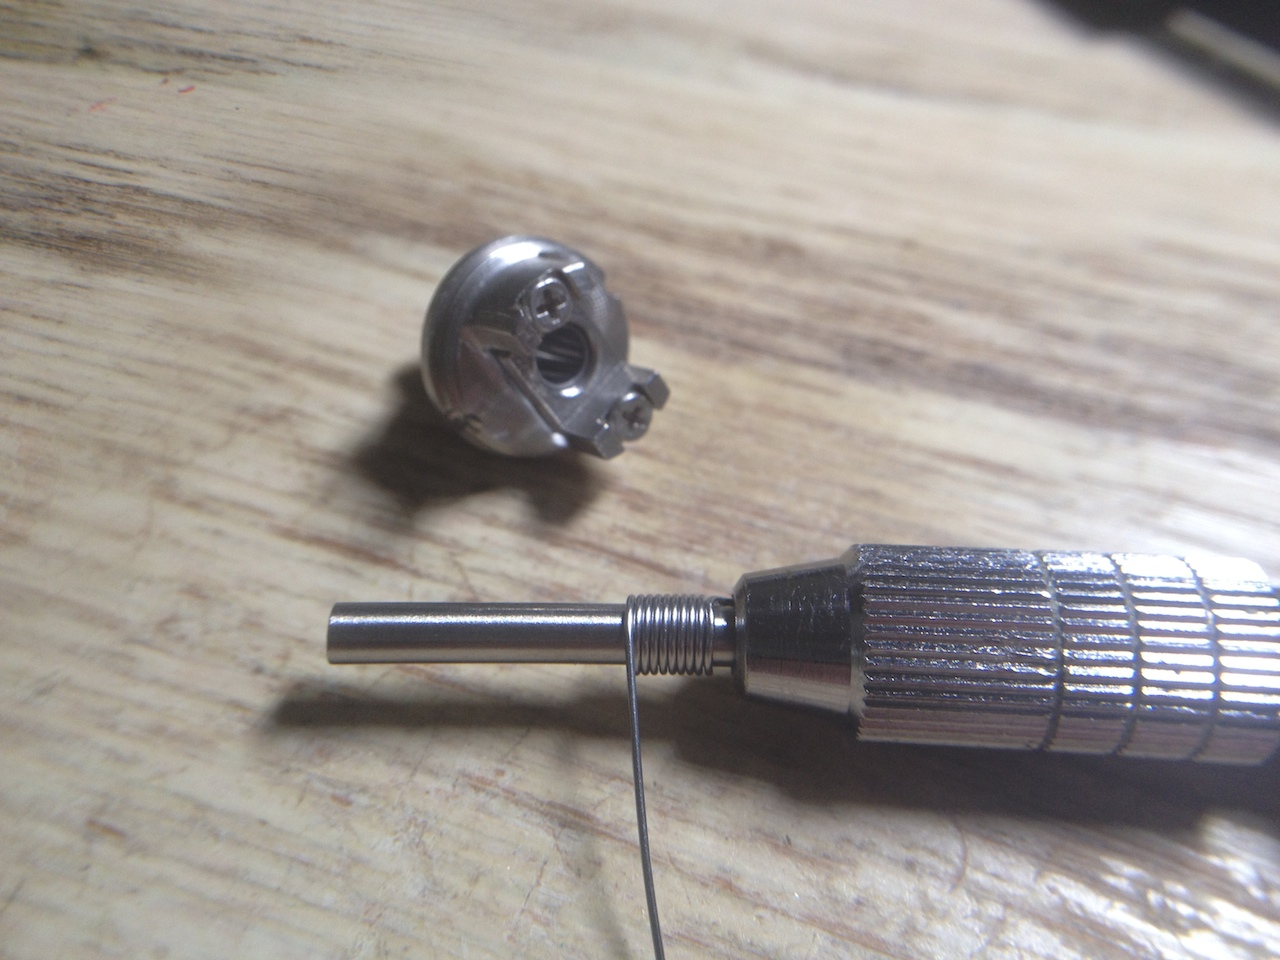
The cover for the deck has two holes drilled on each side, it came with the kit supplied, I ordered one and it is the same. I've already ordered another rba tank and will probably wait for that to arrive before working on it again.
As for the Kanger atomizer I took out I could see it was completely black in there, the atomizer didn't come apart but it didn't work so I ripped it apart, took out the cotton and the coil. The black must have fell off the coil and was completely clean.
I've heard the build up is burnt sugar, first the sugar melts and turns to liquid carmel, continued heating causes the sugar to burn changing it to carbon.
")