BOTTOM FEEDERS= a place for everything modified and/or custom made

Status
Not open for further replies.

Boobsley

Super Member
ECF Veteran
Verified Member
Jul 31, 2016
555
3,066
55
Indiana
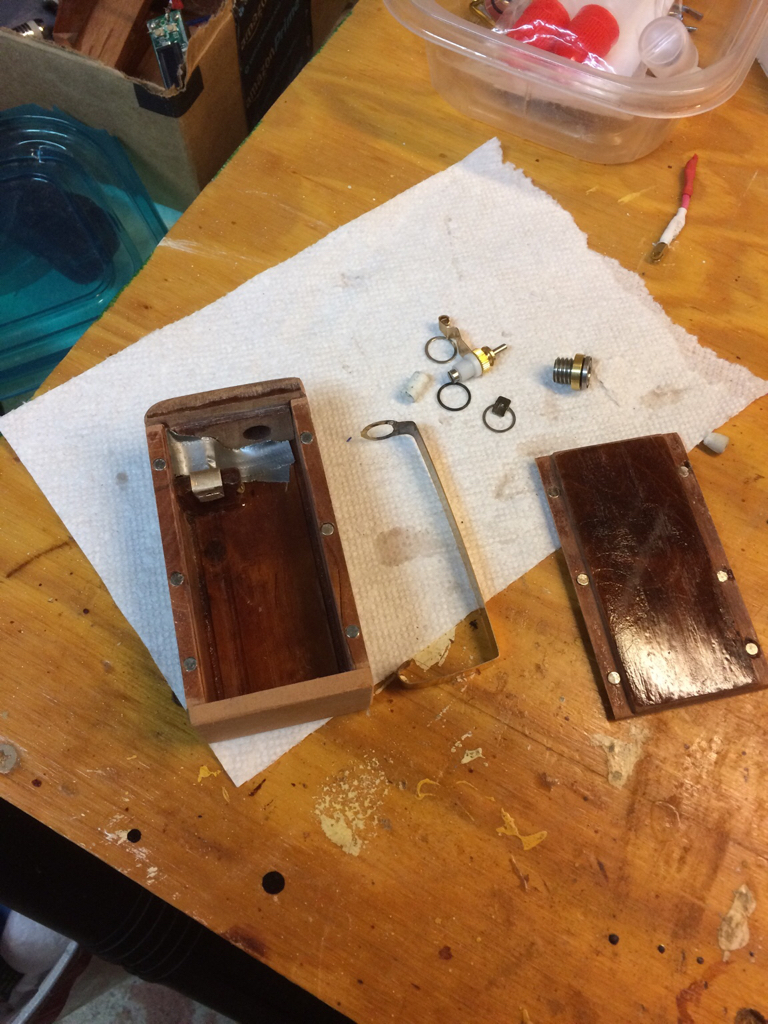
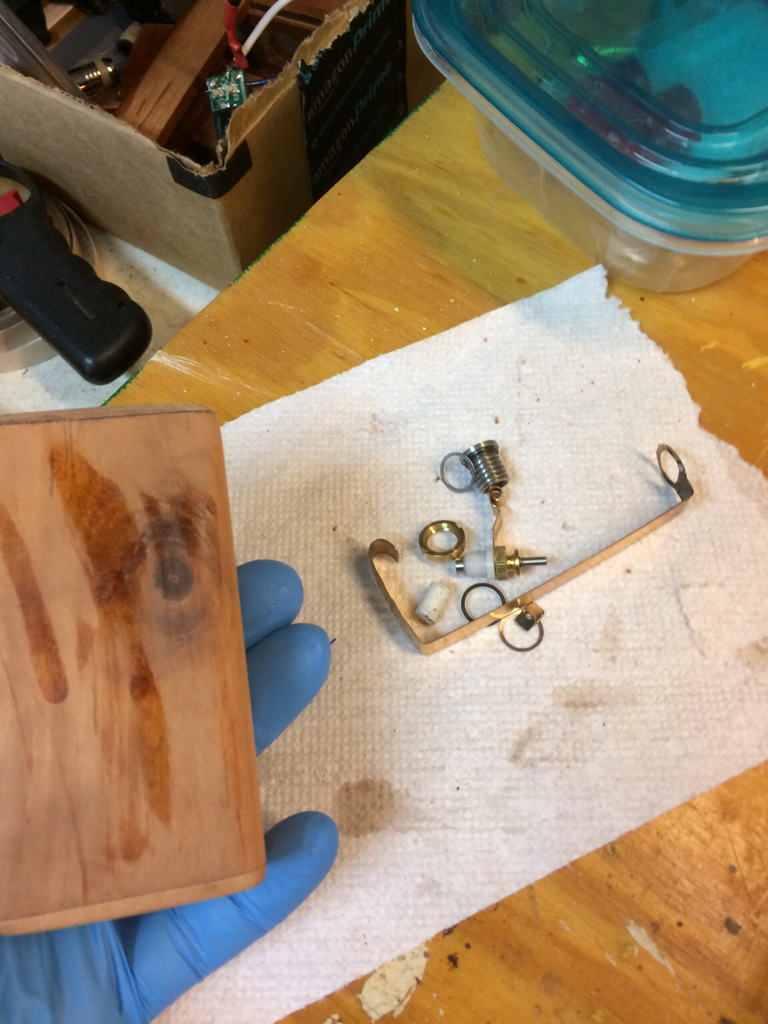
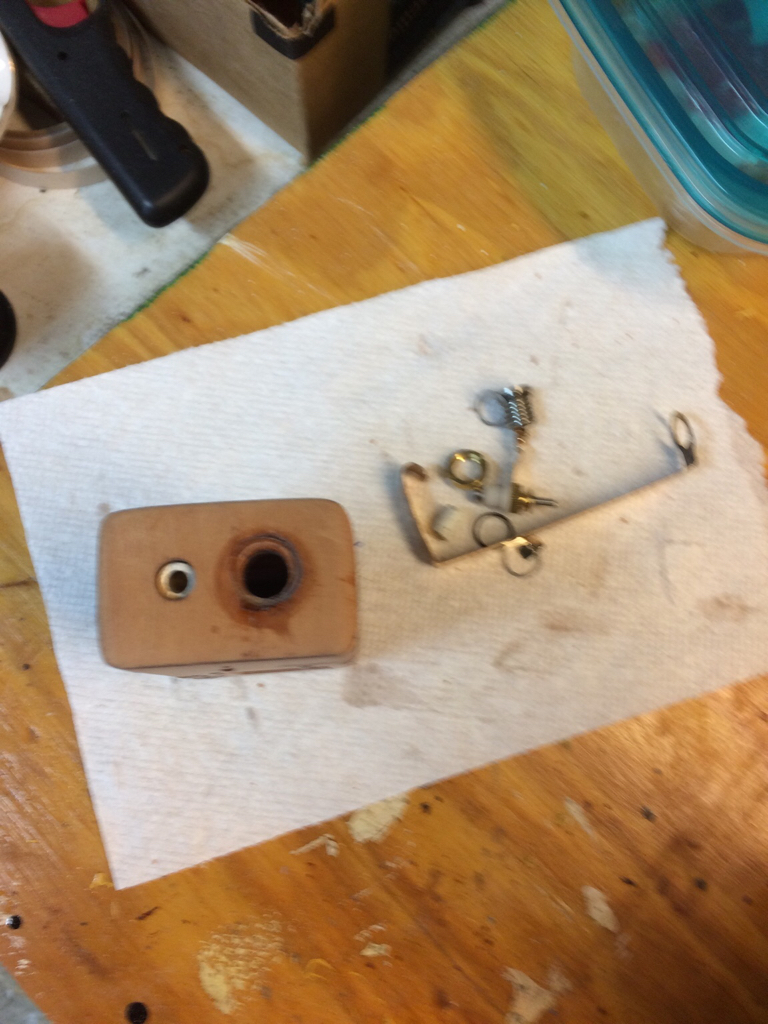
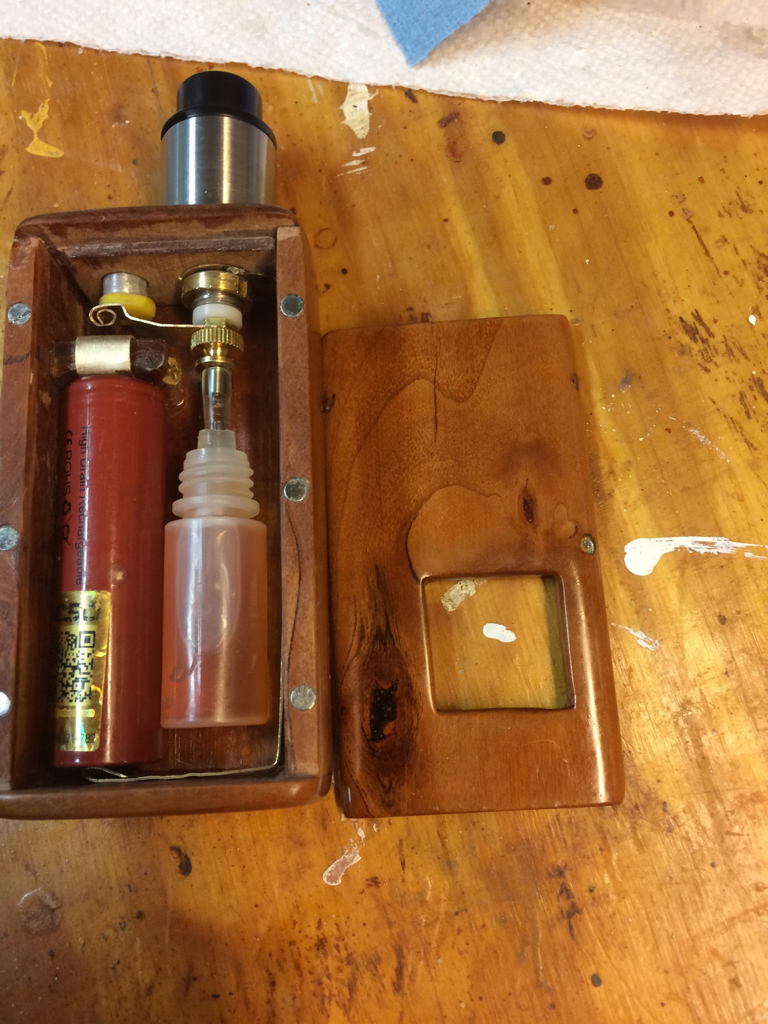
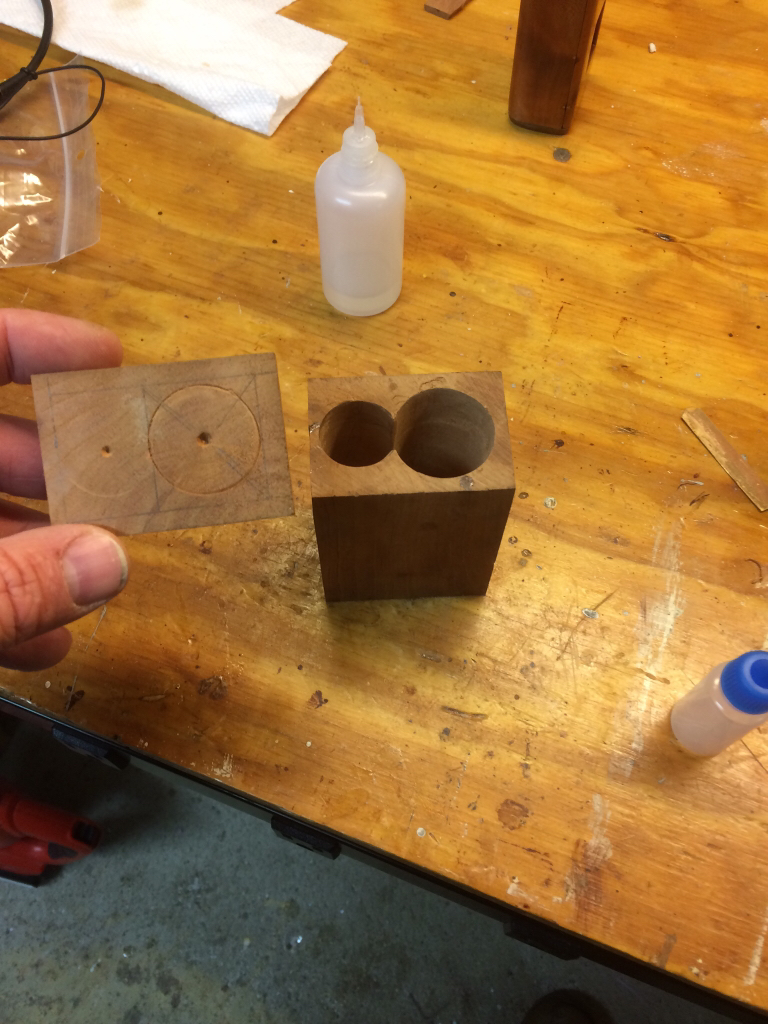
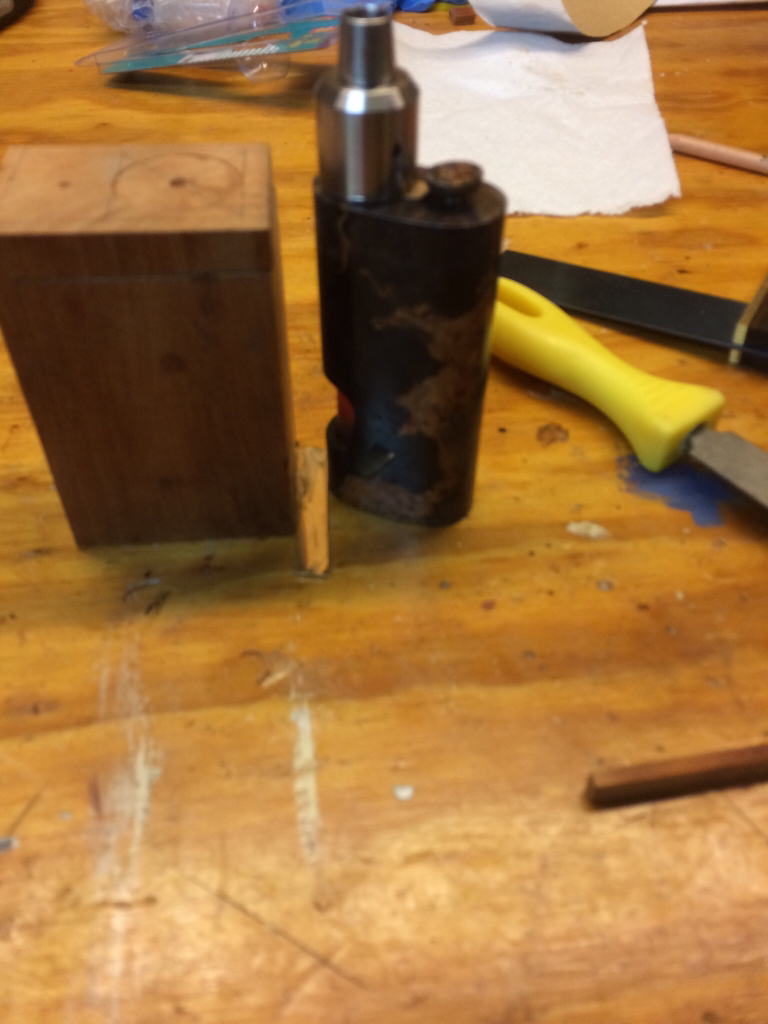
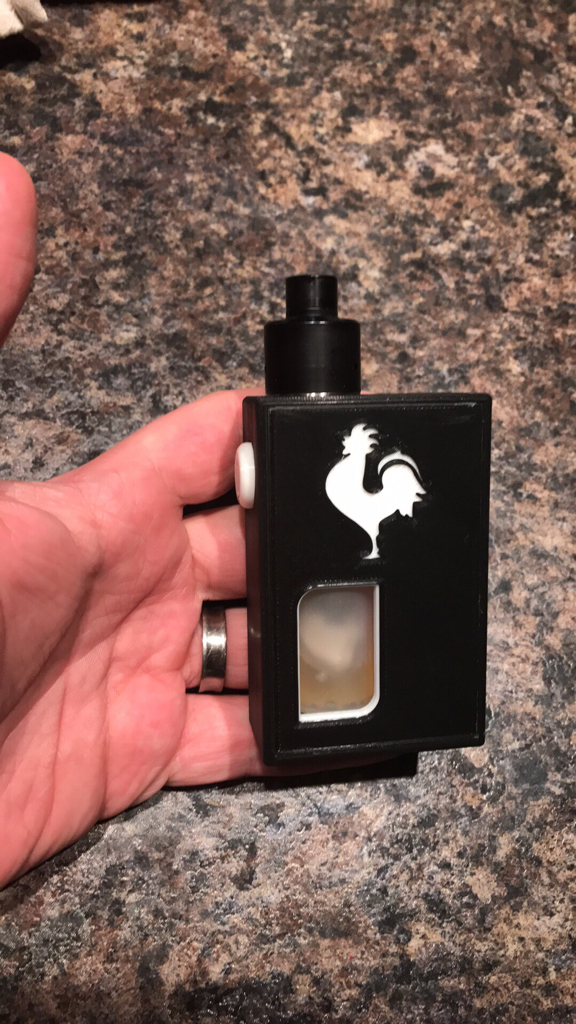
Well, I've been lurking here for a while. Been wanting to try & build a mod. I posted my 1st failed attempt a while back, when I tried to use the board & battery from a tesla I was no longer using. I don't have any regulated squonkers, nor did I use the tesla very long. Anywho, I decided to go ahead and try my hand at a mech. I have a 510 I got from Peter, ordered some Beryllium copper strip on eBay, which took forever to get here. So I've been bangin around in the garage with my little table saw & cordless drill, & came up with this.
6cadfccd0a14c270090877d72b28db20.jpg

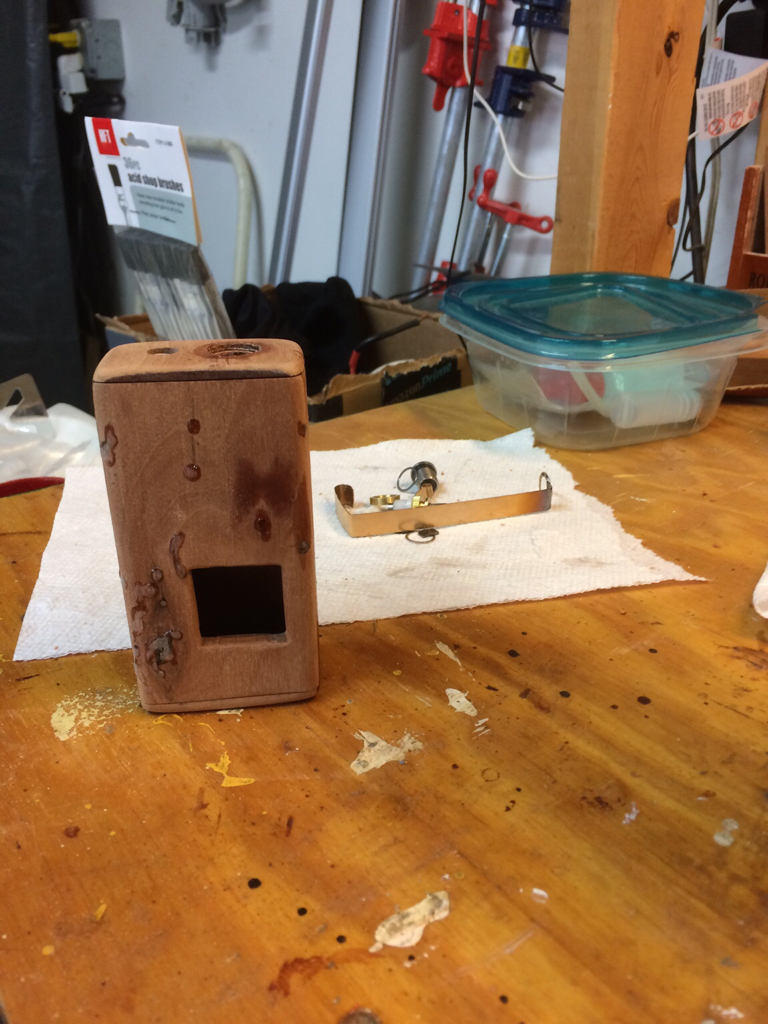
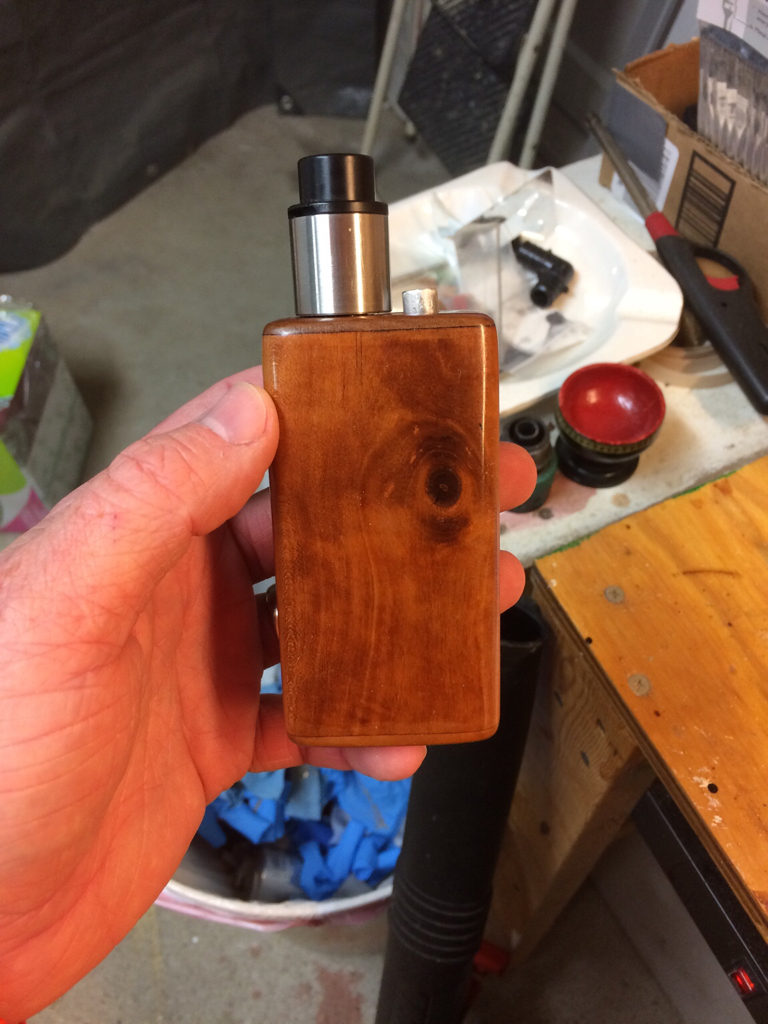
Phone died after that pic, but will post more tomorrow. Still got lots of sanding to do, then finishing before final assembly.
 

ThaFuzz

Ultra Member
ECF Veteran
Verified Member
Oct 18, 2015
1,203
2,908
Virginia Beach
So, i did some stuff this weekend. This is more in depth than ive ever gone into a vape box.
Frankenfake
Made a silver +contact & installed varitube ss bf 510 (manual adjustment)
Opened up the hole for the 510 to fit, modified the vt510 to fit (cut down the -body of the 510, the insulator and the +pin)
2017-01-15 17.58.54.jpg


Coppervape (v3:thumb:)
Got the same ssbf vt510, requiring similar modification (manual mode only as the spring loaded is too tall and loose on the button) i kept the original bottle attachment but it too is modified to take the vt +pin (bored out and cut down the nipple on top of the bottle) made a silver spring for the button
2017-01-16 10.54.44.jpg


Hope yall like, please feel free to comment or question:headbang:
 

Boobsley

Super Member
ECF Veteran
Verified Member
Jul 31, 2016
555
3,066
55
Indiana
Ok here it all done.
c683aa11f173c9f011108bc621a4fc4c.jpg

5caf4358412c9be548d719e493b400ba.jpg

318e1b826bb5d22efbeffc9d5554ce9e.jpg

e4a939854435c4980739478566546900.jpg

It works well, my button is janky, but for now it will do. Any ideas on how to make a better button are welcome.
I bought a harbor freight 8" drill press this weekend, will set it up soon then I want to try a 26650 squonker, maybe top load. Need ideas for contacts.
 

Boobsley

Super Member
ECF Veteran
Verified Member
Jul 31, 2016
555
3,066
55
Indiana
Been working on something new. Kind of cross between a pinch & CC 26650. Slow going, mainly because I'm working it out in my head as I go. Progress pics:
ff904db5d6cfe3dfe3a6bb05dae04899.jpg

aefa9c6c9babadb63dc949874b8d2410.jpg

396790a5ed29479599773d5adf0fb3f8.jpg

Still trying to figure out neg contact. I really want it to stay in place rather than having it attached like the pinch. But I can't seem to work out how to make that happen with a removable top. Also, as with my first mod, struggling with the button & how I will make it. I'll get there though.
 

Aal_

Vaping Master
ECF Veteran
Verified Member
May 5, 2012
7,077
18,611
Toronto
Ok here it all done.
c683aa11f173c9f011108bc621a4fc4c.jpg

5caf4358412c9be548d719e493b400ba.jpg

318e1b826bb5d22efbeffc9d5554ce9e.jpg

e4a939854435c4980739478566546900.jpg

It works well, my button is janky, but for now it will do. Any ideas on how to make a better button are welcome.
I bought a harbor freight 8" drill press this weekend, will set it up soon then I want to try a 26650 squonker, maybe top load. Need ideas for contacts.

Hey Boobsley, your copper nut is upside down i believe.
 

TheWestPole

Ultra Member
ECF Veteran
Verified Member
May 28, 2015
1,486
5,634
Los Angeles
Dual battery big brother for Coppervape.

Haven't done the finishing yet, but the Vertex Triple squonk conversion is working great. Gonna vape it for a few days to make sure there are no problems, finish, then take it apart for detail pics.


imag2323_picmonkeyed-jpg.626483

imag2326_picmonkeyed-jpg.626485

imag2334_picmonkeyed-jpg.626487

I've been using the Vertex squonker for awhile, and have sorted out the little function issues. Turns out the juice seepage issue related to the 510 was easy to permanently fix. Maintenance of the switch surfaces is still needed, but in practice I've found it about par with other mechs in which the current passes through the switch mechanism.

Gonna move ahead and finish it now. I wasn't happy with the appearance of the top surface with the 510 and switch. Ordered some black and tortoise shell colored sheet used for guitar pick guards. Didn't love the look of it for this. Instead I made a 2 mm thick veneer out of some Bocote hardwood I had. Just finished it. Looks kinda quirky together with the very machined looking bare aluminum, but maybe it's the kind of quirky that will grow on me. Sure does feel nicer in the hand than stock. When the stain drys I'll reassemble and take pics of the final result.

IMAG2383_picmonkeyed.jpg
 
Last edited:

Tamer El-Meehy

Vaping Master
ECF Veteran
Verified Member
Jan 30, 2014
3,632
16,108
Cairo, Egypt, Egypt
  • Like
Reactions: TheWestPole

TheWestPole

Ultra Member
ECF Veteran
Verified Member
May 28, 2015
1,486
5,634
Los Angeles
Looks cools West..congrats!!..out of curiosity though how did you solve the 510 seepage? ..which 510 are you using?

Thanks. It's the stock 510 integrated into the white plastic assembly below. The seepage occurs between the copper battery plate, the insulator layer, and the brass 510/switch plate because they are only held together by the nylon mounting screws. All you have to do is bond the three together and the juice has nowhere to go but where it's supposed to. Doing this still allows access to all the electrical contact surfaces for cleaning.


Screenshot 2017-02-05 at 8.10.32 PM.png
 

Tamer El-Meehy

Vaping Master
ECF Veteran
Verified Member
Jan 30, 2014
3,632
16,108
Cairo, Egypt, Egypt
Thanks. It's the stock 510 integrated into the white plastic assembly below. The seepage occurs between the copper battery plate, the insulator layer, and the brass 510/switch plate because they are only held together by the nylon mounting screws. All you have to do is bond the three together and the juice has nowhere to go but where it's supposed to. Doing this still allows access to all the electrical contact surfaces for cleaning.


View attachment 633383

OK but what did you use to bond them together?


Sent from my iPhone using Tapatalk
 
  • Like
Reactions: TheWestPole

TheWestPole

Ultra Member
ECF Veteran
Verified Member
May 28, 2015
1,486
5,634
Los Angeles
OK but what did you use to bond them together?

Loctite professional super glue because of its low viscosity (most epoxy would work though), clamped until fully cured. Afterward I put a few o-rings around the base of the center pin to prevent vaped juice exposure to any remnants of glue.
 

TheWestPole

Ultra Member
ECF Veteran
Verified Member
May 28, 2015
1,486
5,634
Los Angeles
Since getting the Split RDTA ( :wub: ) a couple of months ago, I've been on a tear converting my RDTAs to bottom feed. In order from small to large: Nectar Micro V2, Corolla V1.5, Avocado 22, Avocado 24, Limitless, and Magma Reborn. I generally prefer the smaller ones, but the Avocado 22, the first I converted, has been a happy medium and in constant use.

Last night I converted it's fatter brother by scavenging the unused long center pin from the Corolla kit. Glad to have both siblings squonking away now.


IMAG2444_picmonkeyed.jpg
 
Last edited:
Status
Not open for further replies.

Users who are viewing this thread