Hey All,
I wanted to share this quick and easy fix that I did on my VTR. I bought the VTR when it first came out and loved it. I have very large hands and this thing with both it's weight and size fit perfectly. It was may main mod for about 3 months, then I started to have the connection issue where it would not fire and on top of that the threading started to strip. It became an at home mod getting worse and worse until it went into the project box about 3 months ago.
I began to research fixes for it know that there are a lot of fellow vapers that tinker with things thinking someone had a fix for this. The only really detailed one a found was on the Aussie Vapers Forum. There is a 7 page thread there where a couple of guys dug in, took the VTR apart and fixed it. The process is really long and dirty but the end result is great. If anyone wants to read it here is the link - Quick and dirty VTR fix - Aussie Vapers - dont let the title fool you, it is not quick and easy.
One of they guys in that thread tried using conductive glue. It didn't turn out good for him as the glue would not bond good enough but it did give me an idea. i know of a glue that once applied does not come let go, ever, good old Gorilla Glue.
I decided to see if I could fix the VTR quick and easy. Since the method that they finial came up with involved removing the wheel on the VTR and placing a different connection there, I felt there was nothing lost by trying this method as my VTR was not working as it.
So I picked up a bottle of Gorilla Glue (if you want the brand name I used let me know I would put it here but I do not have the bottle in front of me) and a 510 Airflow Control that I had sitting around the house. I picked up this one from Sweet Vapes a while ago and was not using it.
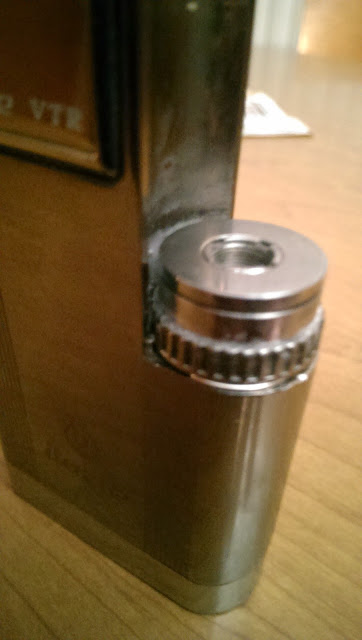
I applied Gorilla Glue to the Controller making sure that the glue did not get on the threads of the Controller. Press and hold for about 10 minutes and then let it sit. 8 hours later I had perfectly working threads. I used the VTR adapter to test my new thread screwing and unscrewing about 100 times to make sure it was going to hold and it did!
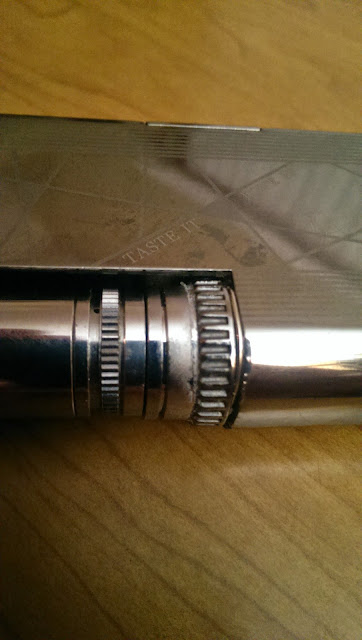
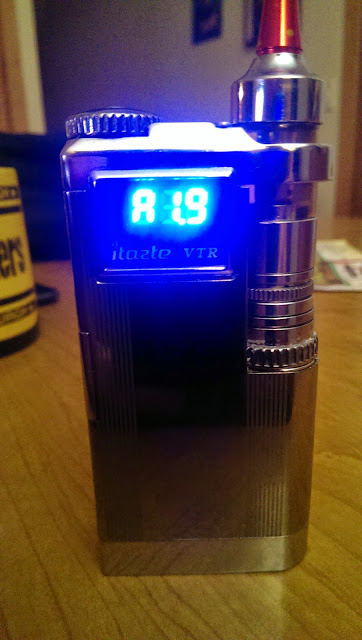
Now to fix the loose connection. I found with mine that I needed to lift the wheel a little to have the connection firm. I had some stiff wire that fit the gap between the wheel and the base and held the wheel in place which gave me a constant connection. A little dab of Gorilla Glue to hold the wire in place and Woohoo! I have my VTR Back! The voltage drop is about .1 at least based on the reading of the VTR. i am using a 1.8 Kanger single coil currently and it reads at 1.9
I am now 12 hours in and no issues so far. I am heading out on a Discgolf trip next week (HighBride Hills in WI) and plan on bring this to use as my main device while out. It should get a lot of abuse during the trip and I will respond if it holds up.
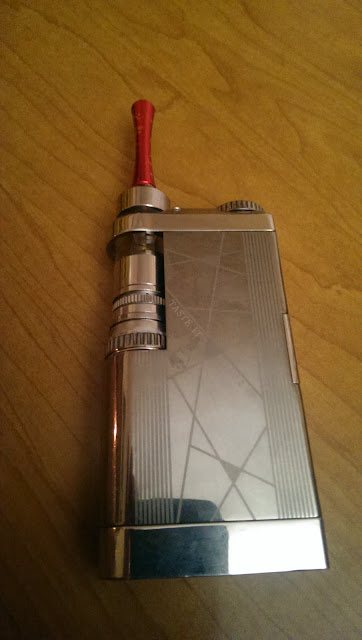
I didnt think to take pics of the process but I do have pics of the end results.


