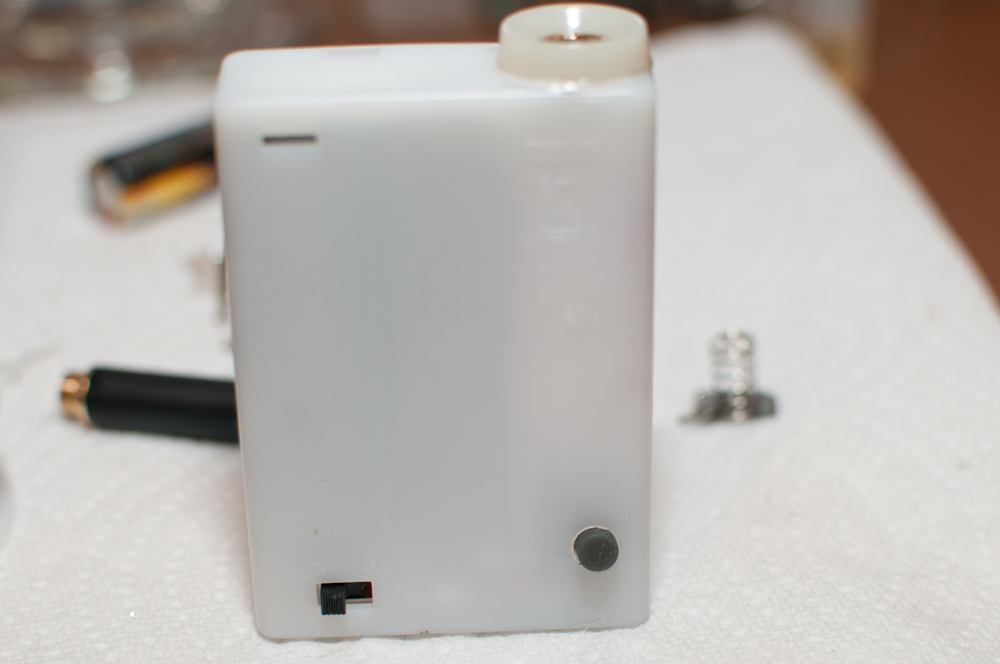
So I'm trying to build a 5v bottom feeder and cram it all into a 3xAA.
It's a tight squeeze as it is and I've run into a couple problems so far, but I think this can be done once I hammer out all the bugs.
First up, I did this:
I scavenged.
I debated on actually using the button part of the controller button, or just have the exposed circuit board be the button.
The switch can be really high resistance because of the mosfet, so it's possible to use your finger to bridge the two connections. After soldering I decided to just use the button to hide it. Plus it'll give you nice haptic feedback to let you know you're actually making a connection.


Cut out the board sections with a boxknife

I need to drill a hole.

Need a drill bit small enough... I think .040" should work.

Nailed it.

Time to solder on the wires.

Like a boss.


It should fit nicely and still allow room for an LED.
Vape - Imgur


It worked awesome up until I glued everything in there permanently. I have no idea what fuxed up but I pulled it out and started over. It was all down hill from there and there was one problem after another with this box (broke a wire, broke an LED...)


I rebuilt it a couple times, making improvements each time (until I gave up on it)


so I decided to build another box from scratch (as a control):


I goofed a bit when I made this second one. I used the wrong resistor on the LED so it won't light up. I need 2.5v to the led so I basically have to get a resistor to cut the voltage in half.
I'm having some problems with this one too though.
Sometimes it only vapes for a second before cutting off. I have to flip the switch off/on before it'll work again.
Also unlike the first one, I have to actually touch the wires together, instead of just using my skin (or some other high resistance thing) to bridge the connection.
I used this wiring guide to make it:

So here we are, I have two 5v boxes that almost work and I can't figure out why...
If anyone has any suggestions or theories I'd be glad to listen.
I'll post more when I figure out what's going on.
It's a tight squeeze as it is and I've run into a couple problems so far, but I think this can be done once I hammer out all the bugs.
First up, I did this:
I scavenged.
I debated on actually using the button part of the controller button, or just have the exposed circuit board be the button.
The switch can be really high resistance because of the mosfet, so it's possible to use your finger to bridge the two connections. After soldering I decided to just use the button to hide it. Plus it'll give you nice haptic feedback to let you know you're actually making a connection.


Cut out the board sections with a boxknife

I need to drill a hole.

Need a drill bit small enough... I think .040" should work.

Nailed it.

Time to solder on the wires.

Like a boss.


It should fit nicely and still allow room for an LED.
Vape - Imgur


It worked awesome up until I glued everything in there permanently. I have no idea what fuxed up but I pulled it out and started over. It was all down hill from there and there was one problem after another with this box (broke a wire, broke an LED...)


I rebuilt it a couple times, making improvements each time (until I gave up on it)


so I decided to build another box from scratch (as a control):


I goofed a bit when I made this second one. I used the wrong resistor on the LED so it won't light up. I need 2.5v to the led so I basically have to get a resistor to cut the voltage in half.
I'm having some problems with this one too though.
Sometimes it only vapes for a second before cutting off. I have to flip the switch off/on before it'll work again.
Also unlike the first one, I have to actually touch the wires together, instead of just using my skin (or some other high resistance thing) to bridge the connection.
I used this wiring guide to make it:

So here we are, I have two 5v boxes that almost work and I can't figure out why...
If anyone has any suggestions or theories I'd be glad to listen.
I'll post more when I figure out what's going on.

