Hello fellow ECF members.

I'd like to discuss the
DOVPO + Across PUMP SQUONKER that was sent to me by
DOVPO for the purpose of providing a fair and honest review. Took me a bit longer to finish this review, had some delays because of the customs but here we go.
")
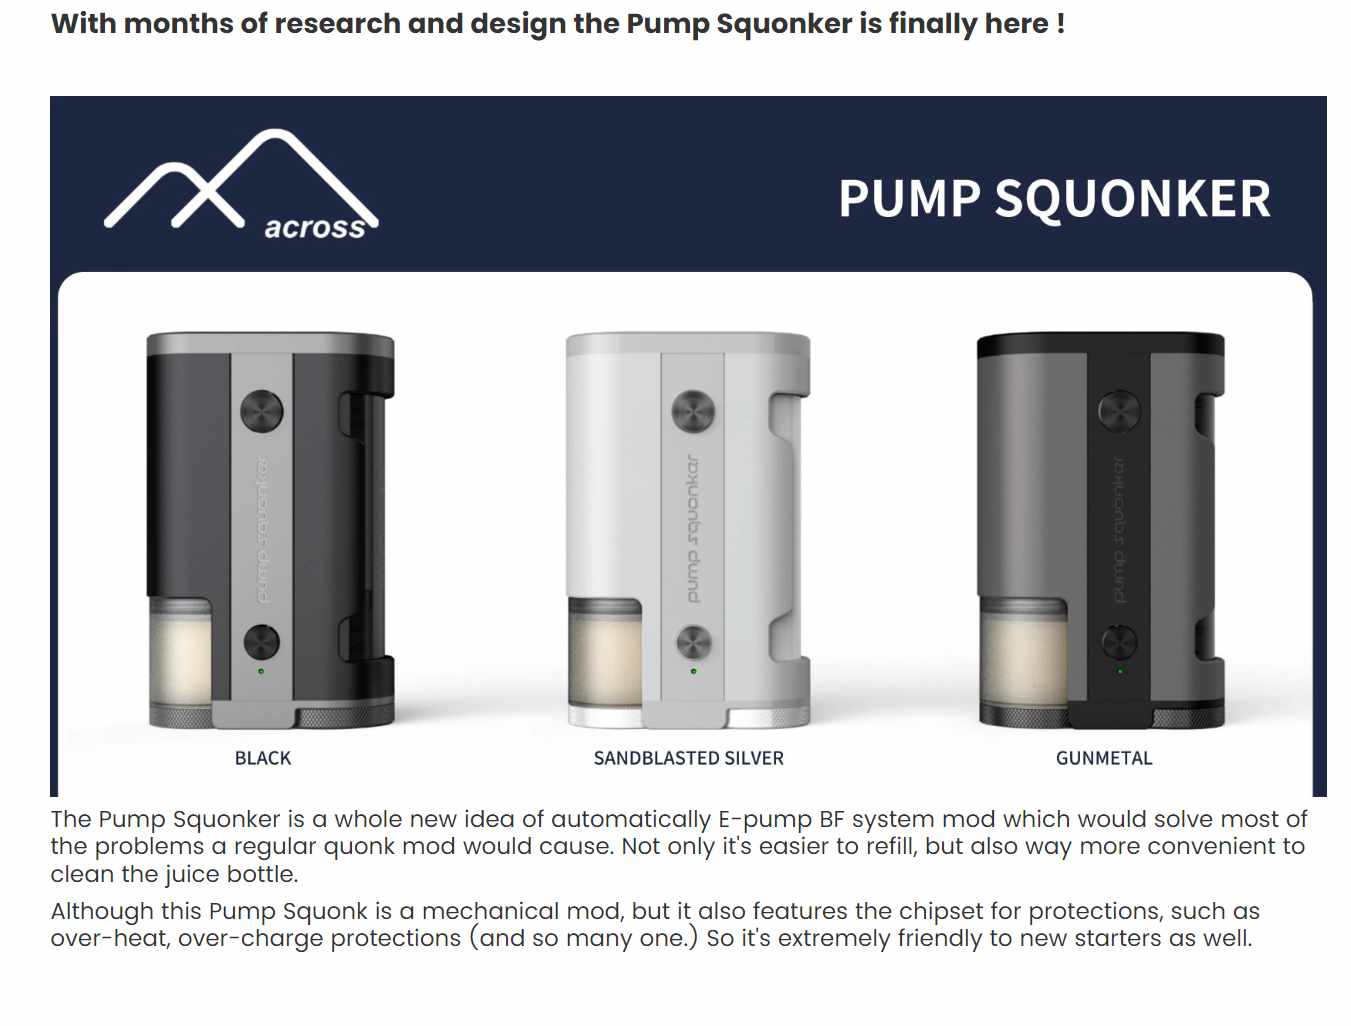
Let's see what do we have here:
it's not a disposable vape, not a pod, not a podmod or AIO, it's a Squonker!

Also not just a Squonker - it's a
Pump Squonker so no soft bottles to play with, it has a buit in Pump to deliver your juice inside your RDA.
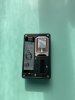
 Colour options available:
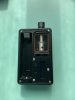
I've got the Gunmetal one and I have to admit it looks stylish and fancy.
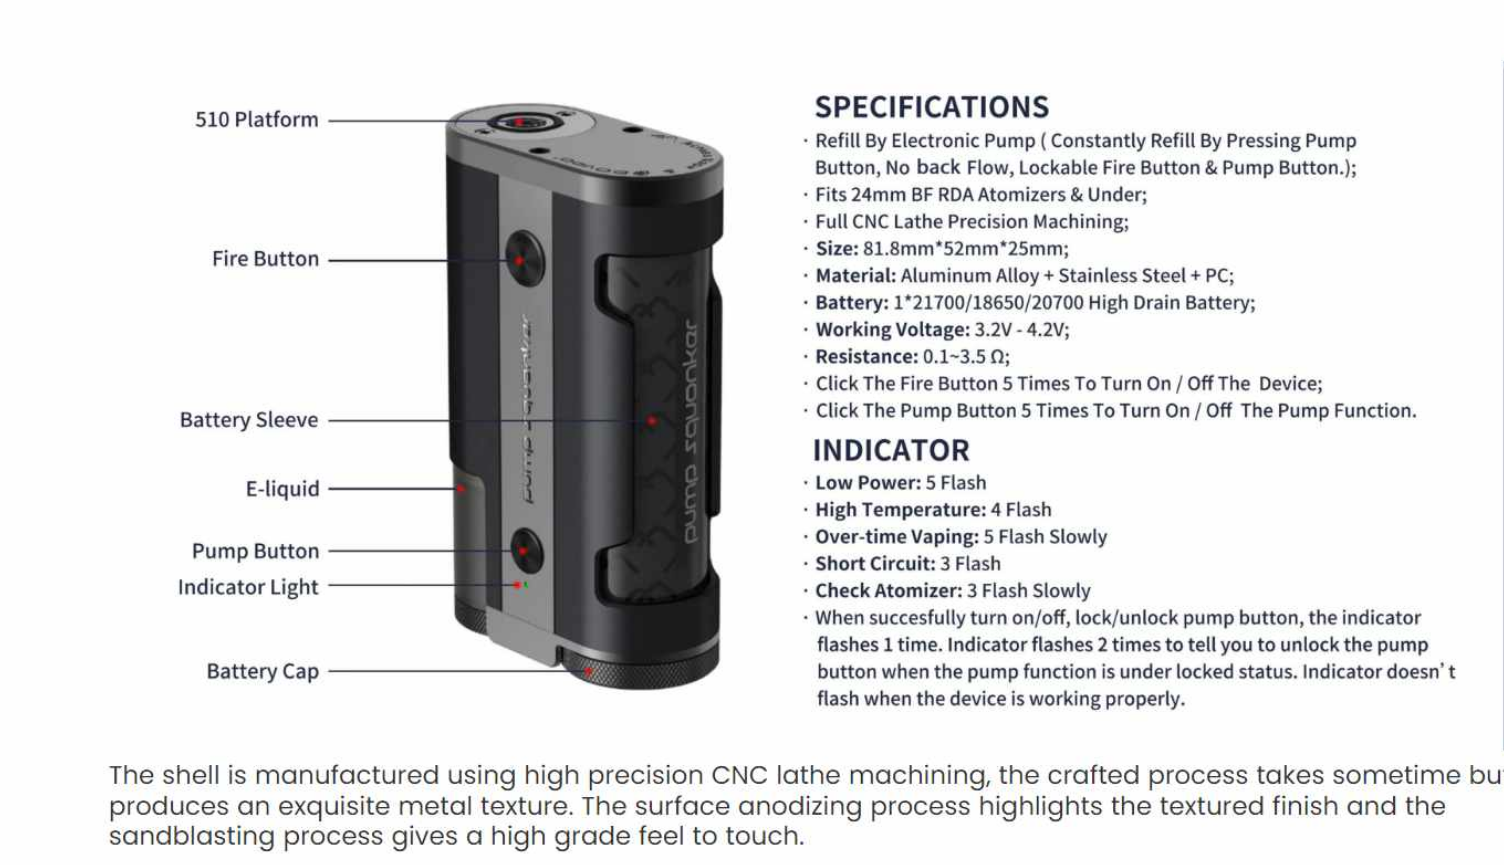
 Key Features:
1. 9ml Vape Juice Bottle
2. Automatically E-pump BF System
3. Chipset For Protections, Such As Over-heat, Over-charge Protections (and others.)
4. 510 Platform
5. Fire Button
6. Battery Sleeve
7. Indicator Light
8. Refill By Electronic Pump
9. Constantly Refill By Pressing the Pump button, No Back Flow, Lockable Fire Button & Pump Button
10. Fit 24mm BF RDA Atomizers Or Under
11. Full CNC Lathe Precision Machining
12. No charging options (you'll need to charge your batteries externaly)
Short Description:
Dovpo Pump Squonker Box Mod features a unique automatic e-pump BF system, which facilitates the refilling, just press its electronic pump, and you will have no need to squeeze the e-juice bottle to resupply e-juice for your RDA. It is engineered for up to 24mm BF RDA atomizers, which are connected with a 510 connection, the Pump Squonk Kit accommodates 9ml vape juice and is powered by a single 21700/18650/20700 battery(not included), the indicator light it has matches the battery level. The classy chipset offers a superior level of protection. Armed with full CNC lathe precision machining, it intricates levels of craftsmanship and durability.
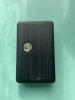
Let's see how it looks in real life:
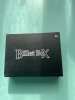
Comes in a stylish black box, showing that this device is a colab. of Dovpo and Across.
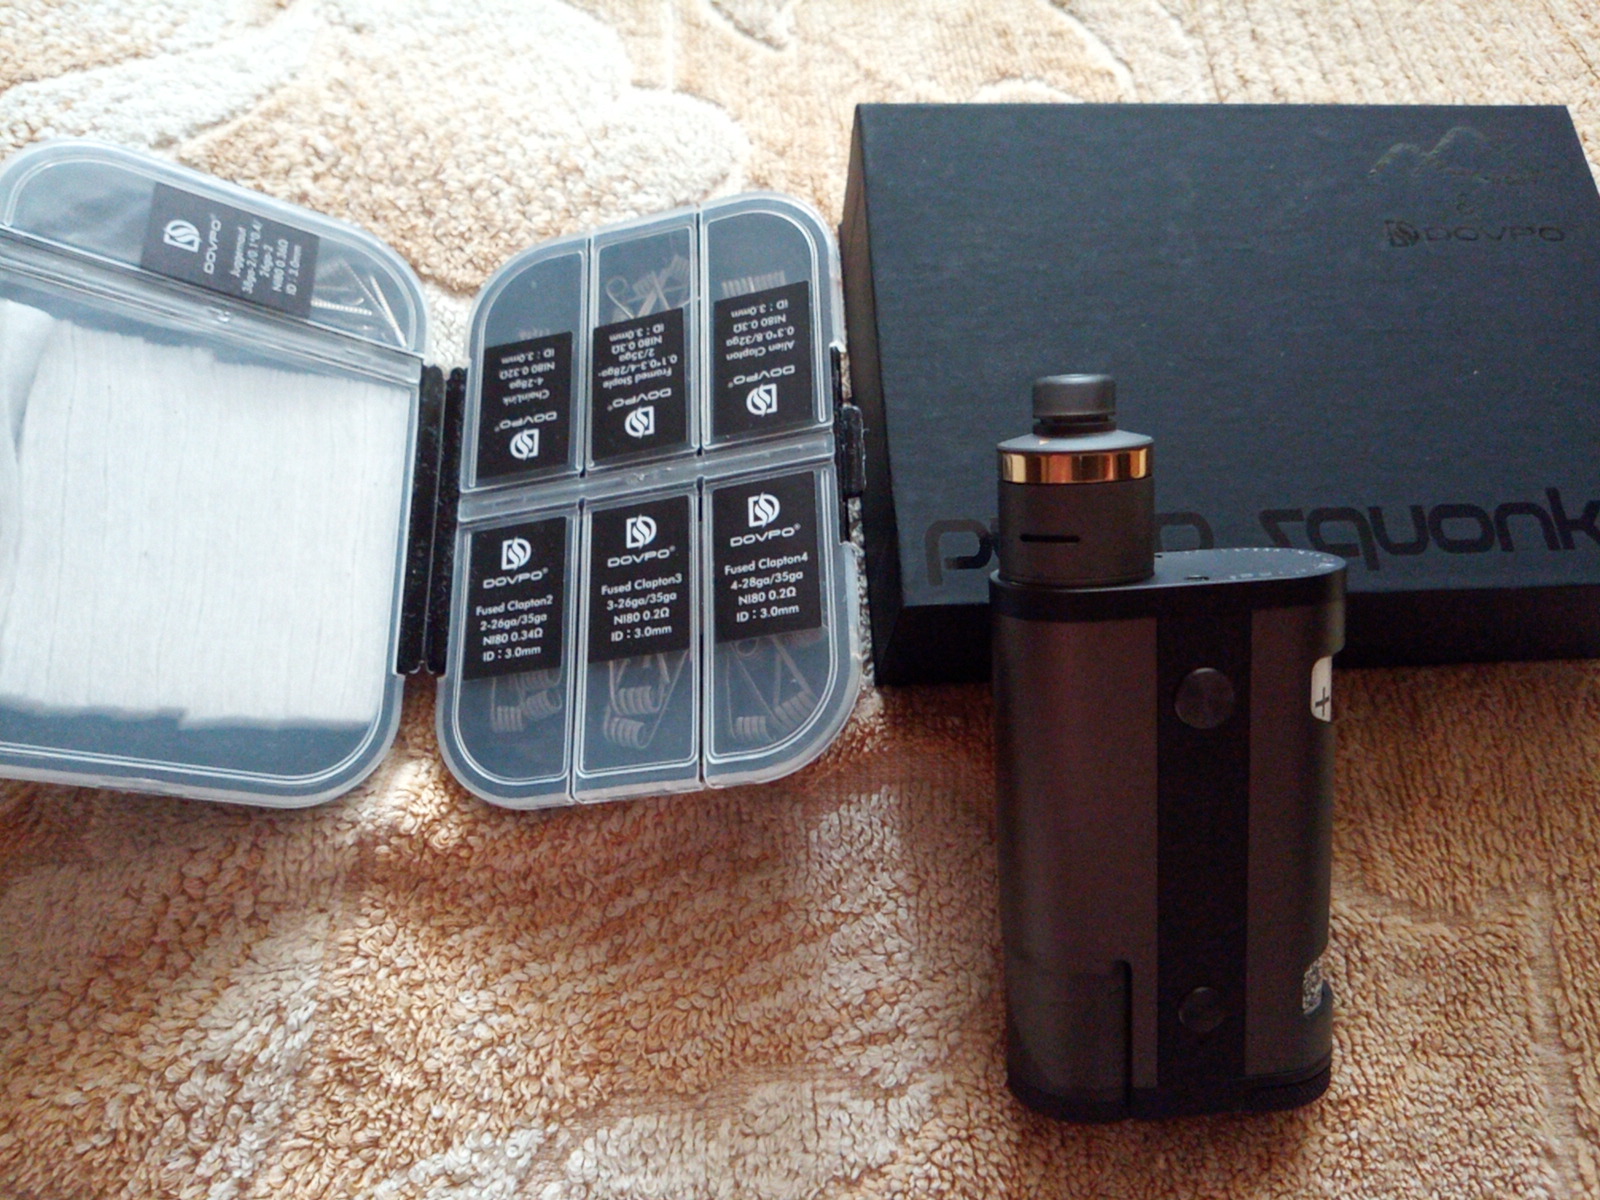
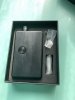
Opening the box:
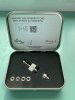
Packing List:
1pc Dovpo Pump Squonker
1pc 18650 Battery Sleeve
1pc 18650 Battery Skin
1pc 21700 Battery Skin
1pc User Manual
1pc Preferential Card
1pc Battery Usage Warning Card
Detailed Specs:
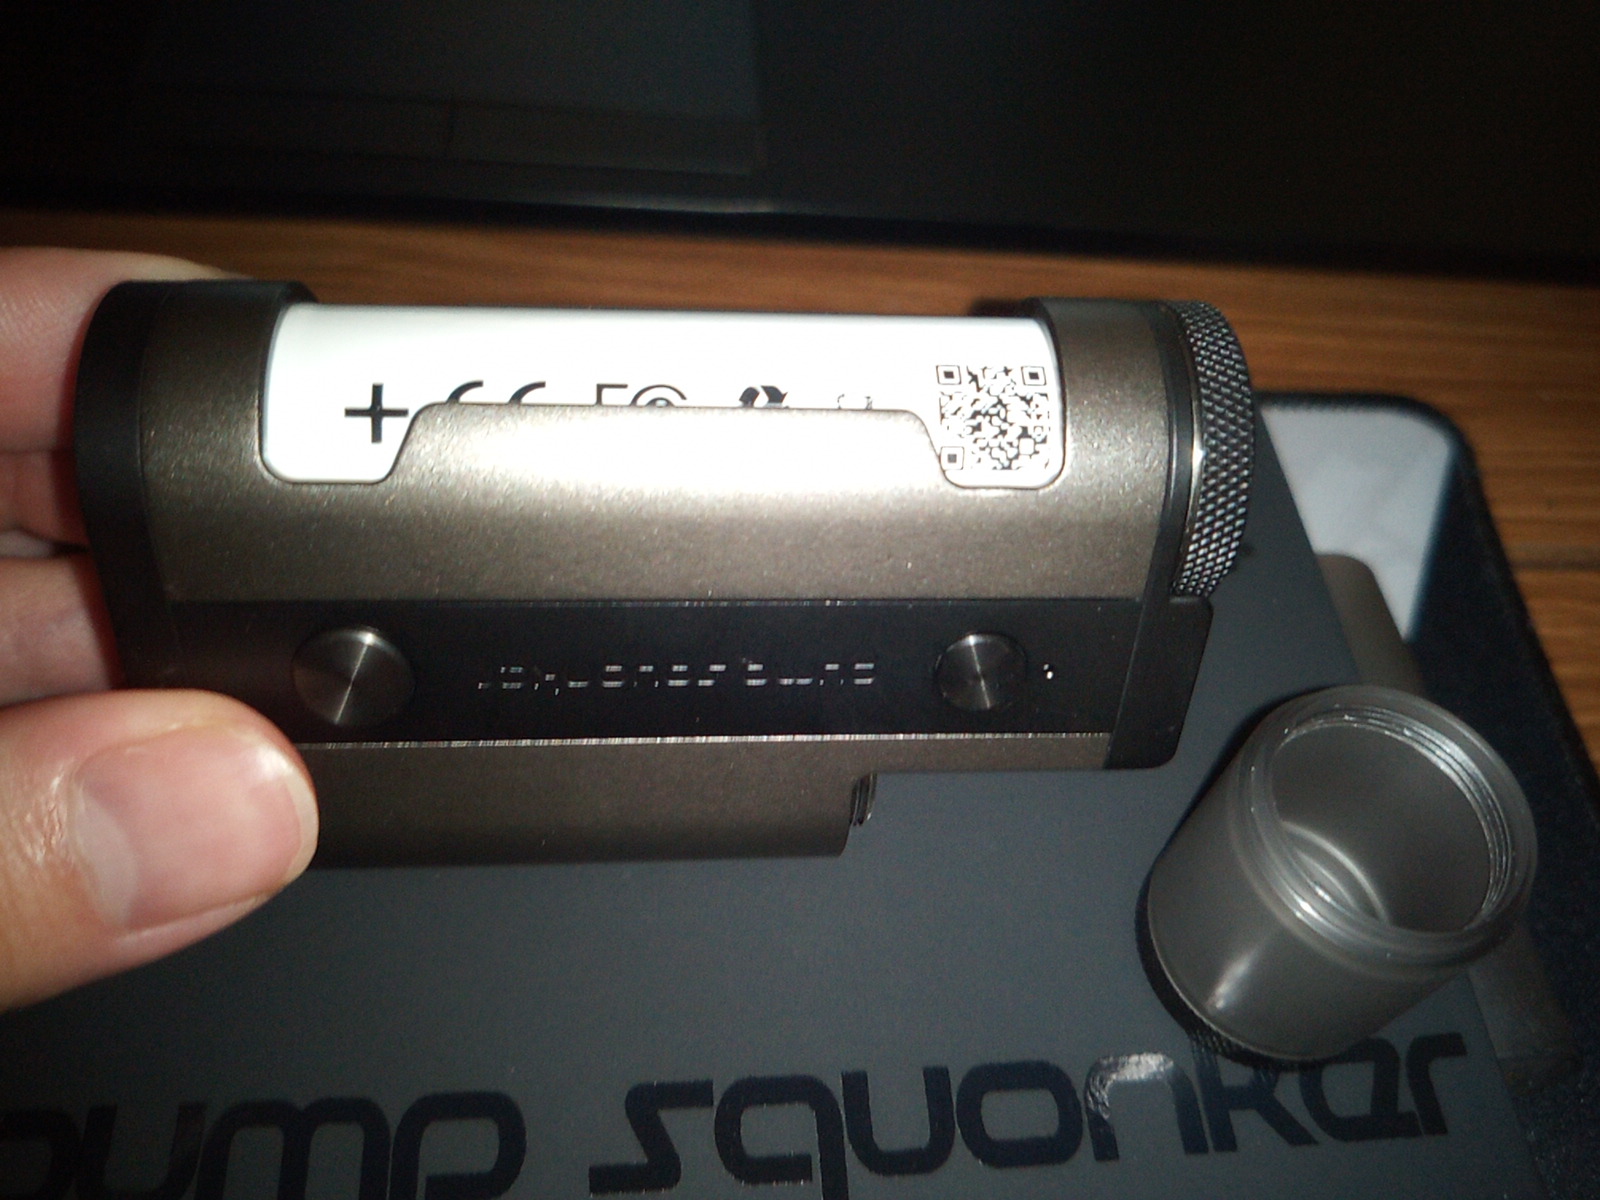
Battery Options:
you can use all 3 most popular formats (using the adaptor included). Here how it looks with the 21700 battery installed.
Goes pretty tight for the last few twists.
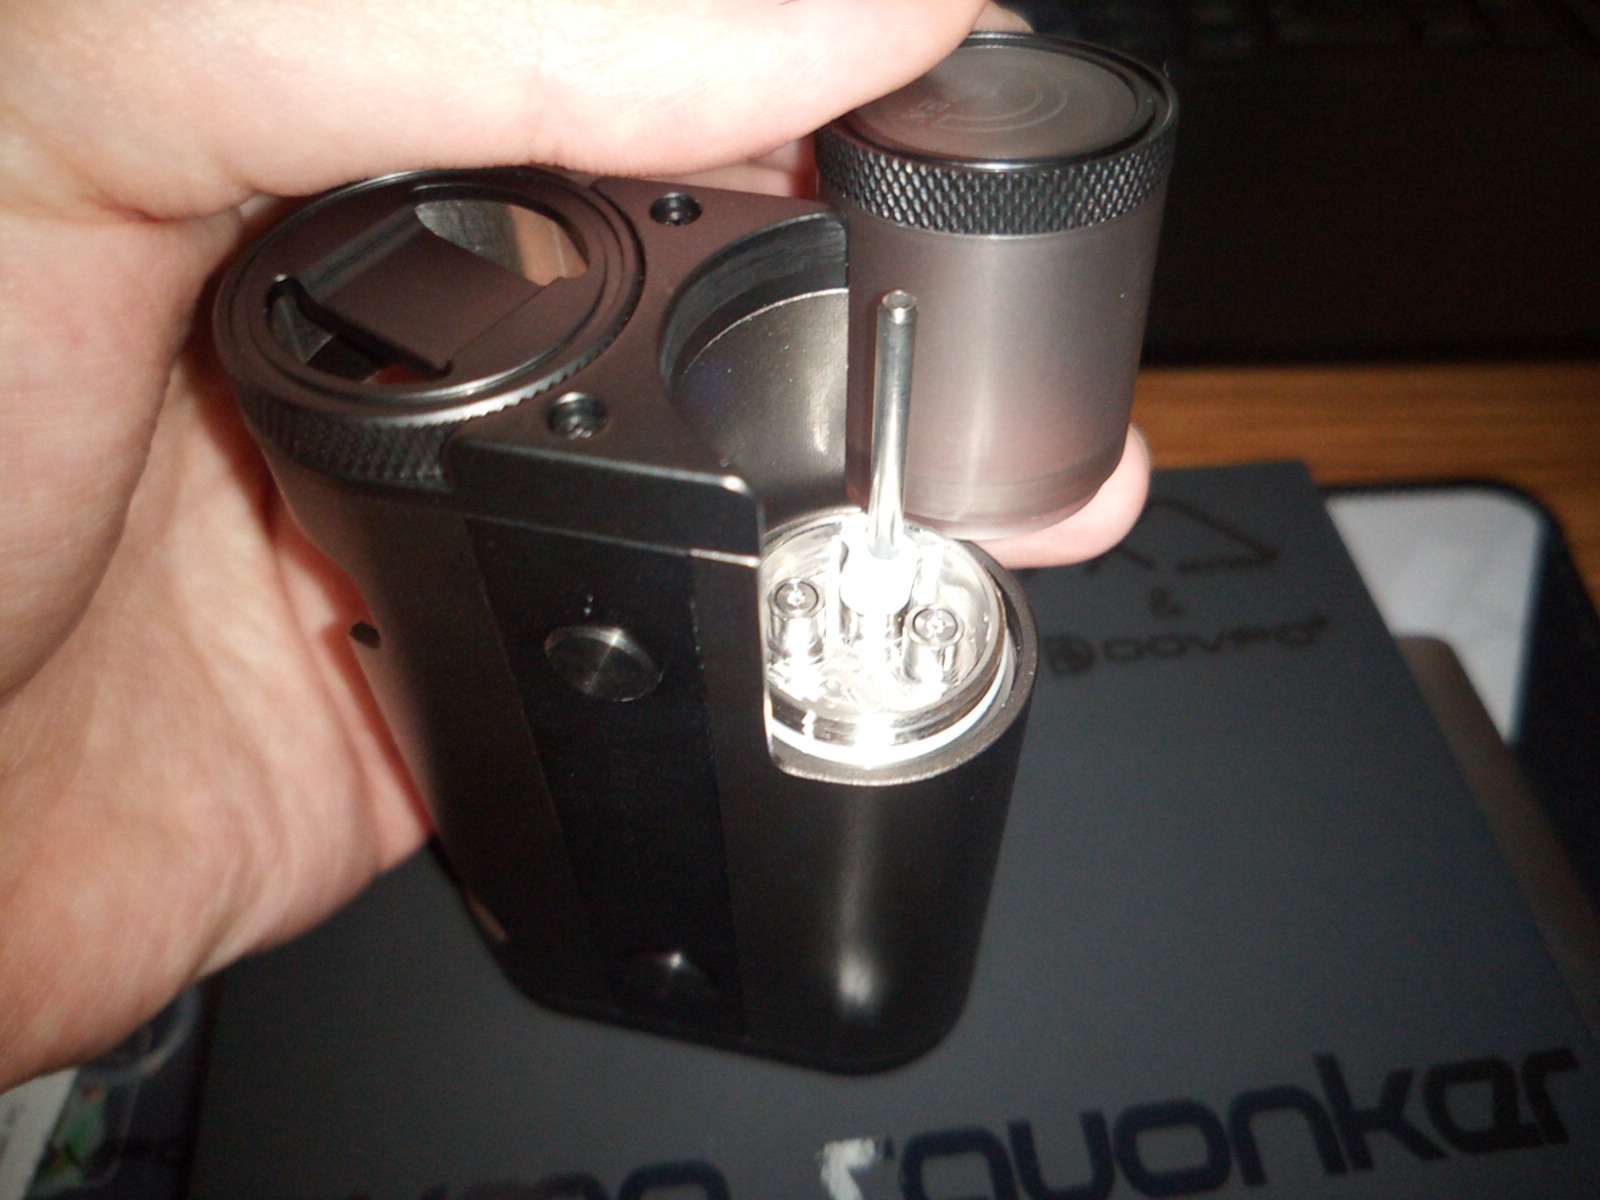
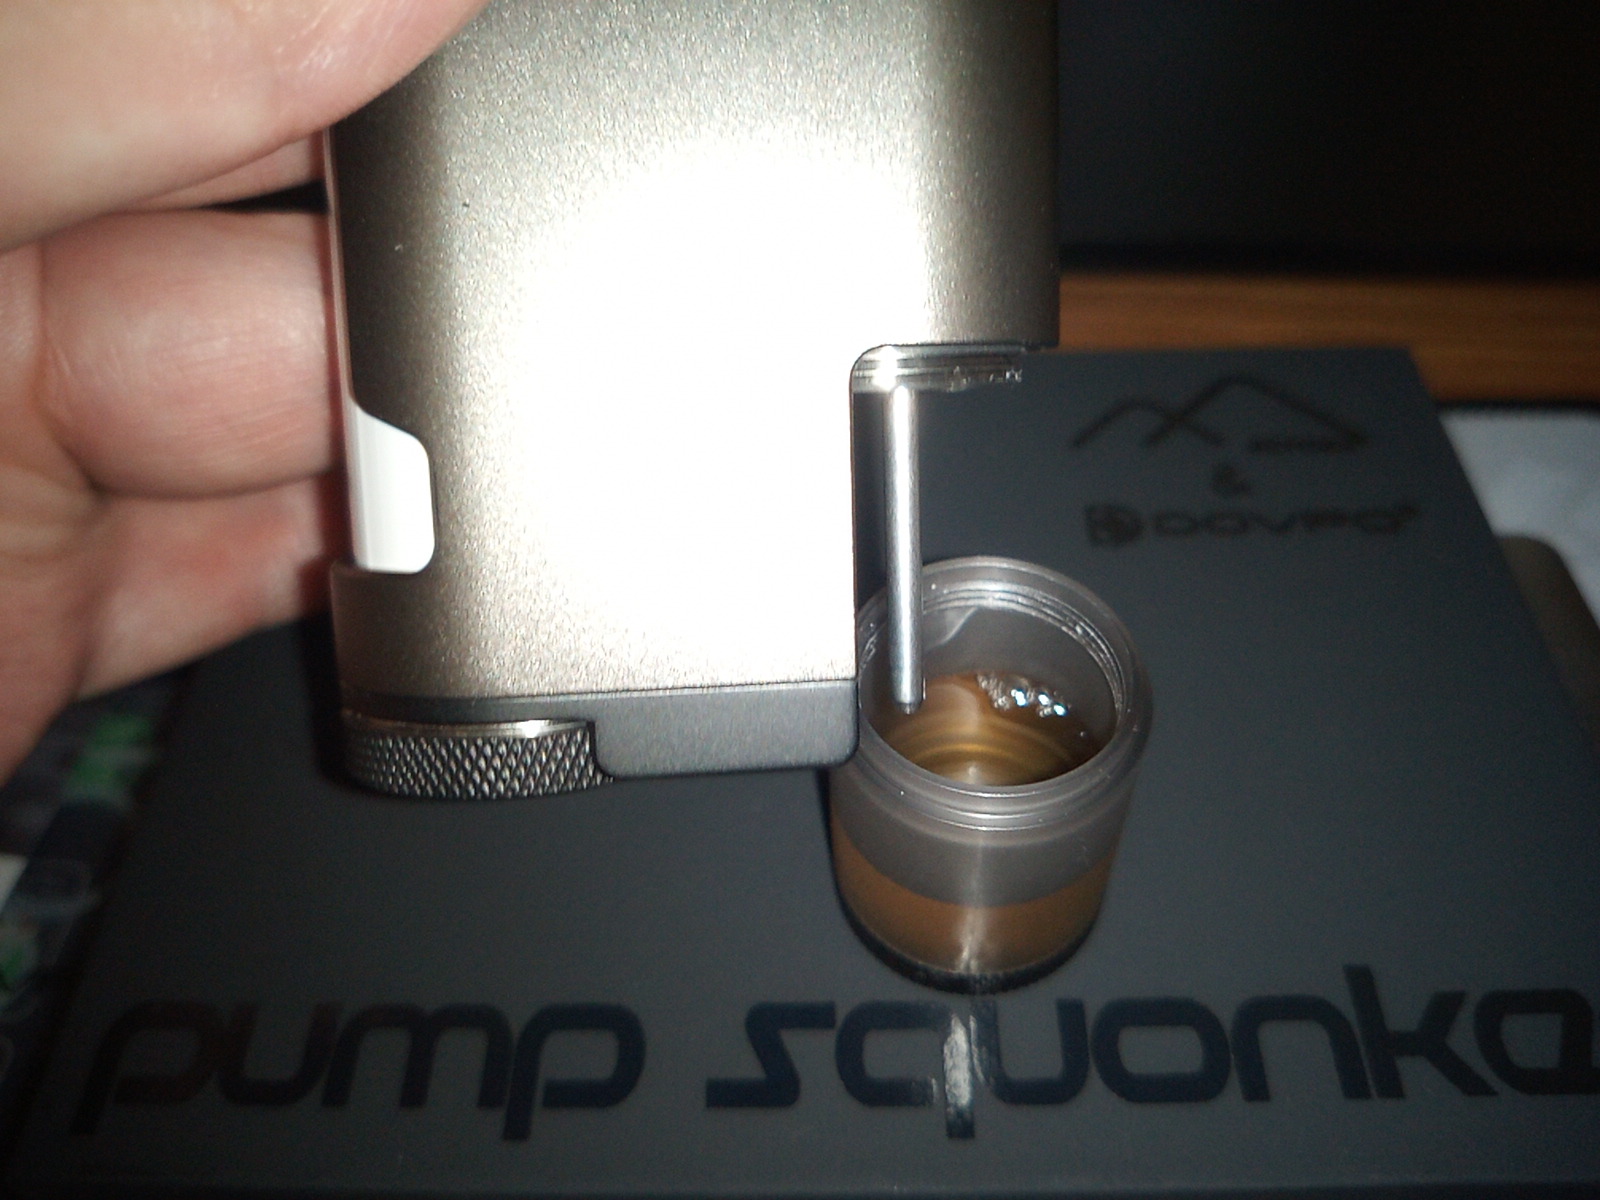
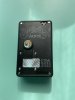
Pump Juice Pin:
it goes all the way to the bottom of the juice pod and pumps the juice directly to your RDA.
No pump back options tho.
 Be careful with the juice bottle:
it has a 9ml capacity - don't overpump the juice into your RDA.
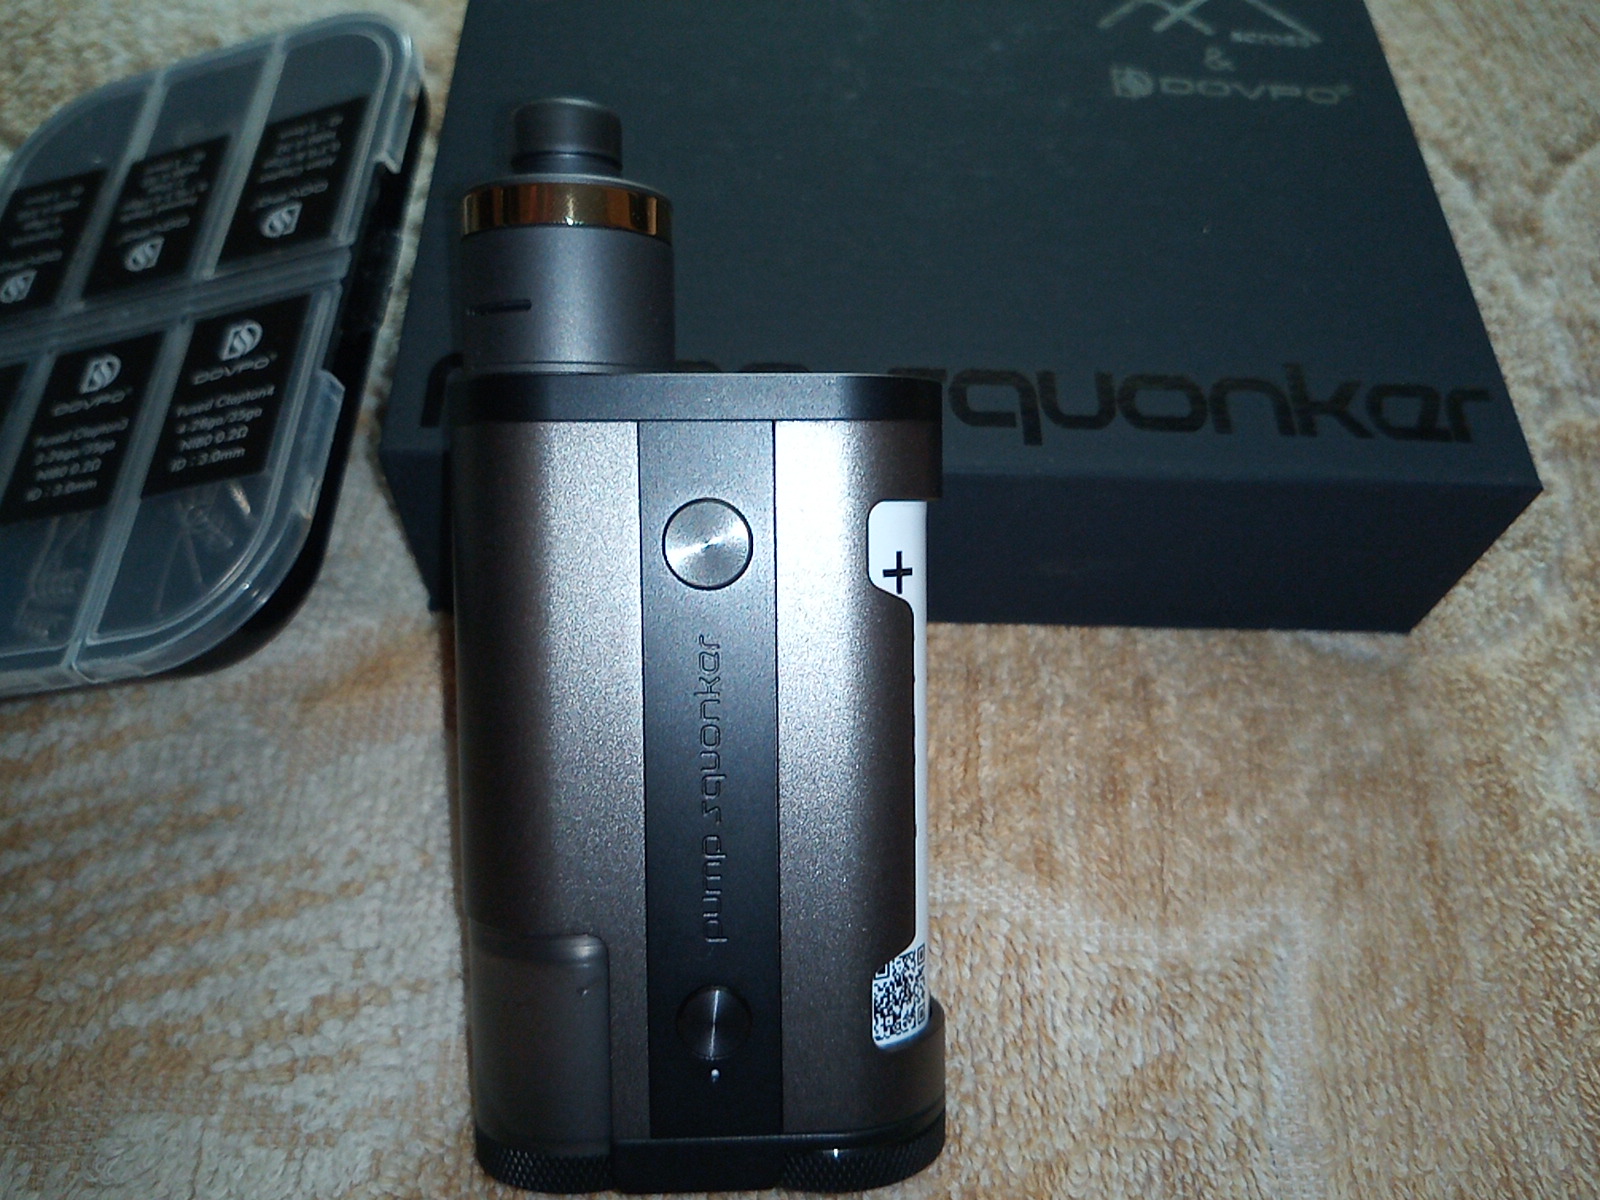
Setting up the kit:
Was testing it with the 0.2 0hm coils from the Dovpo Ni80 premade coils set and I'm very pleased with the results.
 Ready to Squonk:
it's not the most compact or light device, but it has a very nice handfeal with the bottons in the right places and the weight it also right for a serious squonk device.
Pump Working Vid:
VEED - Pump vid.mp4
(tried to upload it on ECF media but it was showing black screen for some reason).
Some important info from the manufacturer about the service life of the pump:
Pump systems have been used in many fields are very mature:
Pharmaceutical industry; Medical device industry; Electronic technology; Chemical industry; Mining and metallurgy industries; Paper industry; Paint coating industry; Food industry; Ceramic industry; Oil industry; Water treatment industry;
Cumulative operating life of pump≥300hr(Test conditions:ON 10sec OFF 5sec)
Test data:Extract 10ml juice in 3mins
Let's say you consume 20ML of juice a day(You can calculate according to your own situation)
The following formula helps you visualize it.
How much juice can be sucked out:
(60mins/6mins)*20ml*300hr=60000ml
How long does the pump last:
60000ml/20ml/365days≈8.2year
Let's check the important facts about the Squonker:
Pros:
- Made of quality materials+fancy looking.
- Electric Pump with an over 8years of projected lifespan.
- Handy buttons.
- 9ml tank.
- Works with any popular external battery.
- Feels like a decent device worth the money.
- Good Vaping experience.
Cons:
- Not so easy to use/Not so user friendly compared to other vape types. And it's not even
because it's a squonker. Pump squonking is actually easy to operate, you just need to be careful not to overpump the e-liquid. The more problems for the beginner vapers is in building an RDA with the juice pin Imho - be careful with the compact ones, especially if you have big hands - building the coil might be a real problem for you with the tight space and very small details.
- Cost around 100USD which is not a fortune for a quality squonk but it's more expensive than some other popular devices on the market.
- Pump botton is a bit loose, it "plays"
- Battery had no protective door but it comes with some protective sleeve tho.
- No charging options - you'll need to charge your batteries externally.
My Final Thoughts on DOVPO + Across PUMP SQUONKER:
I believe Dovpo + Across made a very decent modern Pump Squonk device.
It might be not the cheapest and not the easiest device to use on the market but it is definitely a quality Squonk with a rare pump feature I'm sure you will like it.
When buying this kit remember to get yourself few high quality batteries (I recommend 21700 ones) and a good RDA you are familiar with not to ruin your vaping experience.
If you'll follow my advices I'm sure you will also have a quality Vape Time with the Pump Squonker by Dovpo

Overall rank
8.5/10 by Dreamvaper.
I had a good time testing the device and I'm pleased with it and I can surely recommend this device expecially if you don't have a Squonker in your Vape collection yet
Thanks for reading