Tensioned Micro Coils. The next step.

Status
Not open for further replies.

super_X_drifter

ECF Guru
ECF Veteran
Verified Member
Oct 4, 2012
10,635
45,119
Somewhere out there
www.youtube.com
Nice one there Mac! ^ yes and I've never gotten a single nickle or even any mention of credit for that matter on the micro coil by those who have profited immensely from it. All I get is an outstandingly great vape, encountered some really good acquaintences here and there and prolly opened a few doors for me. Also a lot of loyal and cool followers on my YouTube maybe. Been bashed a bunch and one insulting tool even threatened to sue me, get this, for my safe vaping for mechanical mods video - claiming that his kid after watching that vid had a battery explode on him. Lol.

So I have removed some content that is somewhat dated as means and methods have evolved and continue to make vids about products I like.

If I don't like it I don't make movies about it and I can like stuff better than stuff I once thought was the greatest thing. Some people have a hard time with that too. What can I do. I try to make myself happy first and it's my coin that I'm spending so I spend it on what I want.

It's a quickly evolving landscape and these days anyone with a phone is making vape vids so I just do my thing and hopefully along the way someone might benefit from it being it the watcher or the guy who's stuff I'm videoing.

My benefits are about $28 per month in YT add revenue, praise from modders and an occasional little gift of a killer door to a mod (or something similar - like maybe a lil discount on a purchase) or maybe not have to F5 to buy a mod or an atty I want but maybe buy directly. But it's a hobby to me so anything I get is just a bonus. How many hobbies do people get any return whatsoever on? I get to talk with some of the world's top modders, get to get ayuss kicking stuff and the fact that people actually watch my videos really uplifting. Y'all rock.

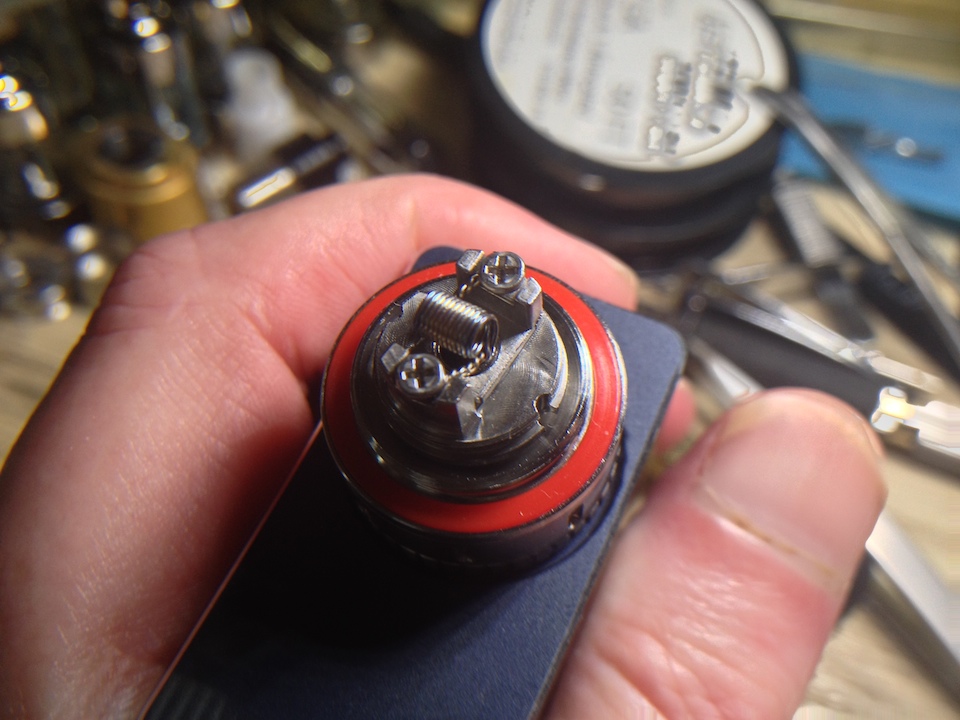
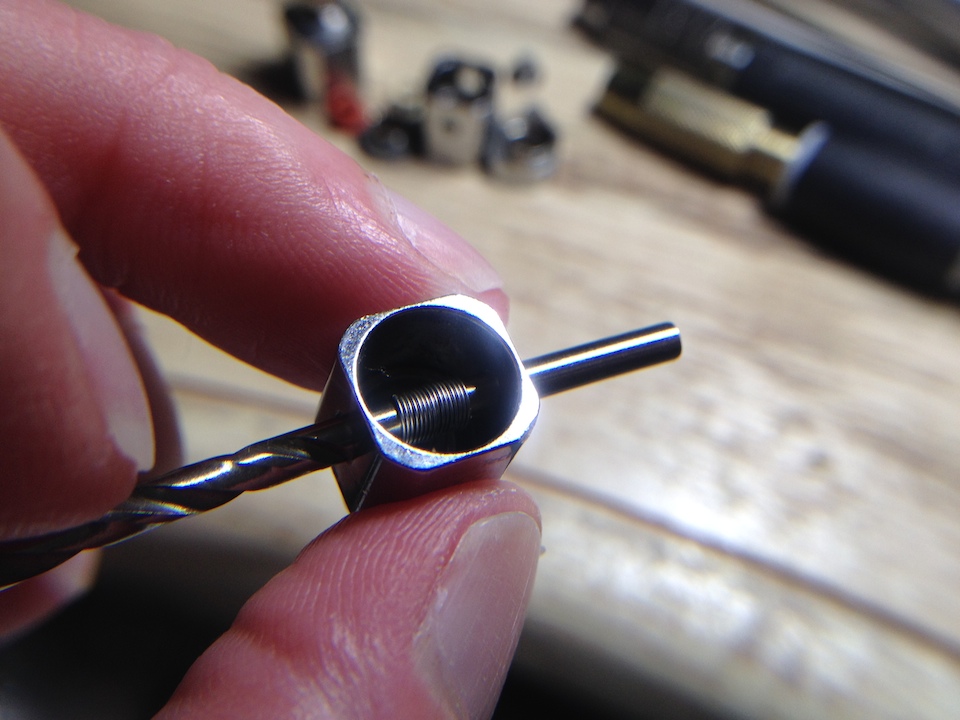
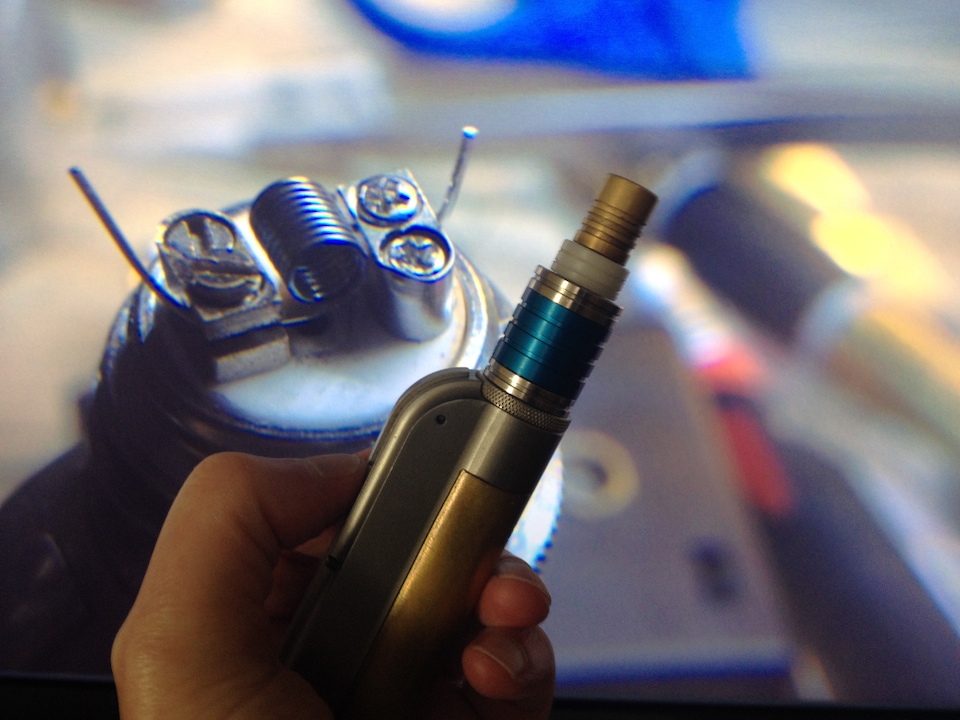
I'm glad you are here doing what you do and remain the proponent and advocate of simple and effective means to build and create a killer vaping coil and wick.

Rock on @MacTechVpr
 

MacTechVpr

Vaping Master
ECF Veteran
Verified Member
Aug 24, 2013
5,723
14,401
Hollywood (Beach), FL
Long time ago and far away I looked at vaping as a possible salvation and opportunity for investment. Assymetrical eccentric open winds I felt were a necessary expedient but unrewarding if not hazardous to the unprepared. The carto finally looked promising but I thought inadequate for those of us real pipe, cigar and cigarette smokers. Regrettably too a closed system when we actually needed to understand the makeup of the solution for a change. With someone bold enough to venture making proper winds and even contact coils I decided vaping had hit prime time. This finally moved me to risk it all and make my ninth attempt. I remain devoted to the mission and premise that smokers can quit effectively with simple accessible solutions, open vaping systems and a modicum of essential fundamentals. That the vaping industry should always remain cognizant of the reality that an educated vaper is the excellent long term customer for those who provide such support. I would also remind those who'd ignore this of Patton's admonition and that novelty is even more fleeting than glory.

Thanks to you all. Vape on! And good luck. :)

 
Last edited:

73neb

Super Member
Supporting Member
ECF Veteran
Verified Member
Feb 27, 2014
667
4,924
N. California Bay Area
Nice one there Mac! ^ yes and I've never gotten a single nickle or even any mention of credit for that matter on the micro coil by those who have profited immensely from it.
Just to give credit where it's due, super x's original micro coil thread is why I succeeded in quitting smoking. Until I started reading that thread and putting the information I found there to use, I was not convinced that I could switch to vaping full time with no stinky's. Thanks Russ.
 

SLM

Vaping Master
ECF Veteran
Aug 9, 2015
4,173
16,403
51
NE Ohio. USA
Good morning all. Quick question...

I did a parallel wind last night, 28g 7 wraps, around a 3mm mandril. It is too wide to get the legs under the screws on a Kanger RTA without skewing the coil. Is there a trick or a tool to adjust the legs without mutilating the coil?
 

MacTechVpr

Vaping Master
ECF Veteran
Verified Member
Aug 24, 2013
5,723
14,401
Hollywood (Beach), FL
Good morning all. Quick question...

I did a parallel wind last night, 28g 7 wraps, around a 3mm mandril. It is too wide to get the legs under the screws on a Kanger RTA without skewing the coil. Is there a trick or a tool to adjust the legs without mutilating the coil?

That's a massive 4.5mm wind…28 7/7 @ 3mmØ LL=9 = .798Ω.

Def hard to keep intact without stressing the geometry. Think you've only got ~2.7-2.9mm max spacing between the inner post walls. So you've got to massively bend leads. Even just seating screws then could be enough to erase the strain on outboard leads whether torched or tensioned and detach the parallel. That'll send resistance skyward in operation and yield the equivalent of a bad post connection in terms of flavor and production. That's the problem.


First, I strongly recommend you build a t.m.c. version of twisted lead parallels as above. Under the best of circumstances well built parallels skew due to warping in operation. You lose parallel coherence easily. A t.m.c. tends to be far more tolerant as running at more stable and evenly distributed temperature inhibiting distortion. And I loved 'em. Never vaped 'em. Why? Because lead termination strain eventually breaks them. Ergo, twisted leads.

If you want to max out the build, the physics bind us to the geometry. Why I say, we build for the device. @SLM I've only been able to build a workable TLP out to ~3.4mm…29 7/7 @ 2.82mmØ LL=9 = 0.944Ω, n.b. 2.82mm is #44 Drill Bit Wire Guage (2.8702 mm, drill blank size). Even this could prove precarious for re-wicking.

If you want to add wire mass keep probing steam-engine. I've been eager to try bigger winds even up to 3.4mm but geometry is going to hamper you in adding wire mass (heat capacity). Multi-wire just reduces the ratio of mass to contact area (just adds diffusion). If not tensioned to effective oxidation (unlikely), same thing. You'll have separations. More diffusion with less actual conversion and not what we want — a tunable balance of both.

Eager to join you in these experiments tho bro. Been trying to get to it. But two hands only, lol.

Good luck SLM. :)

p.s. To maintain symmetry in the set, always keep the wind on the bit or screw. If you wind on a pin vise that helps. Set one lead directly with just a couple of mm's extra lead length (resulting off center of the deck towards the opposite post). Supporting the end turns for that end of the coil (with fingers, clamp or both) push the opposite coil end turns with the face of the PV and center both length and width of the coil between the posts. Pull away from the tightened screw very lightly as you do. Protecting end-turn contact is the goal. If you slightly pre-bend the opposing twisted-lead before you start, that lead will rest un-tightened in the free post as you perform the strain alignment. Once the coil is suitably centered you can then easily tighten down the remaining free lead. Now you can adjust centering, height, etc. evenly applying tension to either end of the wind, or both, even as you alternatively release and retighten each post set until squared away. The purpose, to balance the strain of end-turn lead pairs. This can be done on a free bit or in combination with the bit installed on a PV. I usually have at least two. The bits are also useful to help coax shaping of lead bends as you strain one end of the coil away from the post once the post screw is set. You may not end up with a perfectly perpendicular alignment of the coil (you won't as coil length increases). Don't matter for performance as long as the coil is well centered on the airway. This is the method employed for producing the above parallels. It allows you to place a coil longer than the actual post screw spread.
 
Last edited:

MacTechVpr

Vaping Master
ECF Veteran
Verified Member
Aug 24, 2013
5,723
14,401
Hollywood (Beach), FL

My suggestion for Subtank and in general, is to first try to get that first tensioned down and effectively oxidized. Firing up coherently end-to-end (not inside out). Will save a lot of time and disappointment on complex winds whether parallel or twisted.

Good luck all. :)
 

SLM

Vaping Master
ECF Veteran
Aug 9, 2015
4,173
16,403
51
NE Ohio. USA
Thanks Mac. Yea, I should have said I did twist the leads. I pre twisted the one to hold the wire together, wrapped it and then twisted the other end. I chuck the mandril up in my lathe and pinch the wire between the mandril and a jaw and hold tension with pliers. The coil looked really nice until I went to mount it. That was the "HUMMM...." moment. Lots of tinkering and I got it in with only one coil with a bit of space. I wicked it from that side and that pulled the wind back where it belongs. I forgot to take a picture once I got it in. It heats a bit center out but more uniformly than the Clapton it replaced and the resistance ended up pretty close to what Steam Engine said. All and all not bad but it took a long time and tinkering to get it in there.
 

MacTechVpr

Vaping Master
ECF Veteran
Verified Member
Aug 24, 2013
5,723
14,401
Hollywood (Beach), FL
Strain's really only way to keep one of these together both in the winding and mounting. Lot of wire mass and you really do want to try to put a lot of power to 'em. Love parallels but just too damned hot and dry when they go sideways and distort. Then it's frustrating. So early on first year vapin' I kinda put them aside 'till I had a bit more time after studying Protank's to work out the kinks. And I really love twisted meantime so it just made sense. Anytime you try and put big power through thin wire it's gonna be fun. But the sturdiest as I mentioned earlier is the twisted center post dual coil. Had a quad of these that a purposely tested for over a year, just a vapor bomb…on a mech! So here's one below in the OCC to keep this OT.

Good luck. Take a pic when you can. :)


MacTechVpr

Vaping Master
ECF Veteran
Verified Member
Aug 24, 2013
5,723
14,401
Hollywood (Beach), FL
Some great pics of the newer RDA heads (and juice holes) by @OhTheAgony on the thread…Subtank RBA builds? show em! | Page 25 | E-Cigarette Forum and my remarks on wicking…

Haven't plaid with my Toptank much since I got the Bachelors, but just wanted to show the difference between the size and placement of the juice holes on the Plus RBA and Plus V2 RBA:

Plus V2 on the left, regular Plus on the right:

26707836081_f561def30e_b.jpg


I find the V2 very difficult to wick personally. Besides the huge hole and my relative thin wicks it is also placed rather low in reference to the coil. A regular plus with the hole drilled out another 50% or so would be much easier in use imo.

Hey, thanks for this great pic example. Truth is for all the Kanger builds I've done, never built out the v2 head. I like the v1 as an option but stocked up on the original juice channel varieties. Have seldom had any problem whatsoever with feeding or the need for thinning out wicks. In fact, I introduced the "chunky wick" on this thread…Protank MicroCoil Discussion!! | Page 136 | Post#2716…when we were mostly still building micro and small macro diameters, <2.5mm. You see, the deck dimensionally lends itself to wider rather than longer coils. And as you know I'm all about symmetry and giving the atomizer what it needs. Either way we can add wetted contact surface. A good thing. In fact a great thing finally. However the greater the wind radius the more wicking is required and…it must be at least as dense or you lose flow.

If you thin denser thicker wicks for the Subtank RDA (or any other) you are actually limiting access to the flow. It's sort of like choking down the nozzle of a garden hose or limiting the intake on a carburetor or fuel injection. You've provided a small pathway for the fuel. And it's not under pressure so no increased velocity. Further its impeded by gravity and thinning just reduces the overall permeability (in the channel flow version, or standard rda). The result may likely be more diffusion of vapor from greater heat applied relative to flow and no aid to vaporization. Rather it may result in the reduction of it.

So tight wicks and thin leads may only lead to coils running dryer and yes, unnecessarily and ineffectively hotter. Especially if the wick is thin or light at the coil anyway. Not a good thing. There are other ways to achieve more production and clouds. Reducing vaporization and increasing diffusion is not an advantage. Less cannot be more.

Good luck. :)
 
Last edited:

SLIPPY_EEL

Vaping Master
ECF Veteran
Oct 11, 2013
3,127
3,908
Ω England Ω
If you thin denser thicker wicks for the Subtank RDA (or any other) you are actually limiting access to the flow. It's sort of like choking down the nozzle of a garden hose or limiting the intake on a carburetor or fuel injection. You've provided a small pathway for the fuel. And it's not under pressure so no increased velocity. Further its impeded by gravity and thinning just reduces the overall permeability (in the juice flow version, or standard rda). The result may likely be more diffusion of vapor from greater heat applied relative to flow and no aid to vaporization. Rather it may result in the reduction of it.

:)

I never thought of it this way before mac, thank you as always!!! :)
 

MacTechVpr

Vaping Master
ECF Veteran
Verified Member
Aug 24, 2013
5,723
14,401
Hollywood (Beach), FL
I never thought of it this way before mac, thank you as always!!! :)

I really have been the sleeper haven't I? It's been about maxing out the power the whole time. Tricky dicky me.

:D Good luck slip.
 

MacTechVpr

Vaping Master
ECF Veteran
Verified Member
Aug 24, 2013
5,723
14,401
Hollywood (Beach), FL
Can tension be applied, after winding the coil, by pulling on both leads? 28 gauge kanthal.

Strain is an indispensable tool…

Yep, sure can. But it will likely not match the strain (or lack of it) in the rest of the wind. Result…the leads will go hotter than the wind itself. Plenty of pic's of winds here on ECF showing just that. Eccentric winds, hand winds, that fire inside out (not a uniformly strained m.c.) with both external leads firing hotter than the rest. That is in fact common of a hand wind as we tend to apply strain as we set the wind in the atty. Often more than the little strain present in wire off the spool.

What we need is for the leads to be cool. In fact, for the entire wind to be uniformly cool. Cool is good…it means its shedding heat effectively. In vapor it means the coil's done it's job. And the resulting vape should be dense, really dense. That's the outcome of a well wound t.m.c. More production which is tight, dense and heavy which can then be effectively diffused as desired with various means of AFC or draw. Wan't more clouds, design for or apply more power. Maintain the higher density rate. Ultimate flexibility.

Good part is mastering applying consistent tension is simple. Easy to do with a pin vise straight of the spool. A plain screw driver or a stepped mandrel (wire affixed on the free end to something) as you pull is another. Takes seconds and within a matter of minutes you gain the brain-eye coordination to consistently get the wire to go "sticky", i.e. not come undone. Seconds, I tell ya, seconds. I'm lazy. I hate to fiddle. I want it right the first time. And that it stay that way for months if possible.

It's actually very easy to learn how to do this. Not sayin' everyone gets it. But I'd say easily 9/10 do. For the rest, including me, it takes a little longer.

I've described the approach on this thread in several places. Basically start a few turns just forming the wire and add strain as you add more. You will definitely see the point where they tighten up into contact. You just need to add a bit more tension beyond this and the wire will go into a state of adhesion, the term I've coined to describe closest possible contact. It's a physics thing and changes happen to the metal beyond this threshold. All good. Too much strain can send the whole wind hot though as elongating the wire thins it adding resistance. So we don't want to over-do it. Just enough to get to "sticky" and we're good.


Then you will observe the difference in oxidation in that it happens quite speedily and consistently. Also a great benefit — where it doesn't happen in the wind (varying oxidation or wire temperature color) it very obviously exposes defects in the wind or the wire itself, e.g. small gaps, deformations or kinks in the wire, insufficient strain. No struggling trying to figure out for days or weeks on end why your great wind tastes like mud. You wind another. Takes seconds. Saves you from heartache.

Strain is in everything. It is also an indispensable tool.

Best of luck rude. Hit me up if things go sideways.

Good luck. :)
 
Last edited:

Rudeboy615

Senior Member
ECF Veteran
Apr 5, 2016
113
87
South Florida
Thanks for the response Mac!!

How much strain would you say is needed for 28 gauge if wound by hand, full strength? You mentioned straining the leads, how's that done? I'm rebuilding pre-made vertical coils for nautilus mini and on subtank for mtl.

Thanks again and good luck to u2

ps. do you have a video on tmc?
 
  • Like
Reactions: MacTechVpr

MacTechVpr

Vaping Master
ECF Veteran
Verified Member
Aug 24, 2013
5,723
14,401
Hollywood (Beach), FL
Thanks for the response Mac!!

How much strain would you say is needed for 28 gauge if wound by hand, full strength? You mentioned straining the leads, how's that done? I'm rebuilding pre-made vertical coils for nautilus mini and on subtank for mtl.

Thanks again and good luck to u2

ps. do you have a video on tmc?

Pleased to help all I can. Check your convo's.

The amount of strain you add by pulling away from the spool with your thumb is very little. But it's actually more than the grip strength of the average strong hand. So consider that by using the spool as a tool you are adding leverage. You're restraining the spool with your left hand (if you're a righty) and resting the pin vise on the edge where the contact acts as a pivot point. So it's really the combined force of both forearms, wrist and fingers applying a separating force as you use your thumb and palm to tighten the wire off the spool. You'd be surprised how much you're actually exerting but for 28 gauge you'll learn to see when it simply gets you there. Just enough to keep turns from coming undone. Not just turned but seemingly stuck together. No more. The average person can readily strain up to 25 gauge rather easily.

Suggest if you have the RDA for the Sub, start there. I've described how to balance the post set above/earlier. It's critical not to unbalance the strain on either end or it will skew the wind pitch (stretch or accordion the coil like a slinky). The add strain loading may even separate the turns. The resulting gaps are often so small most don't even notice. If it leaves the coil only in close contact (barely touching) it won't go full t.m.c. You need to make sure adhesion is maintained. Don't hesitate to support end turns between finger tips (and on the bit as in my pic) as you tighten each lead in turn. So it's best to start on a device that you have good control over the set. And the Kanger's have about one of the best post arrangements ever. Once you start to recognize bad behavior in these puppies then irregular sets are a snap…like long coils or vert's where you may have to put some bend or turns in the wire. Get one going first and you will not regret it.

Good luck. :)

 
Last edited:
Status
Not open for further replies.

Users who are viewing this thread