Hi everyone,
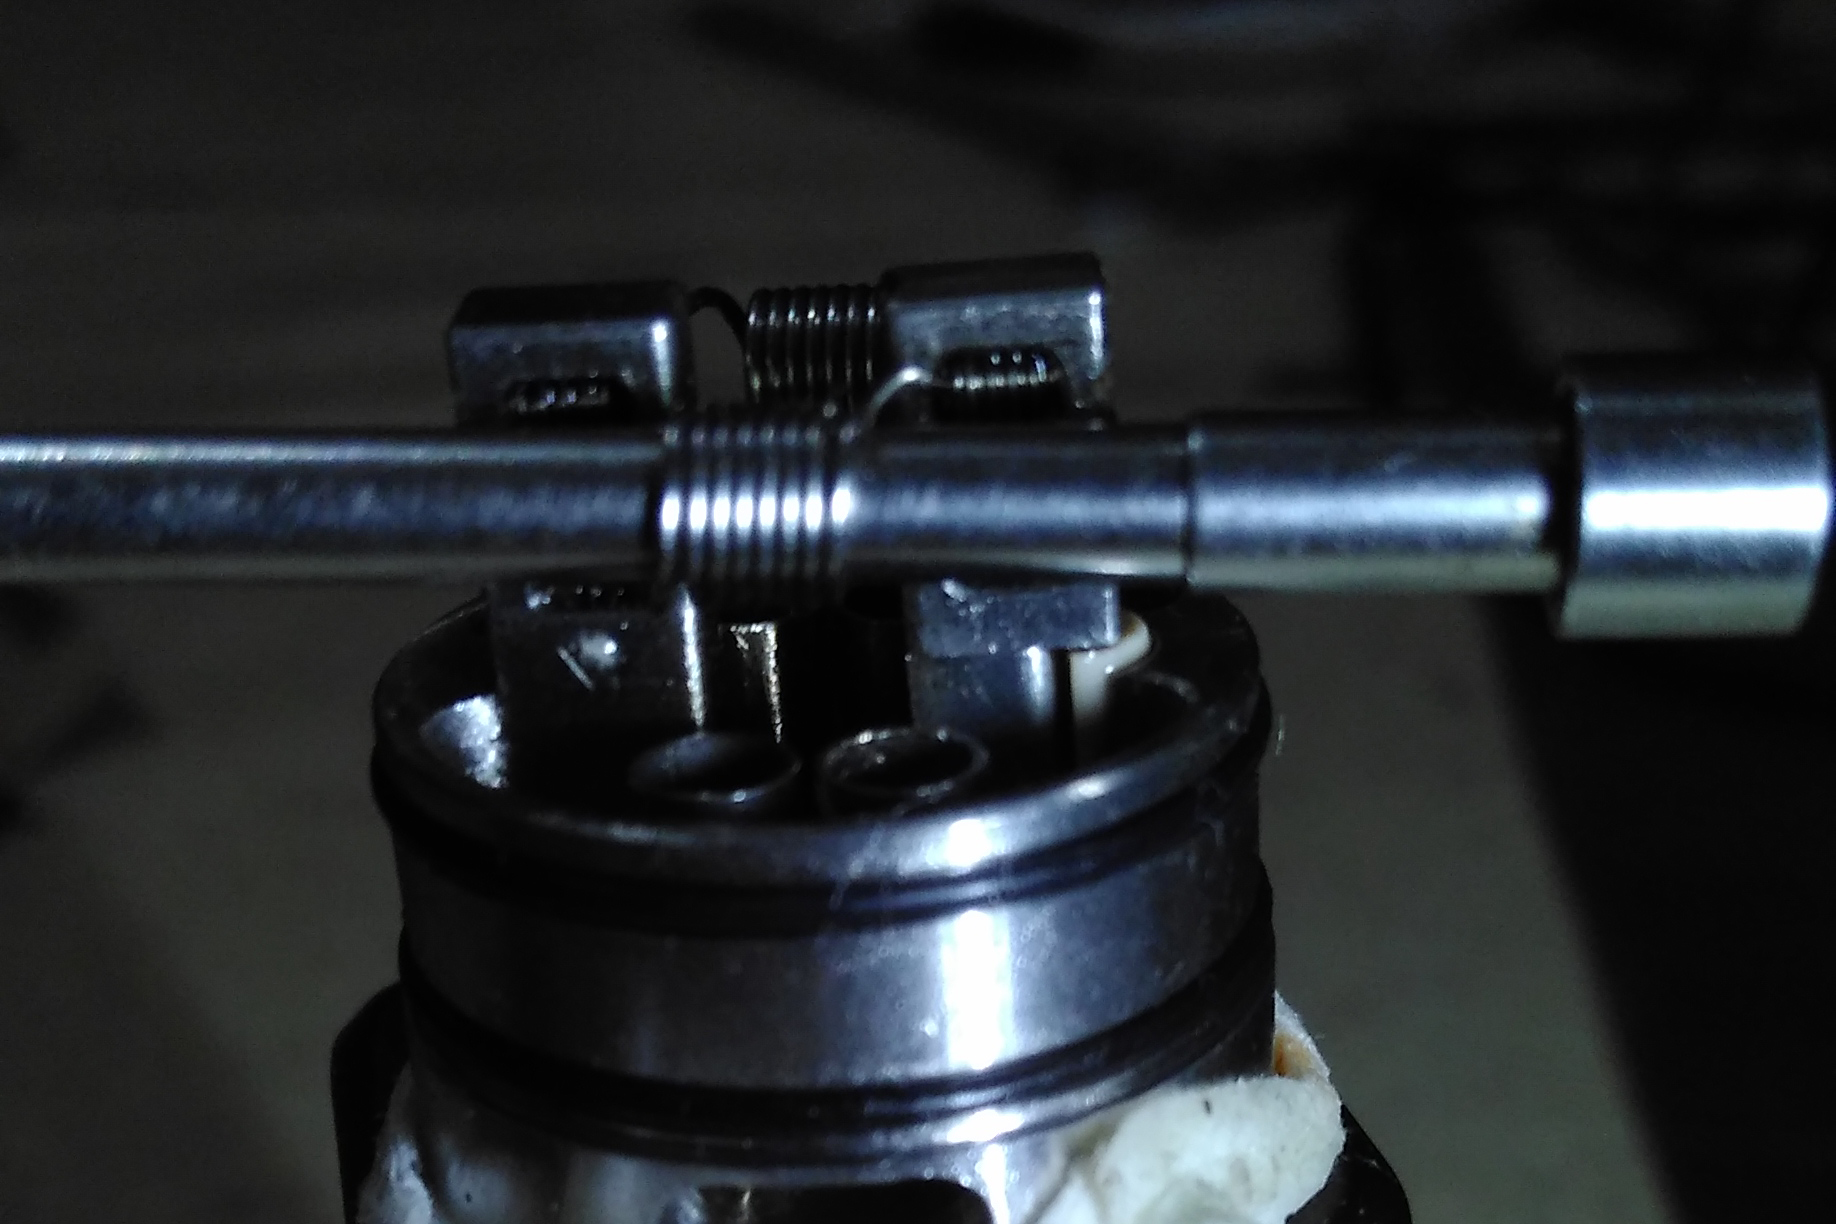
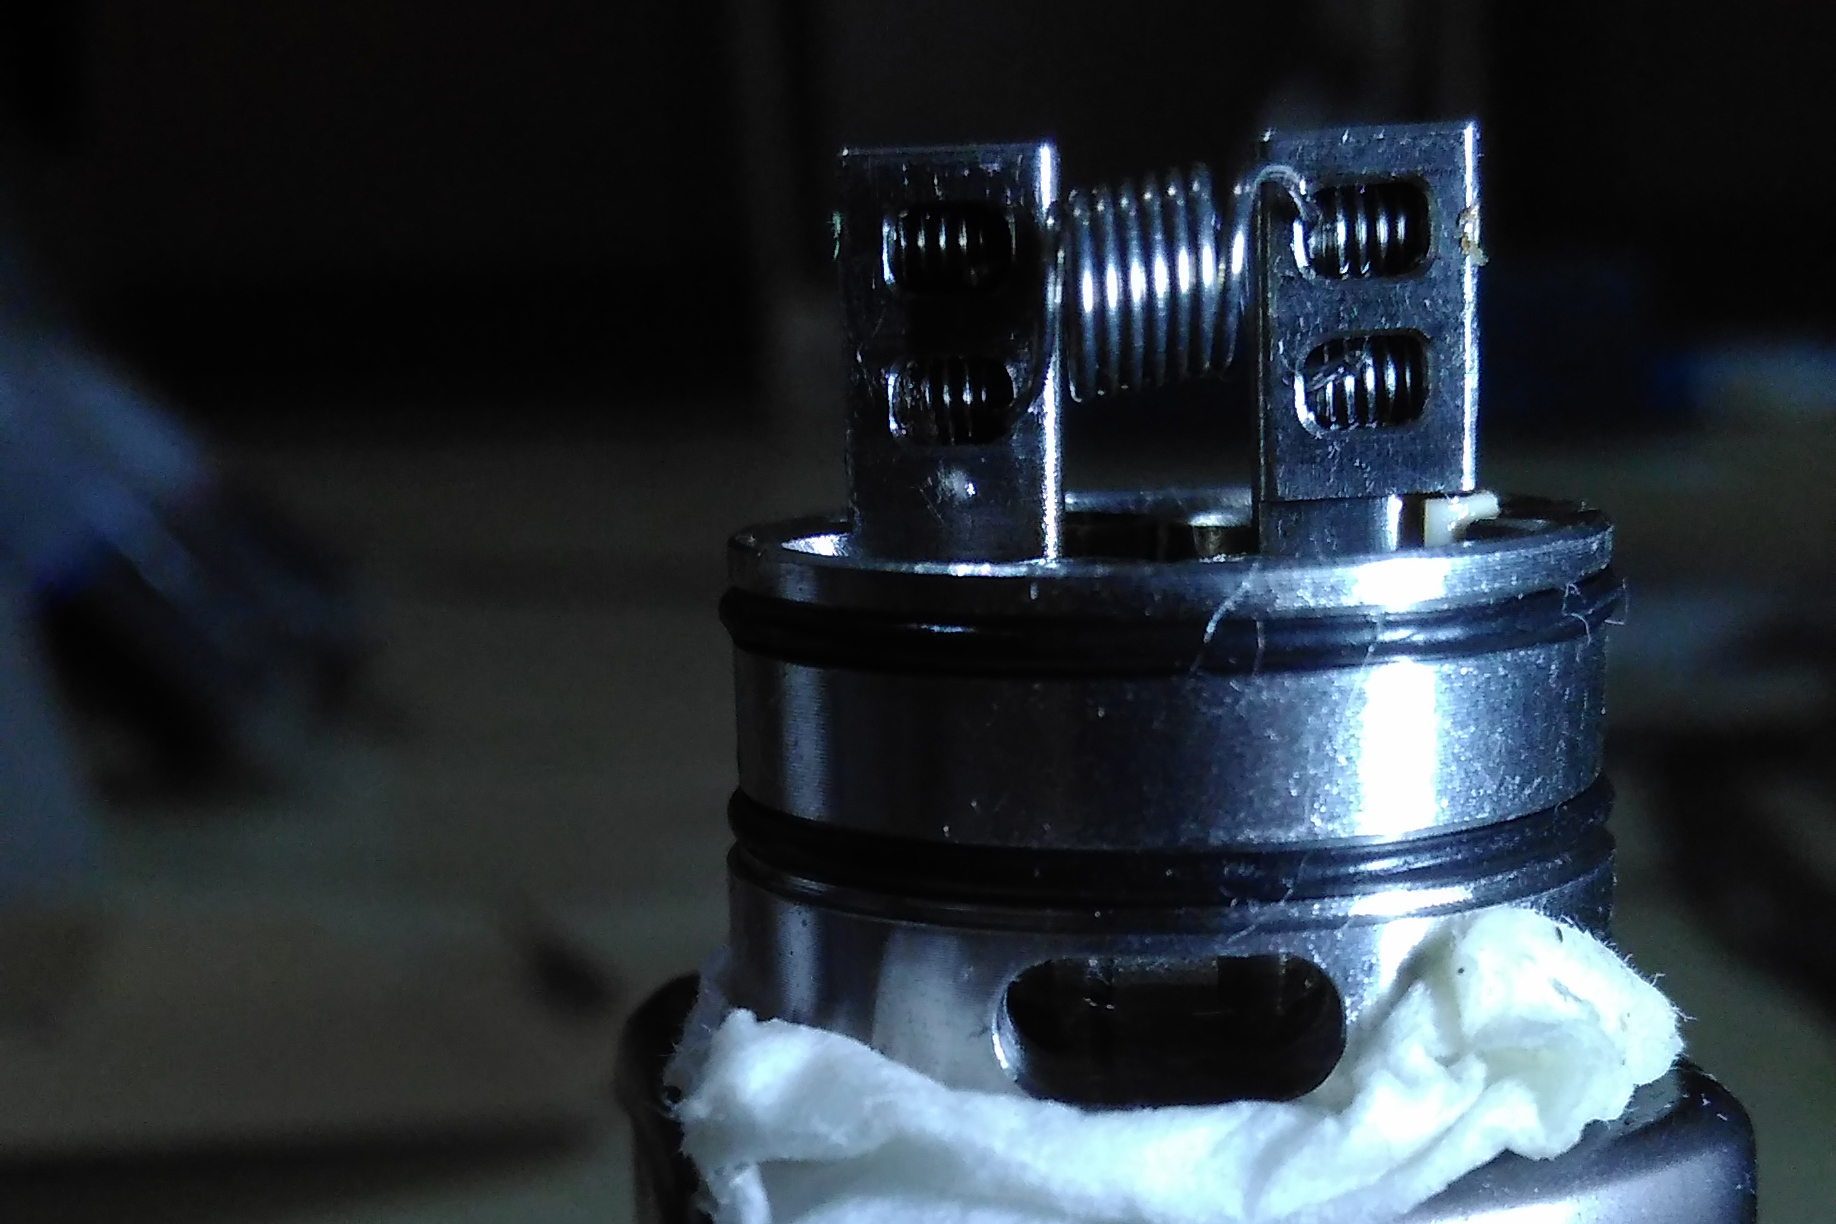
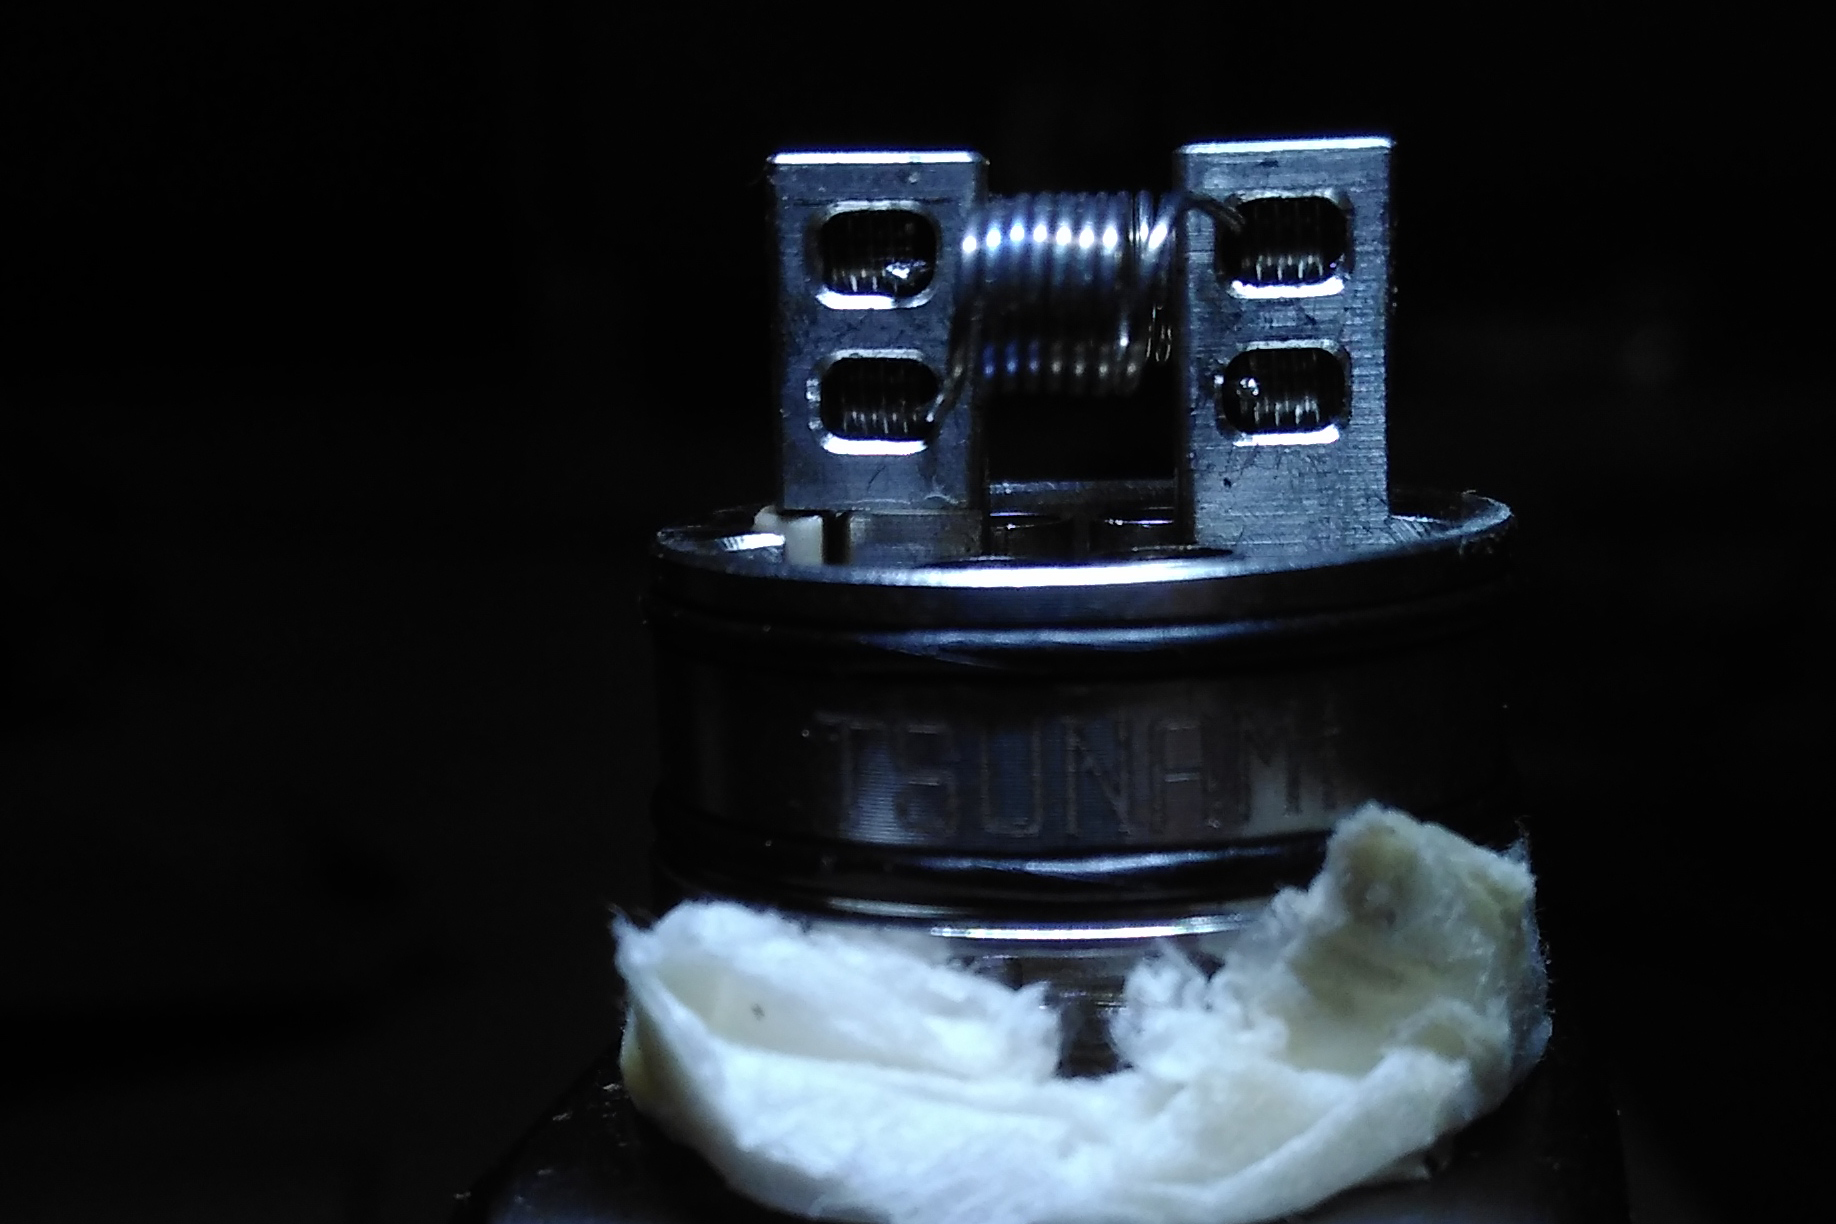
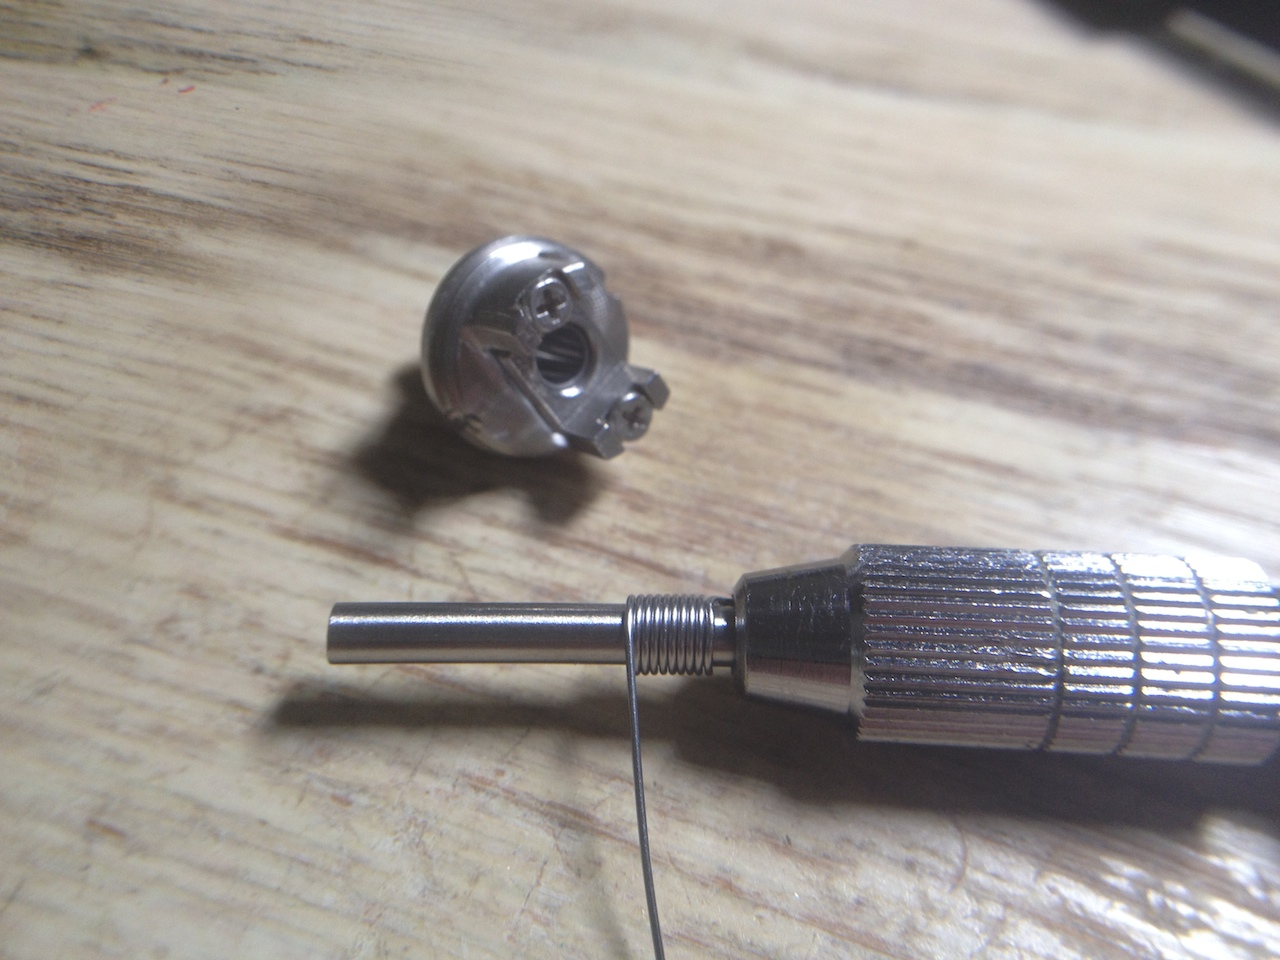
So I'm using a tsunami RDA, 24GA, 8 wraps each, with coil master coil jig. I'm not looking for crazy cloud, just the balance of decent cloud vs flavor. Recently I switched to the 3.5mm size jig, and love it more than 2.5 or 3.0 size. The problem is, when I install new coils, and when the coils are locked down in place, and I dry fire them to compress and check for hot spots, often times the coils would skew and distort. So before dry firing, it's horizontally nice and even, but after dry firing, one side will go up/down. Checking visually, I can see the loop at the end (either left or right or both) usually becomes smaller. Usually I just shove the jig in the coil to force it even and bend it back, but it's just not the same. What I notice is that if I keep using the coil, the cotton will have a shorter life (i.e. got burnt taste and had to change cotton faster)
I tried dry firing them using smaller watts, 20 something (my usual is 40 watts), but they still do that, skew and distort. What's happening?