Salutations my fellow vaperinos from all around the world.
Time to check out this vaping apparatus which was sent to me by my friends over at Sourcemore for the purposes of the review.
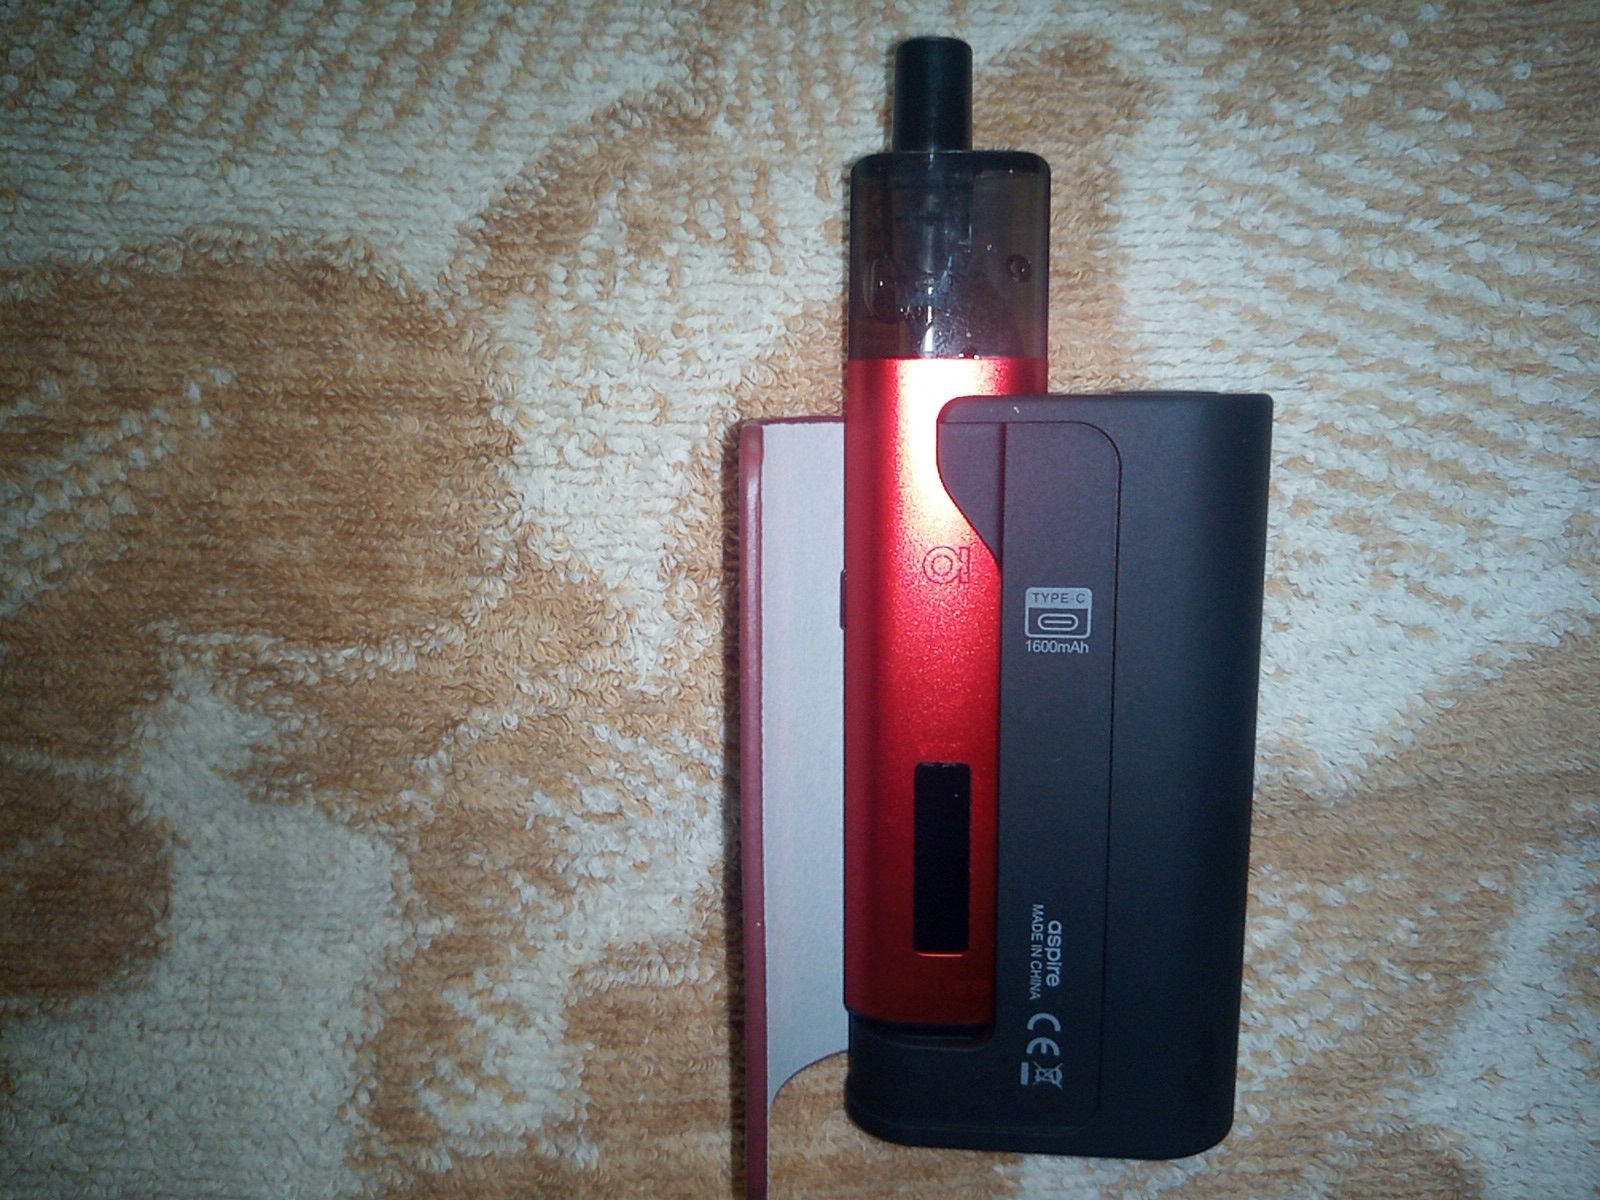
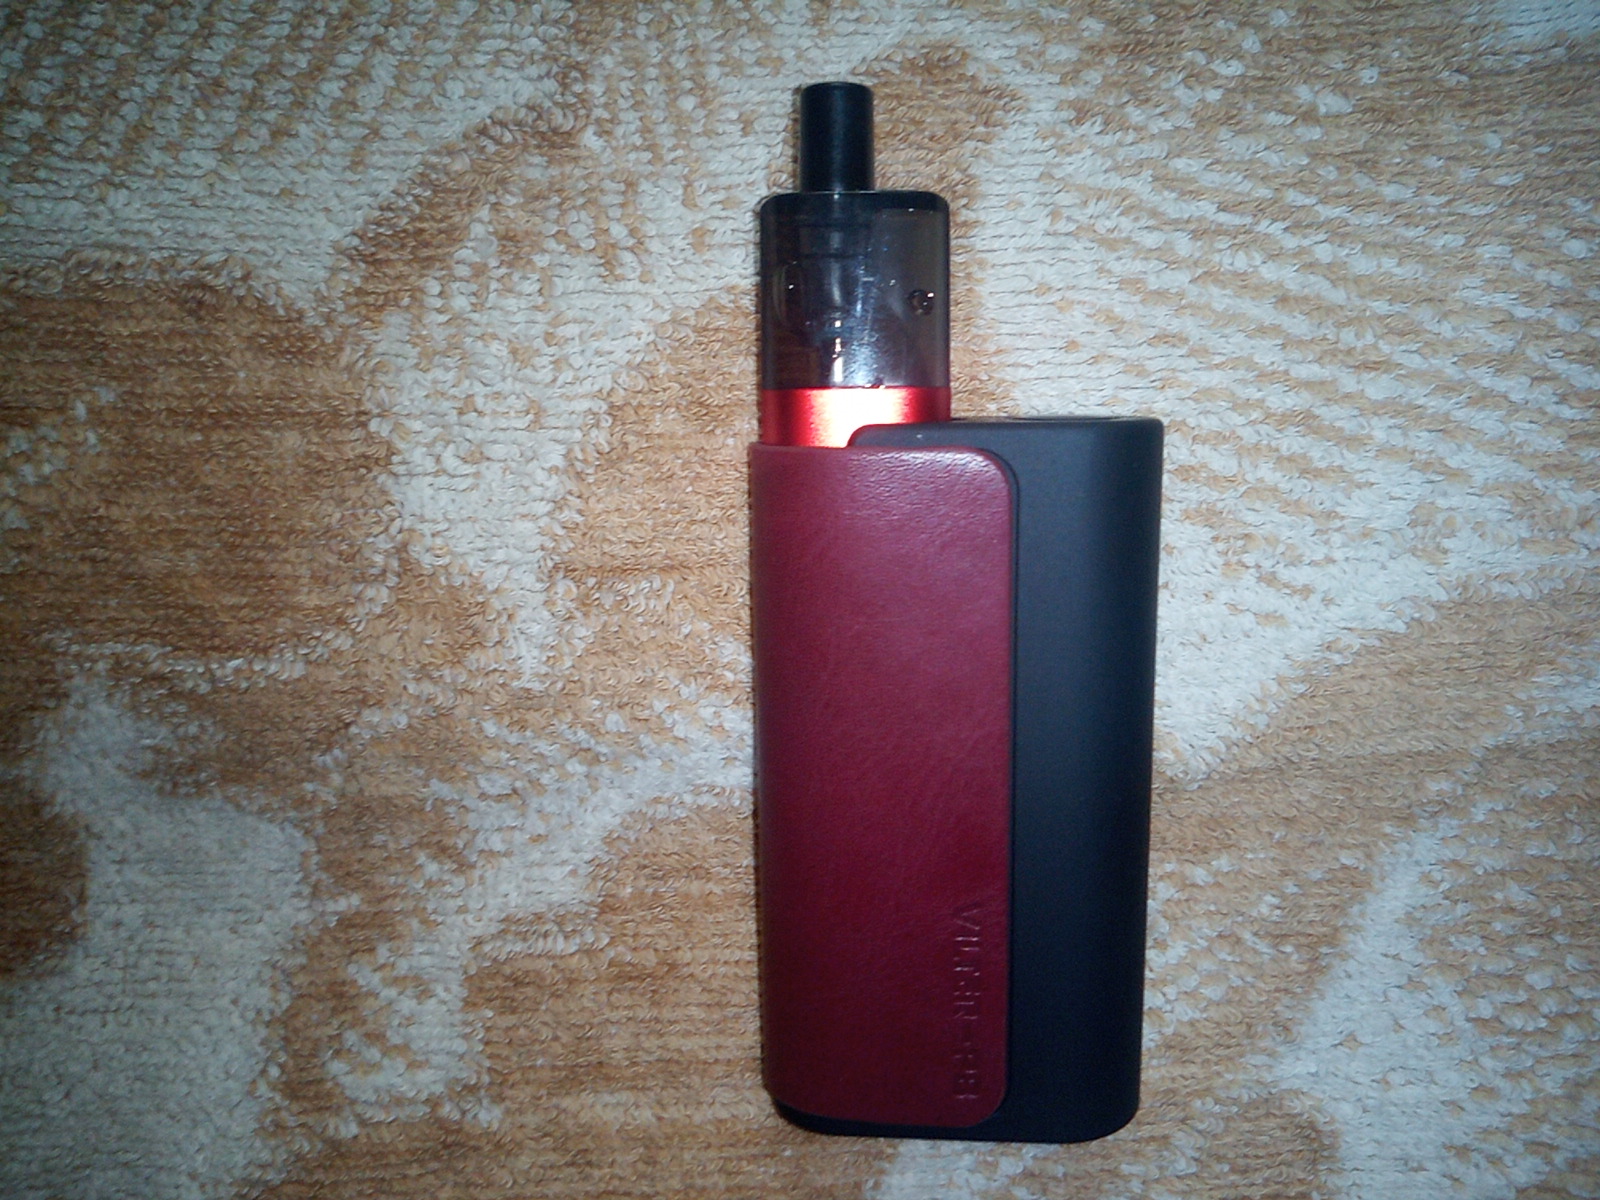
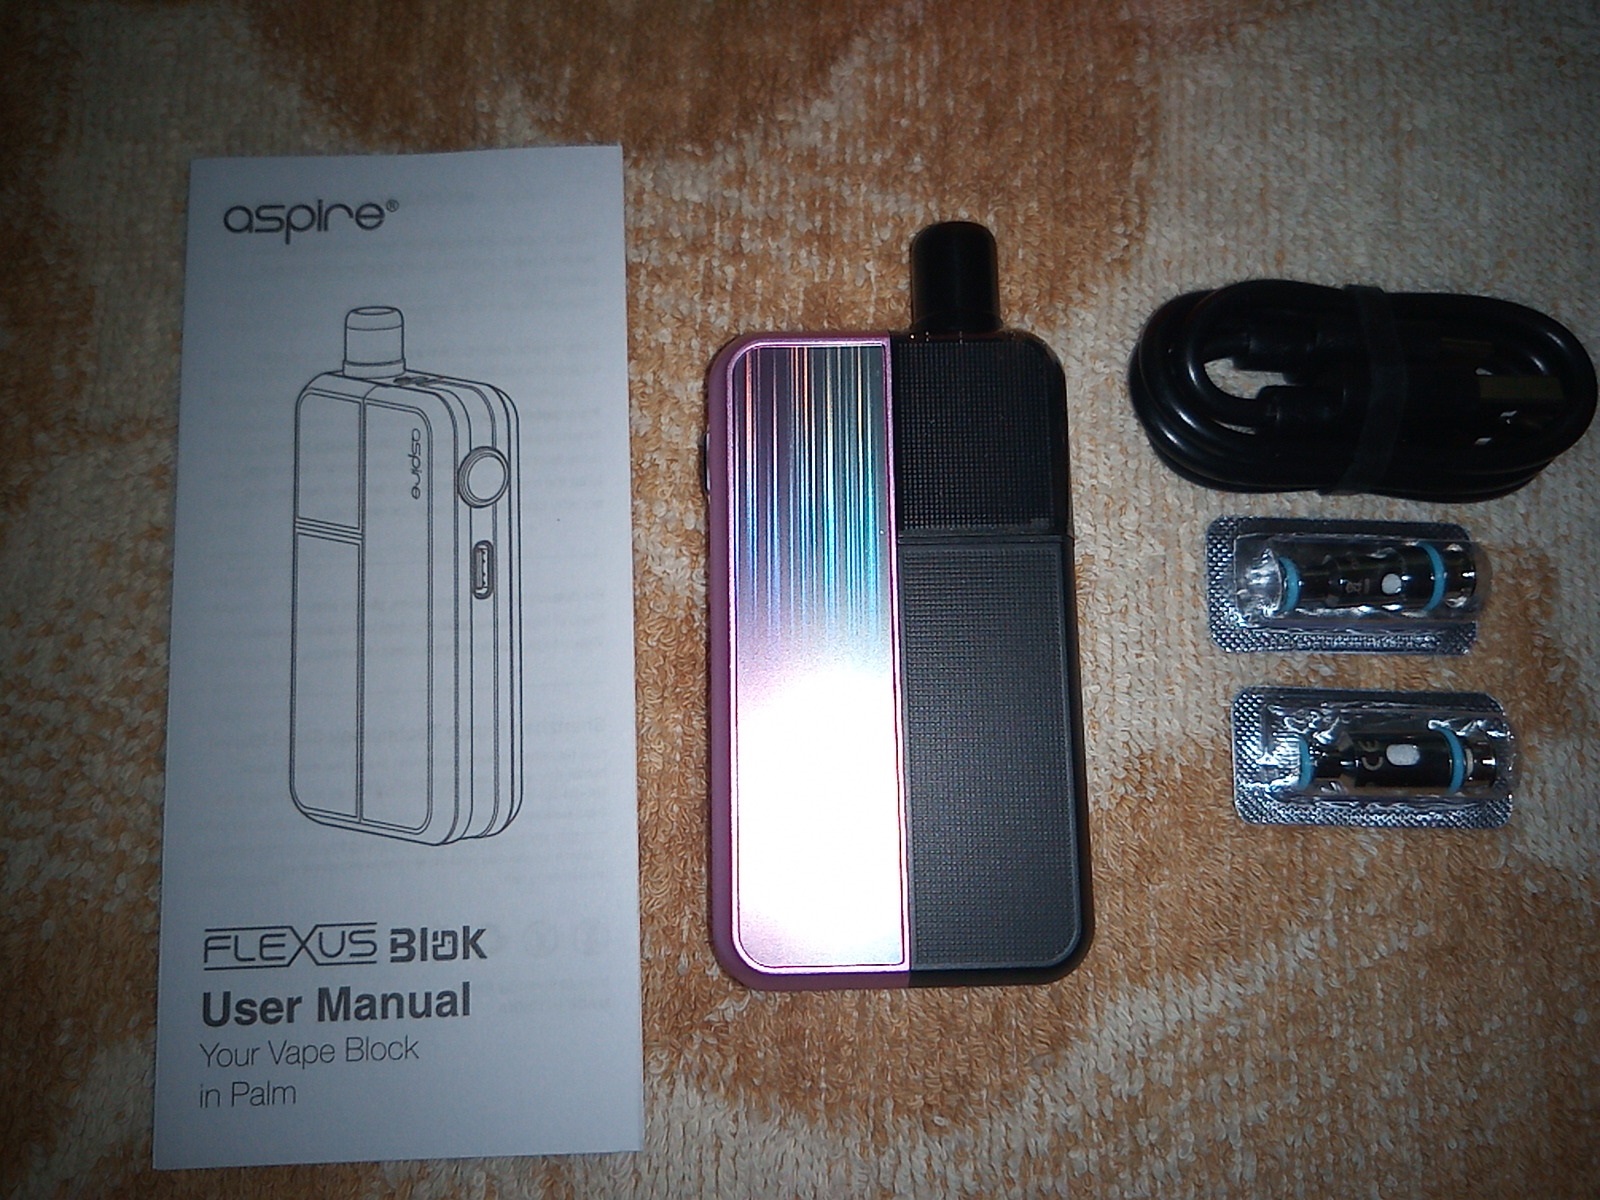
Ok as usual with my review it is time to post some nice shiny pictures along with some basic information so you can get a quick grasp on the type of apparatus i am talking about.
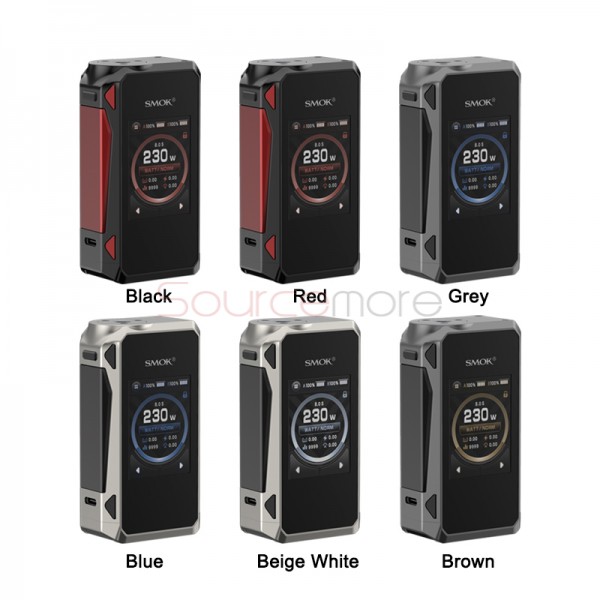
Choice of colors:
Specs:
iTank:
Included in Your Kit:
1 x Vaporesso Gen 80 S Mod
1 x Vaporesso iTank (2ml)
1 x GTi 0.2Ohm Mesh Coil
1 x GTi 0.4Ohm Mesh Coil
1 x Extra Glass Tube
3 x O-ring
1 x TYPE-C Cable
1 x User Manual
1 x Warranty Card
Unboxing and first impressions:
Good packaging from Vaporesso,everything you need to start vaping is there and neatly packaged.
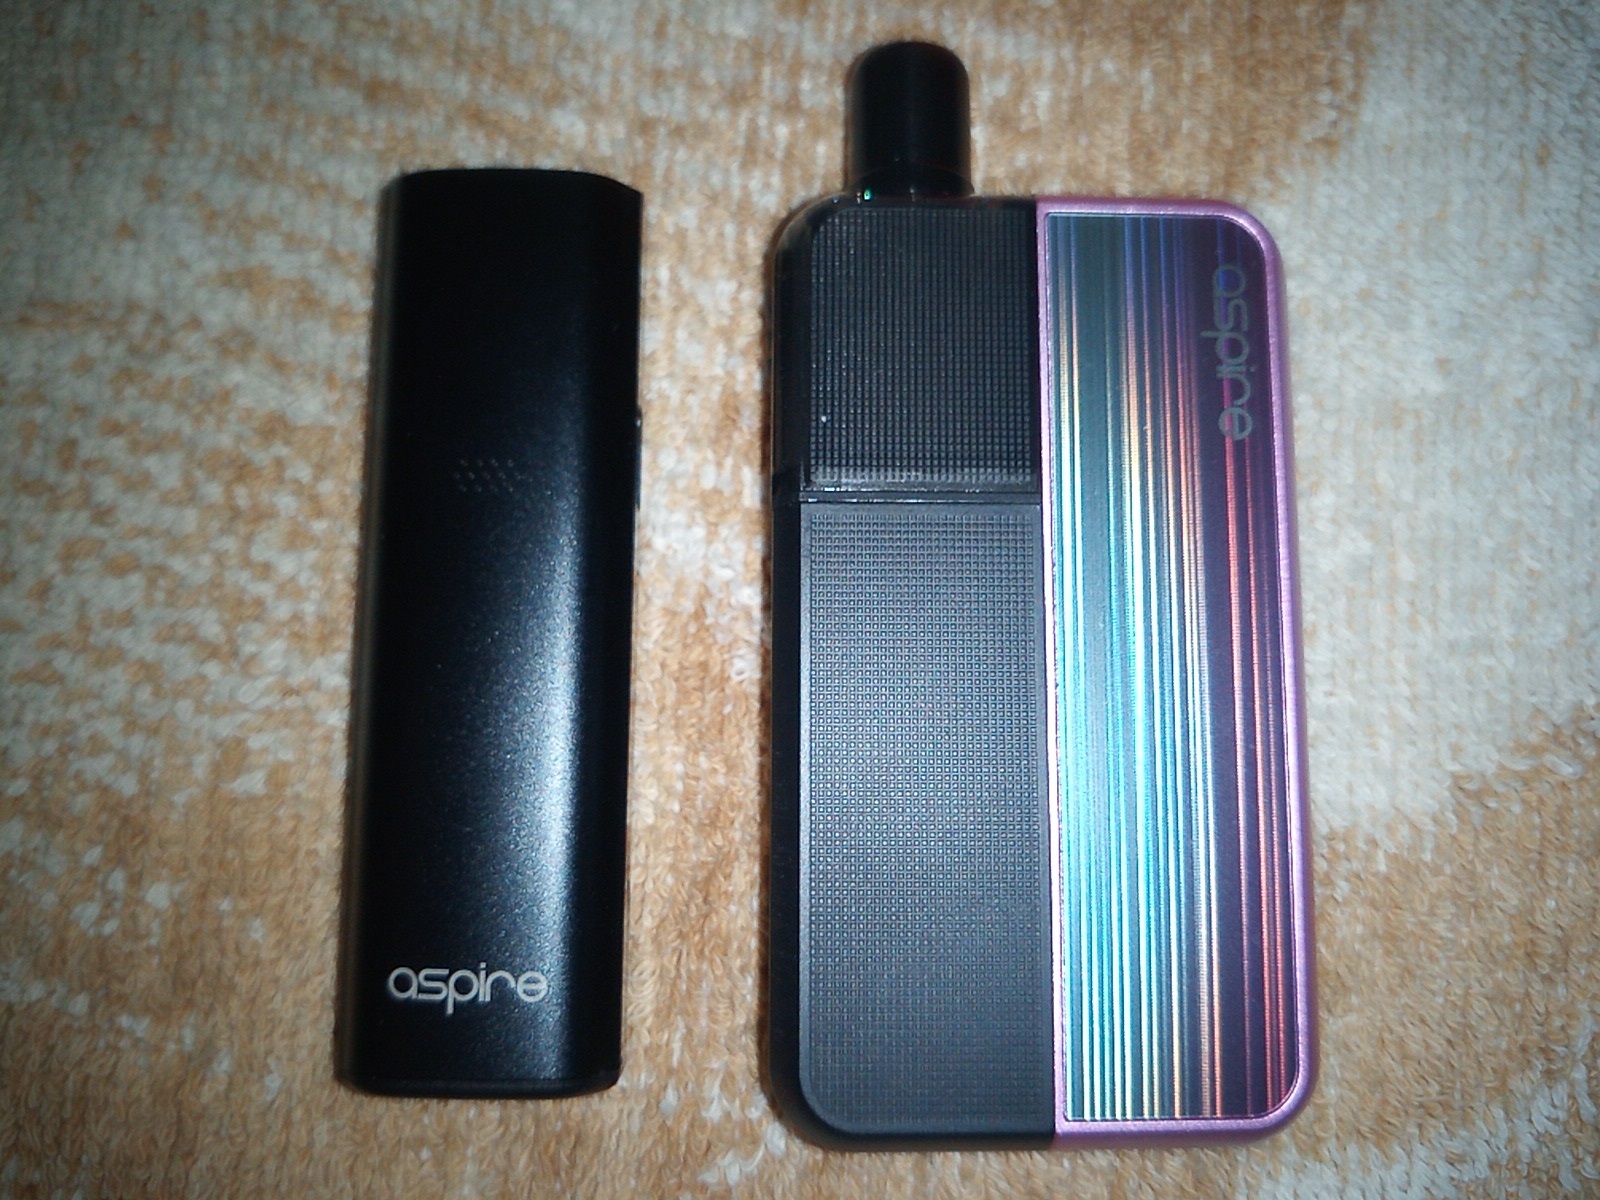
Time to hold the mod...hmm this thing is lightweight but it does not feel cheap or scrawny.
I assume my usual vaping grip and yeah it's good...i mean a tad smaller that i would like,for
my hands anyway,i got big hands so that is something i can't blame on Vaporesso.
More on the mod later on,i snatch the tank and oh boy does it feel good to have a proper tank in my hands instead of plastic like pod like i have been reviewing so much lately.
Vaping time:
Time to get this show on the road.
I love the feeling of the tank,nice and well made just like a tank should feel.
Prime the coil - GTi 0.2-ohm MESH coil (60-75W),easy to put in by the way,filled it up and let it soak up the sweet nectar of the gods.
At this stage and with drop in coil tanks i take this time to fumble around with the mod to see whats what.
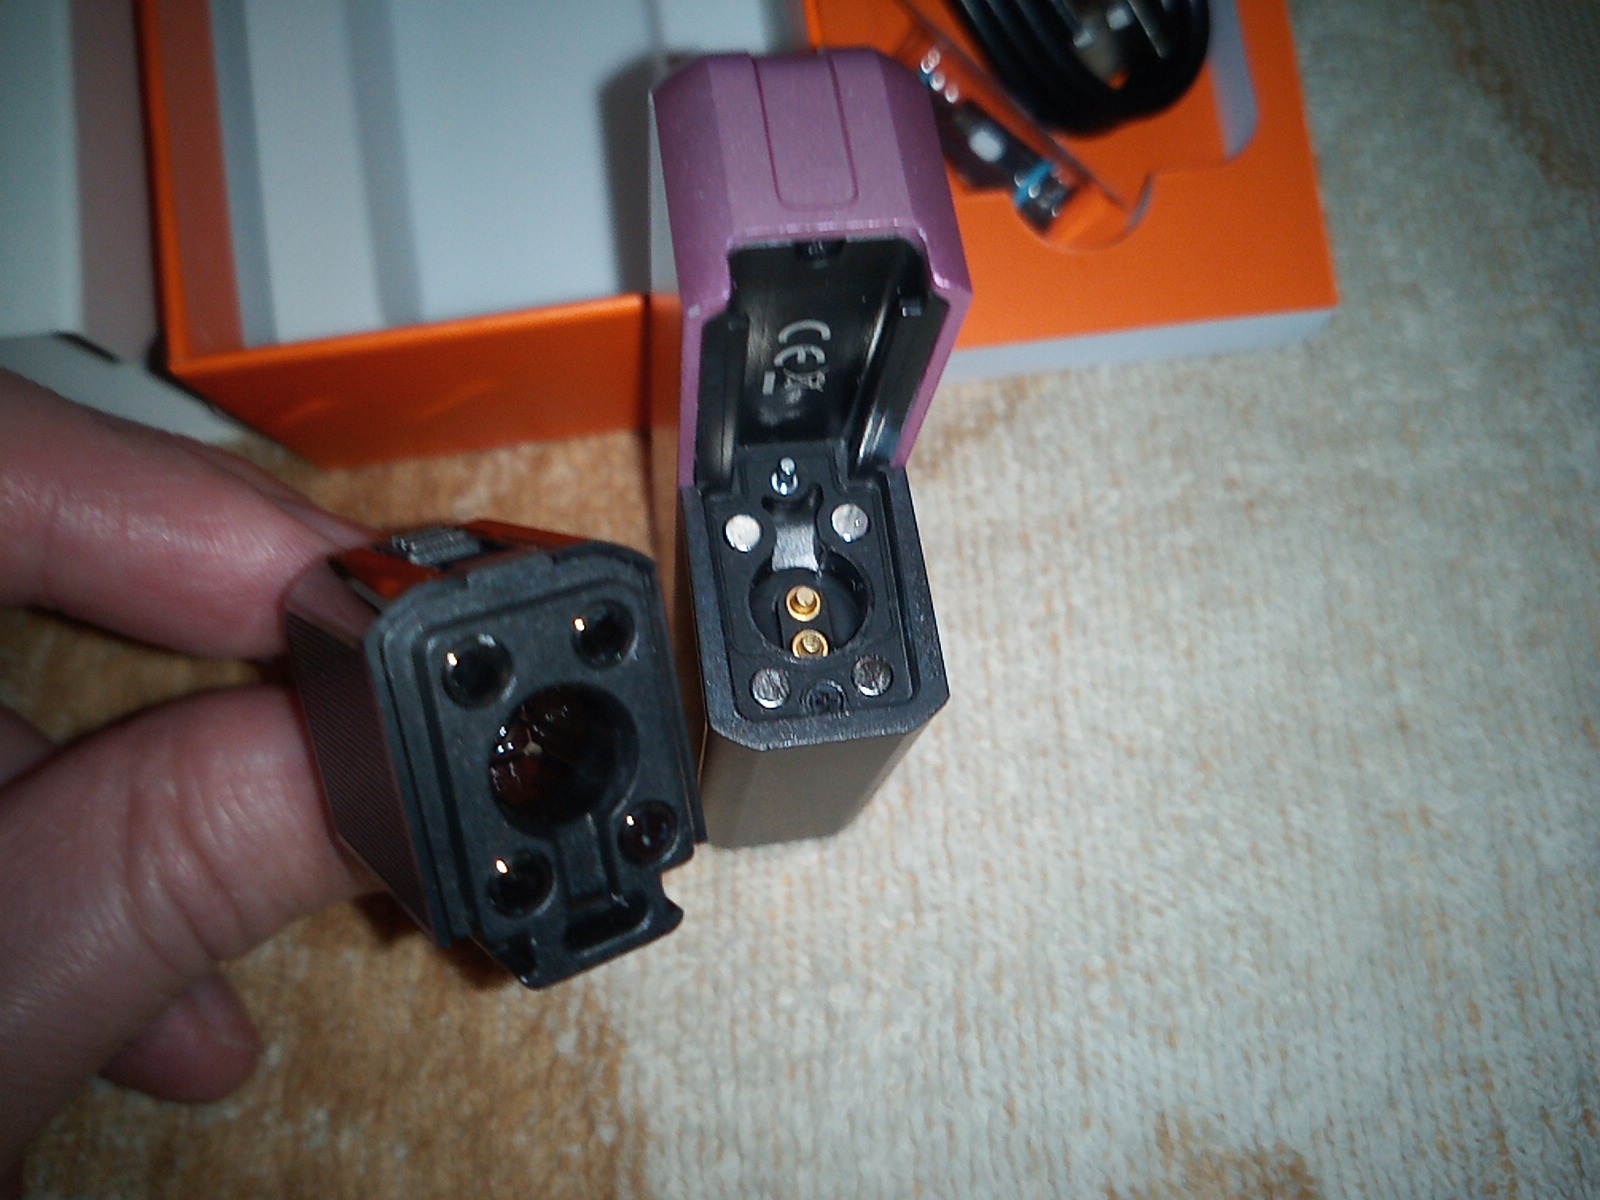
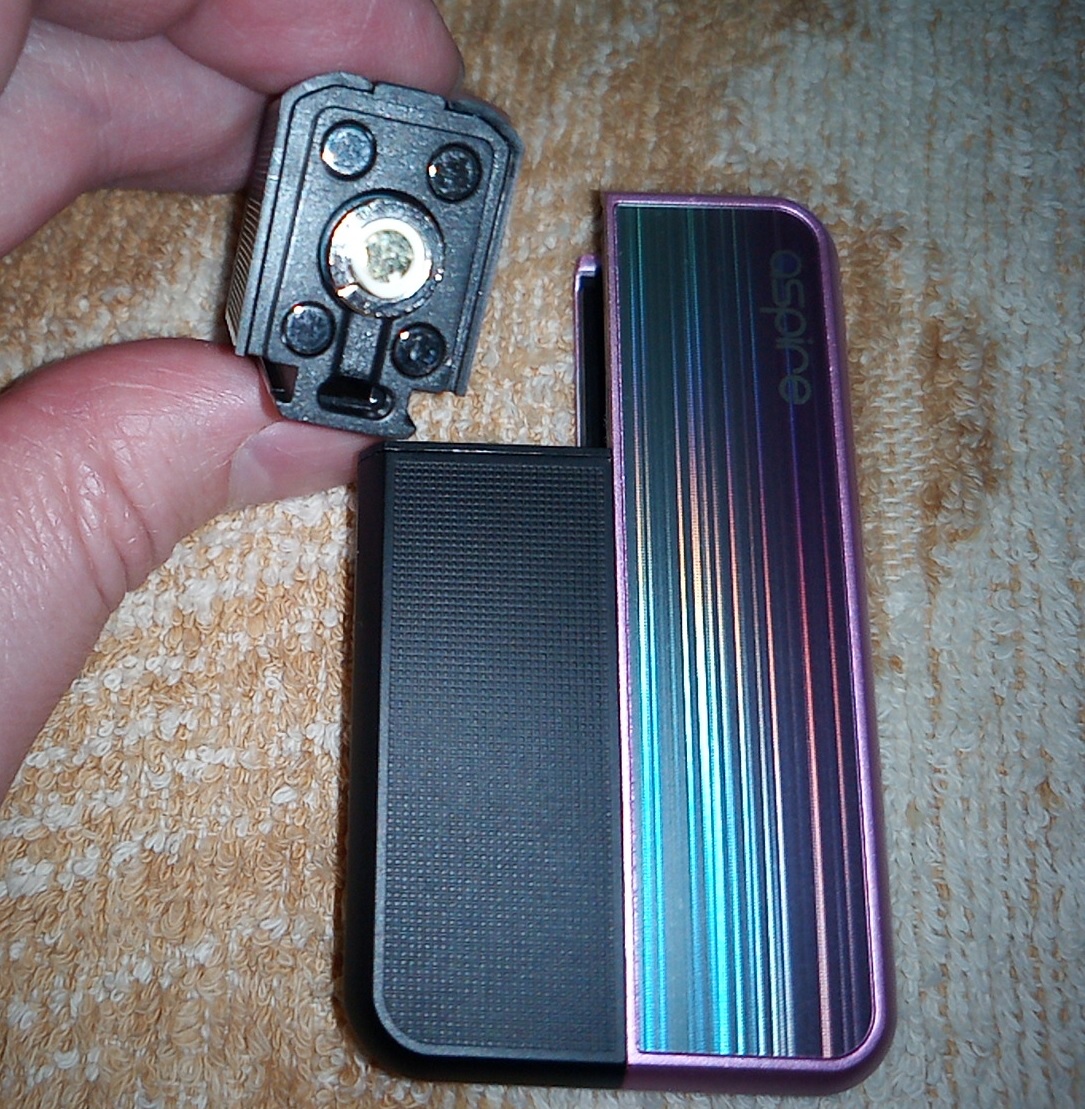
This mod has a side cover for the battery,nice snug fit thanks to the magnets it has so no risk of the cover coming off.
Snug fit thou...not as much as putting the battery in but taking it out,if you are not careful and apply the appropriate pressure it will mess up your battery wraps when you remove the battery.
Honestly i am more of a fan of battery covers that you screw in or out,just slide the battery in and screw the cap and you're all done.
Anyway,battery is in and the mod is on and oh boy this is a light one,thin but long mod which is easy to carry around for your everyday vaping needs.
Nice colorful screen with a good size (0.96-inch TFT screen) and the menu operations are easy enough:
Hold the menu button to cycle through the three power modes.
Click the mode button three times to enter the menu.
Click the fire button five times to turn it on/off.
Click fire three times to lock the adjustment buttons.
Use up or down to adjust wattage.
P.S: No option to change colors on the screen thou,a bit of a bummer.
Ok enough time has gone by,coil properly soaked and moist so yeah baby let us try it out.
As usual i like to start low and just keep on incrementing the wattage slowly,just to properly break in the coil.
First time trying out this GTi coils and oh boy these are tasty with a flavorful and powerful cloud.
You folks know me,i am not into ''warm'' vapes,so after trying out different wattages i settled at 44 watts with the airflow half closed,that right there is daddy's sweet spot.
Since this mod uses the Axon chip it comes with F(t)mode and smart TC mode features but for a simple vaper like me i don't really use them,stick to wattage and I'm all set.
While vaping i gather my thoughts,Vaporesso’s AXON chip is performing well and there is nothing wrong with that but something is off...
Ok now i know what it is,the ''feeling'' the texture of the mod,just doesn't do it for.
I know i know this is a personal thing,other's might like it but me? nope just feels odd when I'm using it.
Performance wise nothing to object,it is a solid combo where both parts,tank and mod do their job.
Pros:
-Build quality is solid
-Screen is nice and bright
-Mod and tank feel well done,not at all flimsy or feeling ''cheap''
-510 connection looks well done
Cons:
-Battery removal...not good,not careful and you end up having to rewrap your battery
-Size wise it is not ''perfect'' for someone like me with big hands (personal con)
-The mod is a bit long and thin,again for me it doesn't feel right when holding it but then again that is a personal con.
Would i recommend this device:
As far as simple mods for new vapers or even veterans that want something ''portable'' yes i would recommend this kit.
I mean it marks all the boxes,sturdy mod,good proper tank and flavorful vape,just a couple of snags (specially the battery removal) that could be a deal breaker for some but otherwise this is a good kit.
As usual here you have a code in case you decide to acquire this kit:
Vaporesso GEN 80 S Kit 80W Box Mod Kit with iTank 5ml
$31.19 Vaporesso GEN 80 S Kit
Code: VG8K
Thanks again to all my friends at Sourcemore for giving me the opportunity to review this kit.
Thanks for reading.


 to
to 


 what may be wrong here?


 )
)


