That is the exact capacity of the body of this pipe, not a penny more, not a penny less:

As for new purchases made to complete this pipe, it is $0.30 too much, just stuff I had on hand.
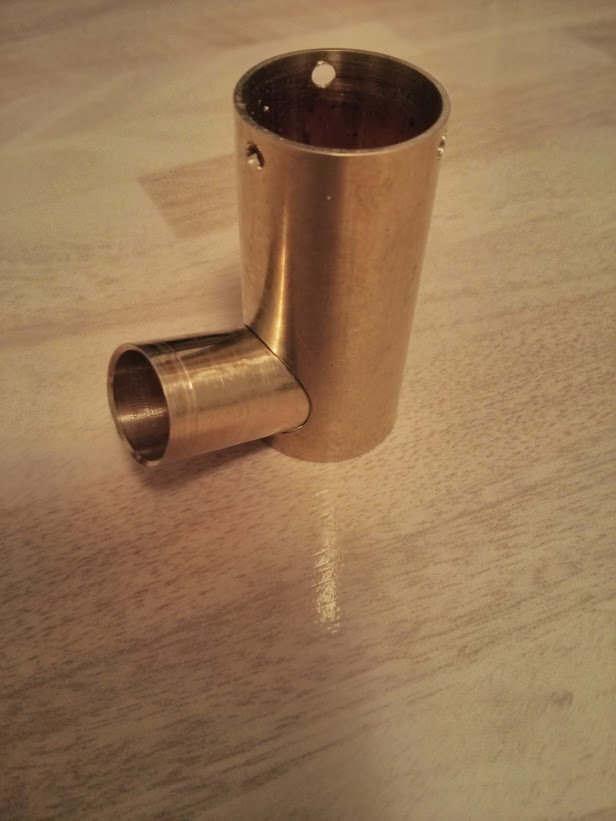
A length of 13/16" OD brass tube and a turned down 3/8" brass nipple form the main body:

The three holes in the top are for the switch mount, I tried to tap them for M3 screws, but only two took, so off to the tiny hardware supply:

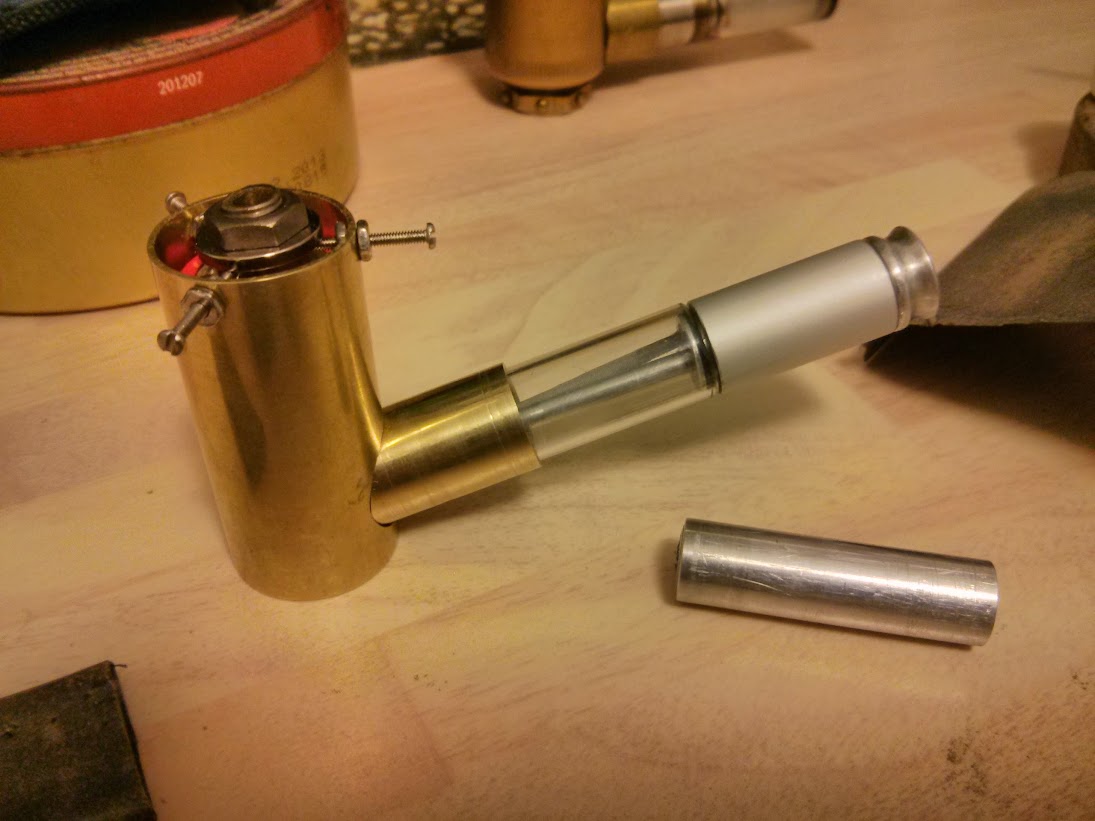
Nothing is soldered yet, a magnet pressed into the back of the stem, the switches magnet and the 18350 battery are holding it together so far. The name comes from the fit of a penny in the bottom to seal it up, which I seriously considered soldering in place, but stayed legal and drilled 2 1mm holes in the bottom for a watch spring bar isolated with heat shrink tubing:

Here the soldering of the stem is done:

Here the switch screws are trimmed to length. The ends are sharpened to a point and there is a matching nut below the magnet with receiving holes for the screws partially drilled into 3 faces. The nuts on the interior provide tension to the screws and keep the battery held below the level of the switch. The nuts on the exterior are to make up for the rather large holes and to lock the nuts against each other. One might wonder of the current passing through a M1.6 SS screw, but there are three in parallel.
The bottom allows for a 4mm x 1mm disc magnet, a small steel plate soldered to a brass wire isolated with heat shrink tubing:

The other end passes through a piece of plastic and is soldered to a 1.2mm brass nail for the positive pin:

Now the bottom pin can be removed if needed, but is a bigger pain than unscrewing the top and removing all of those screws and nuts, which is still too much of a pain. Ideally it should charge with the battery left in:

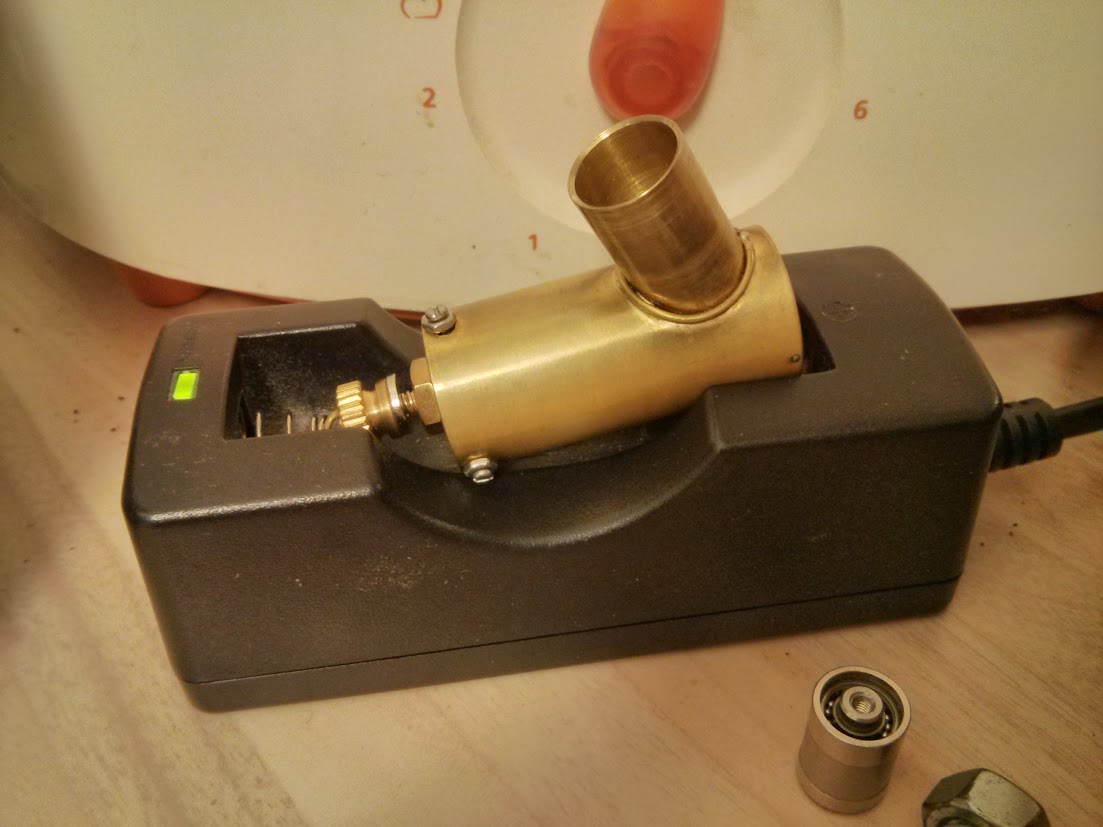
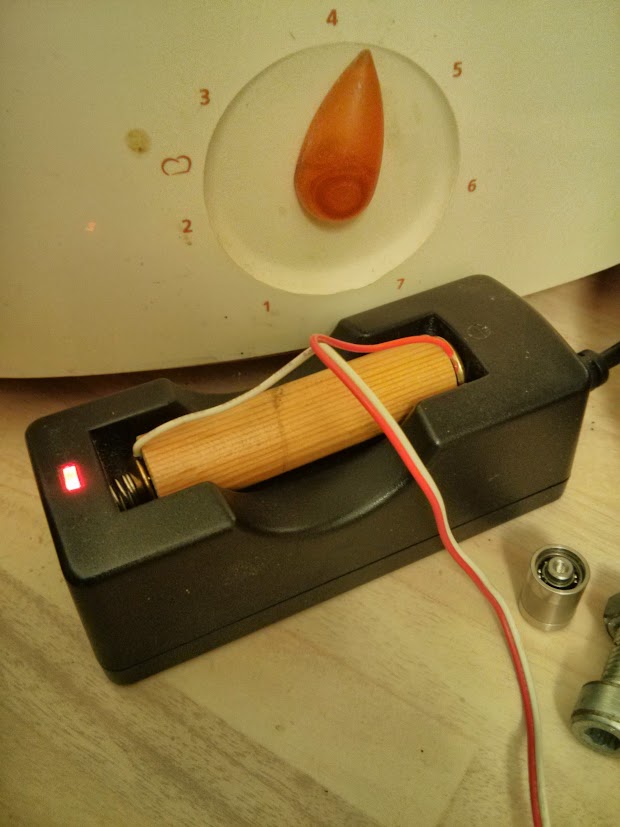
But it doesn't fit the charger. Along with a dummy battery:

And who said charging isn't fun?

Thanks for looking!

As for new purchases made to complete this pipe, it is $0.30 too much, just stuff I had on hand.
A length of 13/16" OD brass tube and a turned down 3/8" brass nipple form the main body:

The three holes in the top are for the switch mount, I tried to tap them for M3 screws, but only two took, so off to the tiny hardware supply:

Nothing is soldered yet, a magnet pressed into the back of the stem, the switches magnet and the 18350 battery are holding it together so far. The name comes from the fit of a penny in the bottom to seal it up, which I seriously considered soldering in place, but stayed legal and drilled 2 1mm holes in the bottom for a watch spring bar isolated with heat shrink tubing:

Here the soldering of the stem is done:

Here the switch screws are trimmed to length. The ends are sharpened to a point and there is a matching nut below the magnet with receiving holes for the screws partially drilled into 3 faces. The nuts on the interior provide tension to the screws and keep the battery held below the level of the switch. The nuts on the exterior are to make up for the rather large holes and to lock the nuts against each other. One might wonder of the current passing through a M1.6 SS screw, but there are three in parallel.
The bottom allows for a 4mm x 1mm disc magnet, a small steel plate soldered to a brass wire isolated with heat shrink tubing:

The other end passes through a piece of plastic and is soldered to a 1.2mm brass nail for the positive pin:

Now the bottom pin can be removed if needed, but is a bigger pain than unscrewing the top and removing all of those screws and nuts, which is still too much of a pain. Ideally it should charge with the battery left in:

But it doesn't fit the charger. Along with a dummy battery:

And who said charging isn't fun?

Thanks for looking!


