Mike n Tibs DNA Mods!

Status
Not open for further replies.

laurie9300

Super Member
ECF Veteran
Verified Member
Jan 10, 2014
737
4,135
Sydney Australia
#66 reporting in...........

I know, I know, fingerprint magnet...blah blah......shows the scratches.......yada yada.....

But I had to be different, and it is what it is........until I brush it.......

103437d9dcb0e8e0f619863d8b05f54d.jpg

6d4073bacdb16107a64a8c3860f8b91d.jpg


The depth of the engraving varied greatly, so I lost some of it in the process.......
 

Sniffle

Co-op Junkie
ECF Veteran
Verified Member
Jun 19, 2011
3,555
8,162
Moody, Alabama
Guess I should show off my afternoon print and build... It's ugly, and barely functions as a box, but it works and that's what counts...

I literally went to my local hobby shop and picked up a lipo at around 11:00, was home by noonish, designed and printed the enclosureand lid... printed the buttons twice(got then lengths wrong) had it vaping by 9:00 that night after leaving to eat dinner with the wifey :)

It's as basic as it gets with enough room for the 200mah lipo, the quick disconnects that the hobby store had in stock(somethign smaller would tuck away better to make it smaller.. but again this was all about speed, not pretty...

A few mm bigger than a hammond B enclosure all the way around, nothign holds the screen in place, it's just hanging in the right spot... but... it's a 2200 mah lipo 24.42Wh, which is overkill :)

20150718_221707.jpg


20150718_221715.jpg


20150720_212808.jpg


and I'm pretty sure I have maxed out what a tank can do currently wattage wise with an optimum setup... Maganus Tank, with the Atlantis temp coils(and the large juice flow cutouts in the coil) with airflow wide open on the maganus it can only do 50watts without bouncing off the warning(480 degrees)... I think if the center draw tube were a little bigger it could push more but it's not a big deal... just one of those things that i was having fun experimenting with... airflow controls temp as long as you provide enough juice... and the only limiting factor in that setup is the center tube of the tank itself
 

Cotay

Super Member
ECF Veteran
Verified Member
Oct 29, 2014
830
1,464
Central Coast California
As KTMRider pointed out, the buttons on my enclosures/sleds somehow grew the "fat" end by 1mm from the working prototype to final. If you have one, be prepared to sand the backside of the buttons down 1mm. All models have been corrected and all sites have stand alone correct buttons if you are in the mood to do it that way. Things that make you go "huh?".

My first print came in today. For the most part it is excellent, but my buttons also are a bit too big and need the backside ground down about .5mm. They are spec'd to be flush, but print variance is inevitable. I will be starting this build tonight; the good news is that my new screen clamp design works perfectly.

I apologize for the pic quality...I only had my phone handy. The white dots are where I cut the support posts for the back/screen mounts/buttons. I went ahead and printed both of my screen mount designs (screw on and pressure mount). Now that I've verified the pressure mount design, I'll be removing the screw mount option for future prints). The Hyperion 900mAh G6 fits perfectly, but the XT60 connector is just too big for this design...I'll be switching it out for an XT30 as well. Overall I am pleased...this thing is solid!

20150723_200801.jpg
20150723_204112.jpg

20150723_204425.jpg

20150723_204159.jpg
20150723_204215.jpg
 

Steamer861

Ultra Member
ECF Veteran
Verified Member
Jan 13, 2014
2,710
23,383
Canada
Got the first one together :) Running a dual NI200 coil @ .06 vaping like a Beast :) It took about as long as an 18650 does to charge the Lipo. Now to see how long it will last?
Escribe is pretty cool there are a lot of new settings to play with. Should keep me busy for a while :)


Steamer861

Ultra Member
ECF Veteran
Verified Member
Jan 13, 2014
2,710
23,383
Canada
And now there are 2 :)
I sprayed one with Polyurethane and left one raw, I want to see how the raw one holds up?
I have both setup with Dual coils one on TI & one on NI
Really have to thank all the contributors to the thread. With out a combined effort like we have, It would have been a lot harder.
Really enjoying these 2 new mods :)
I'm expecting my RMA'ed 200 back probably this week.
I have an other BRD enclosure and a Gens Ace 1300, but I just mite order another smaller Lipo and the replica Beta Mod on SW, Or buy more DNA 200's :)
I want a smaller DNA 200 mod now. It just never stops with the wanting :) I bet KTMRider knows about that :)


jonniemac

Senior Member
ECF Veteran
Verified Member
Dec 24, 2012
278
1,026
57
Rosemount, MN
jmgcoder.imgur.com
I have the week off, taking a little stay-cation here at home so I can spend time with my mill. Got the first operation done on the front cover. Now I need to cut some soft jaws to finish the back side of both the front and rear cover. Finish is straight off the mill so no sanding or polishing has been done yet.

4Xj3NV0.jpg


Q7PIrNE.jpg
 

Phone Guy

Vaping Master
ECF Veteran
Verified Member
Sep 25, 2013
3,202
5,826
Arlington, Texas - USA
I just want to take a moment and thank everyone in this thread and name a couple super cool guys.... @Cotay, @Steamer861, @SlickWilly, @BlueridgeDog .... Cotay has been patiently answering questions for me in PM, and guiding me on a purchase and has gone out of his way to help me... I appreciate that man. Steamer861 helped me out with a purchase in a big way, Slickwilly took the time to post details and pictures of how to do a build, and BlueridgeDog has offered to correct a problem out of the clear blue sky that he is not even responsible for! I mean cmon! how does it get classier than that!? I'm just some dude in my mid to late 40s, none of you know me, I'm just the poster with the awesome Jedi NFL avatar (Go Cowboys, yeah I went there) but the help I've gotten here is unmatched. I have been super humbled over the last few days here by these guys. EXTREMELY COOL GROUP!!!

Oh and thanks to @mikepetro for running the coops, otherwise I wouldnt even be in this thread. But I would have more money now, so I may have to think about that one ;)
 

Phone Guy

Vaping Master
ECF Veteran
Verified Member
Sep 25, 2013
3,202
5,826
Arlington, Texas - USA
Finally got a working DNA200 mod THANKS TO @Steamer861 !!!!

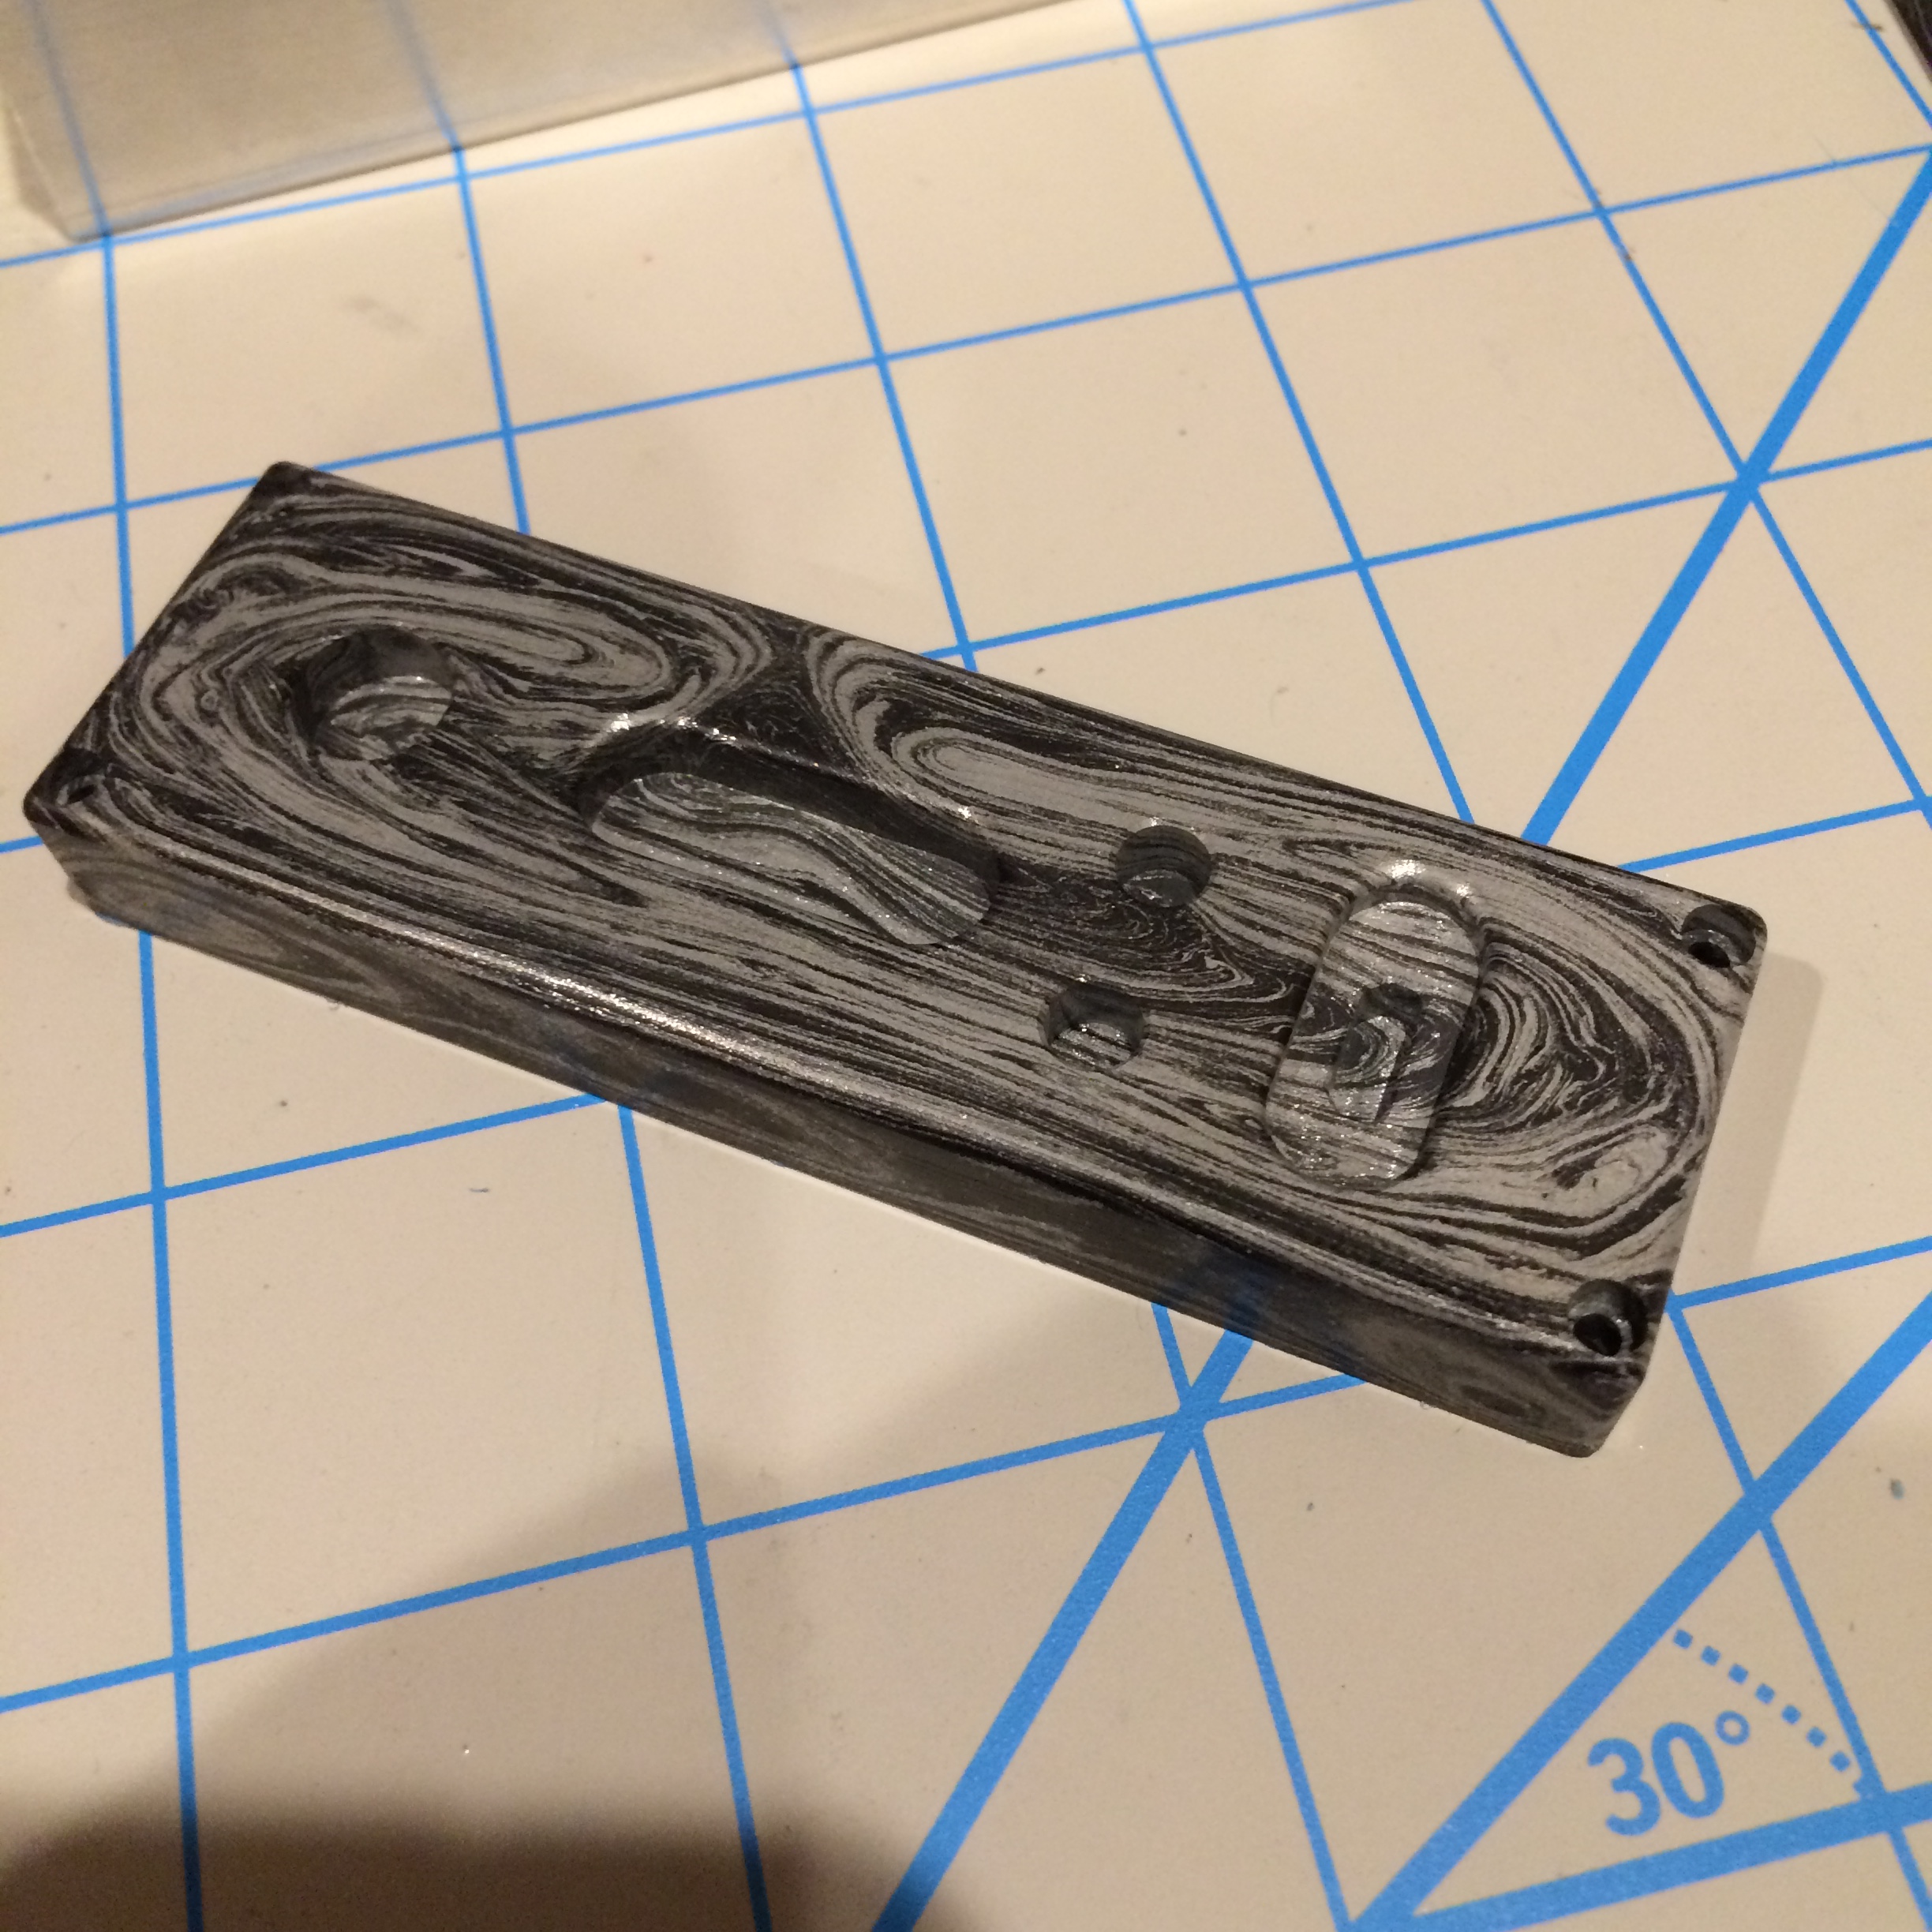
Sprayed it with a matte finish Rustoleum clear protectant, several coats, let it set and air dry in the Texas heat. Took a couple of hours. I had to sand the round radius of each button to make them slide in/out of the holes on the faceplate. Then I had to sand the bottoms of each button to prevent auto pressing of the onboard DNA200 buttons when the board was finally screwed down tight. I used a black sharpie marker to re-color the sides of the buttons because when I sanded them, they got white "grain" scratches... I did the same for the button holes on the faceplate because when I spray coated the enclosure I mistakenly didn't put anything inside the holes to keep the paint out of them, so they needed a little clean out (sanding with a dremel stone but done by hand no machine). But the end result is no white markings that I can see.

Screen placement was slightly challenging but do-able, but here's what I did, I attached the screen to the board after I soldering the balance port on, I cut a piece of the pink anti static foam from the DNA200 box, layed the screen in the guides of the case (amazingly accurate placement btw! great job @BlueridgeDog ) then used the foam between the board and the screen just to keep pressure on it and keep it in place, no glue or tape.

I used a flat top FDV v4 spring loaded 510, 14g copper wire on the 510 which is stranded but incredibly stiff... more flexible wire might have made it easier? I don't really know. This wire I used is plastic jacket, for electrical use, I wouldn't recommend it (or use it again)... in the end, when I cut the silicone wire leads from the battery, there was plenty left over (red/black) that could have been used for the 510 -- Just FYI.

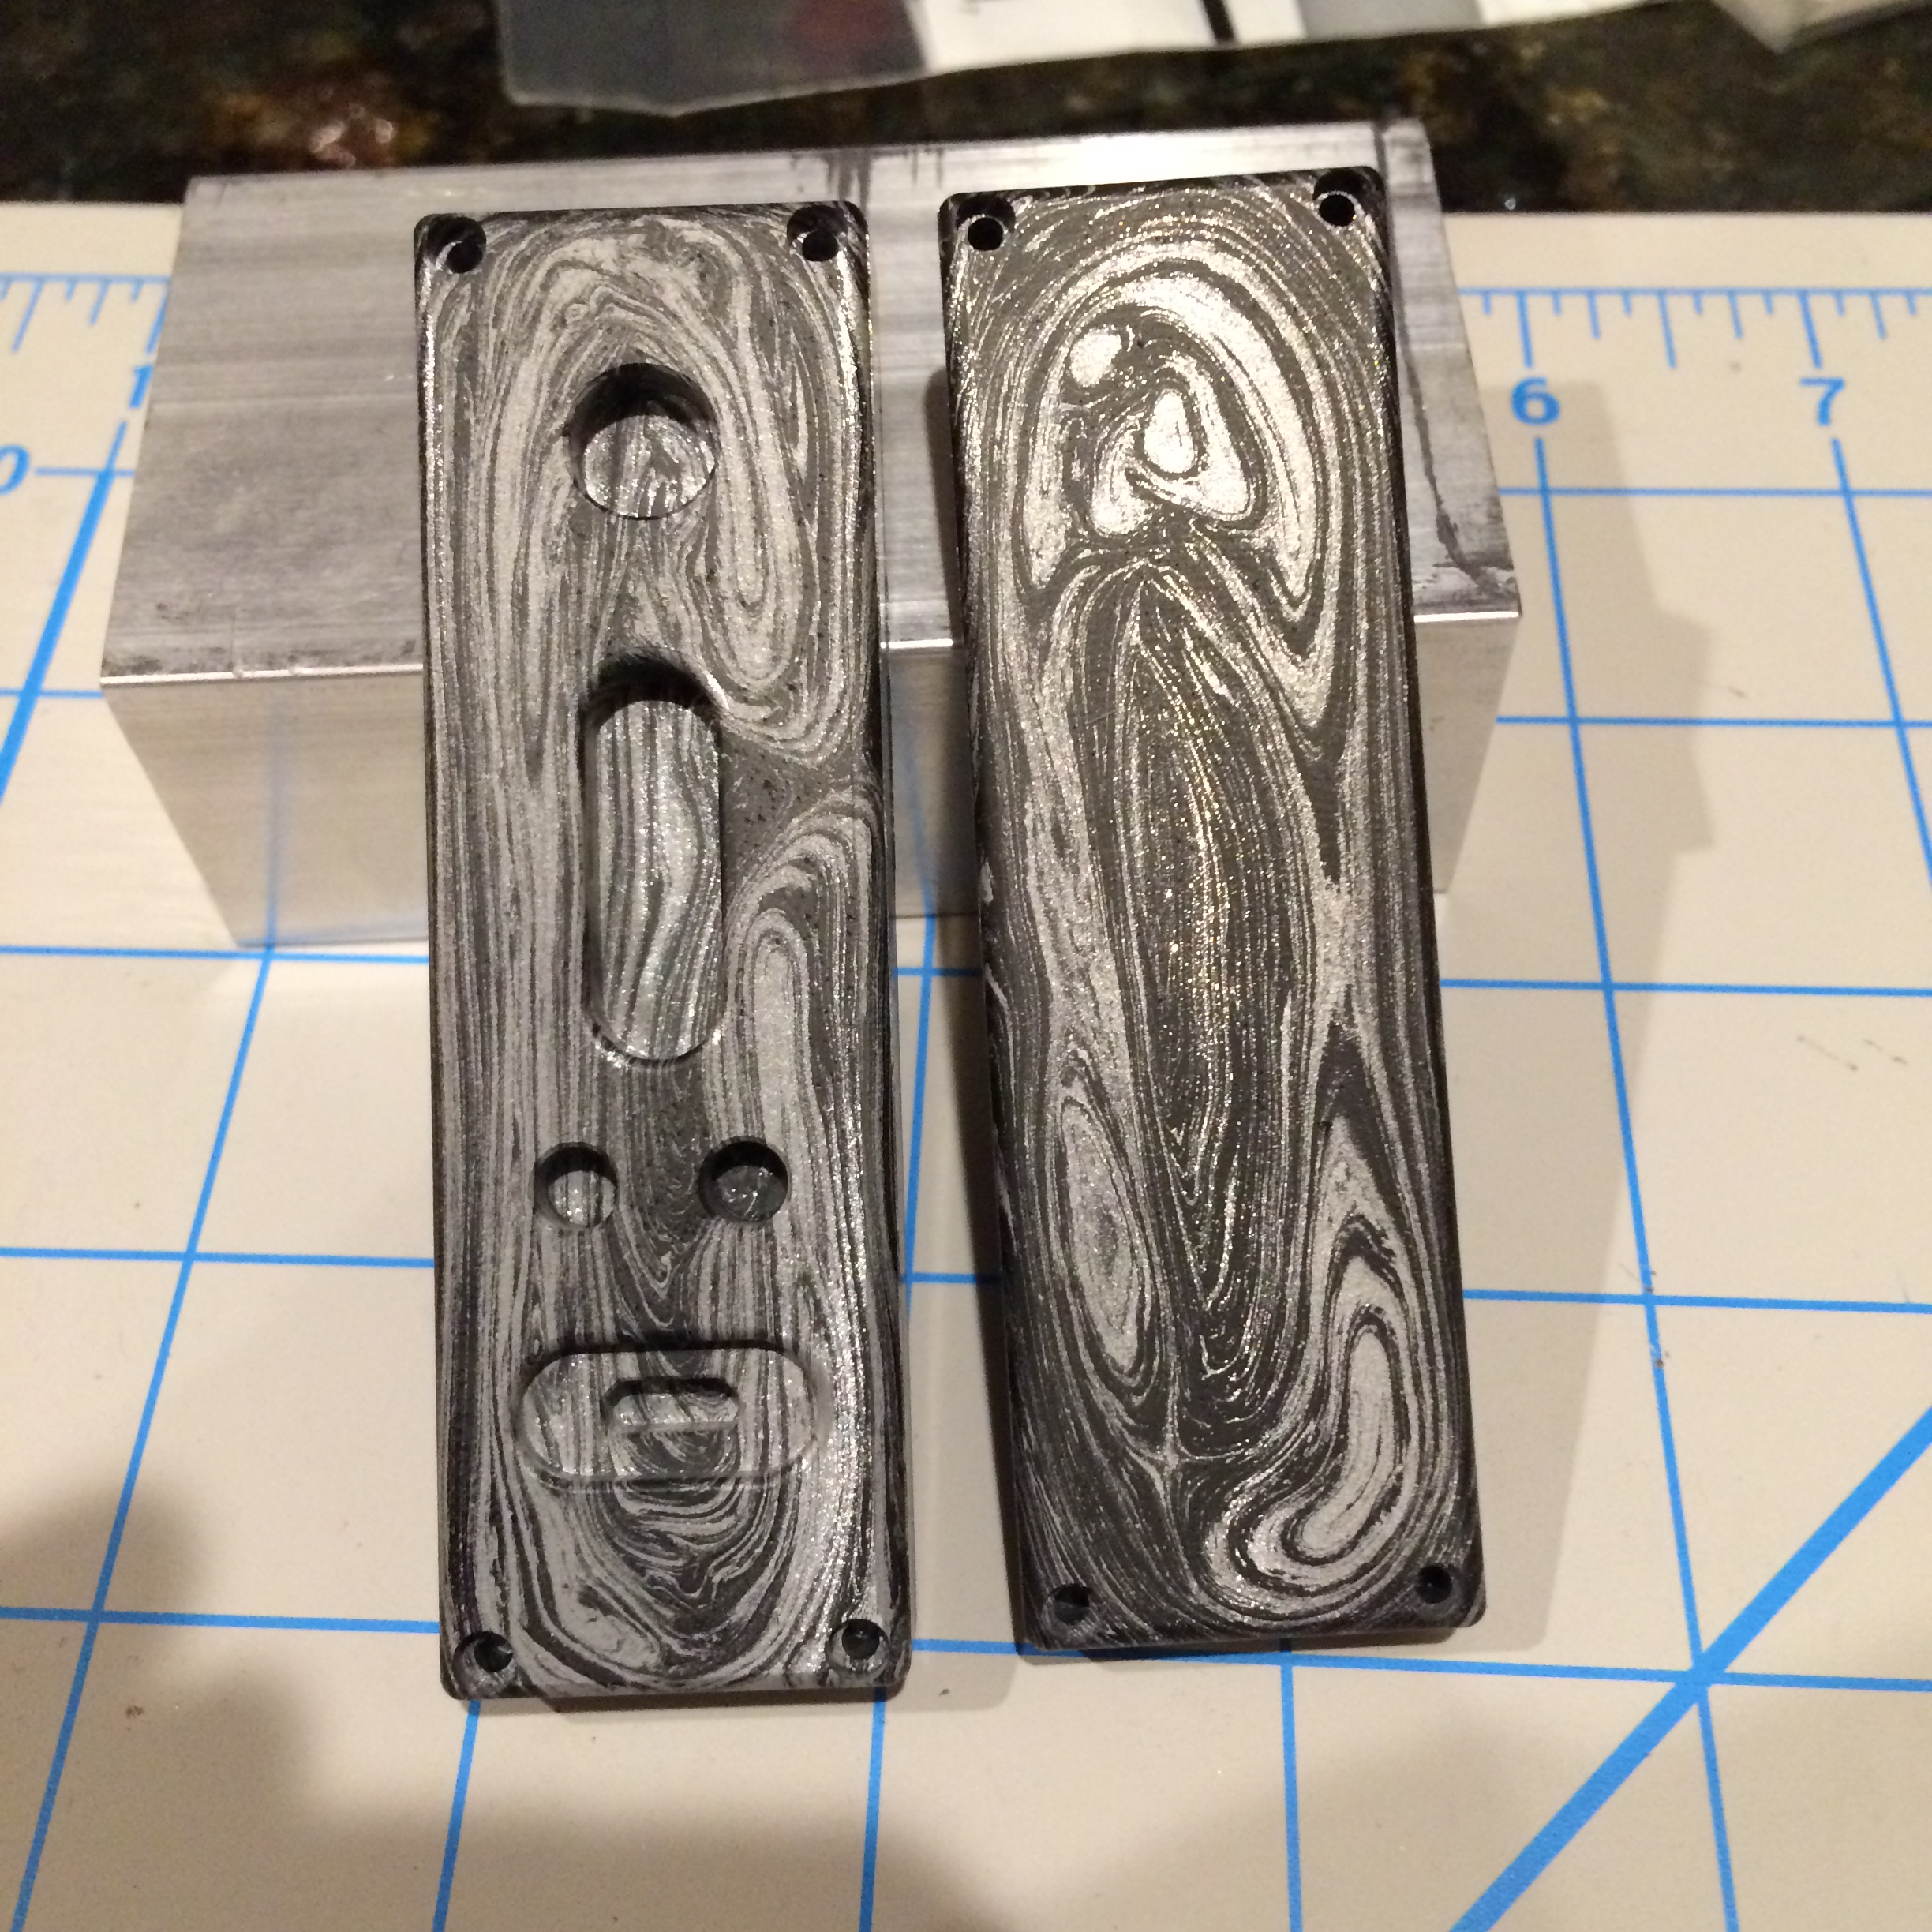
I have a couple area's of accumulated clear spray on the edges where I obviously over coated and it dripped down and settled.. its a little "milky" right now, but they may turn clear after a few days? they may not. In the end, if I wanted it to be perfect, I'm assuming I could have wet sanded it (or at least those areas) and re-sprayed those sides, but I think only one who knows they are there is ME, so I can live with it.

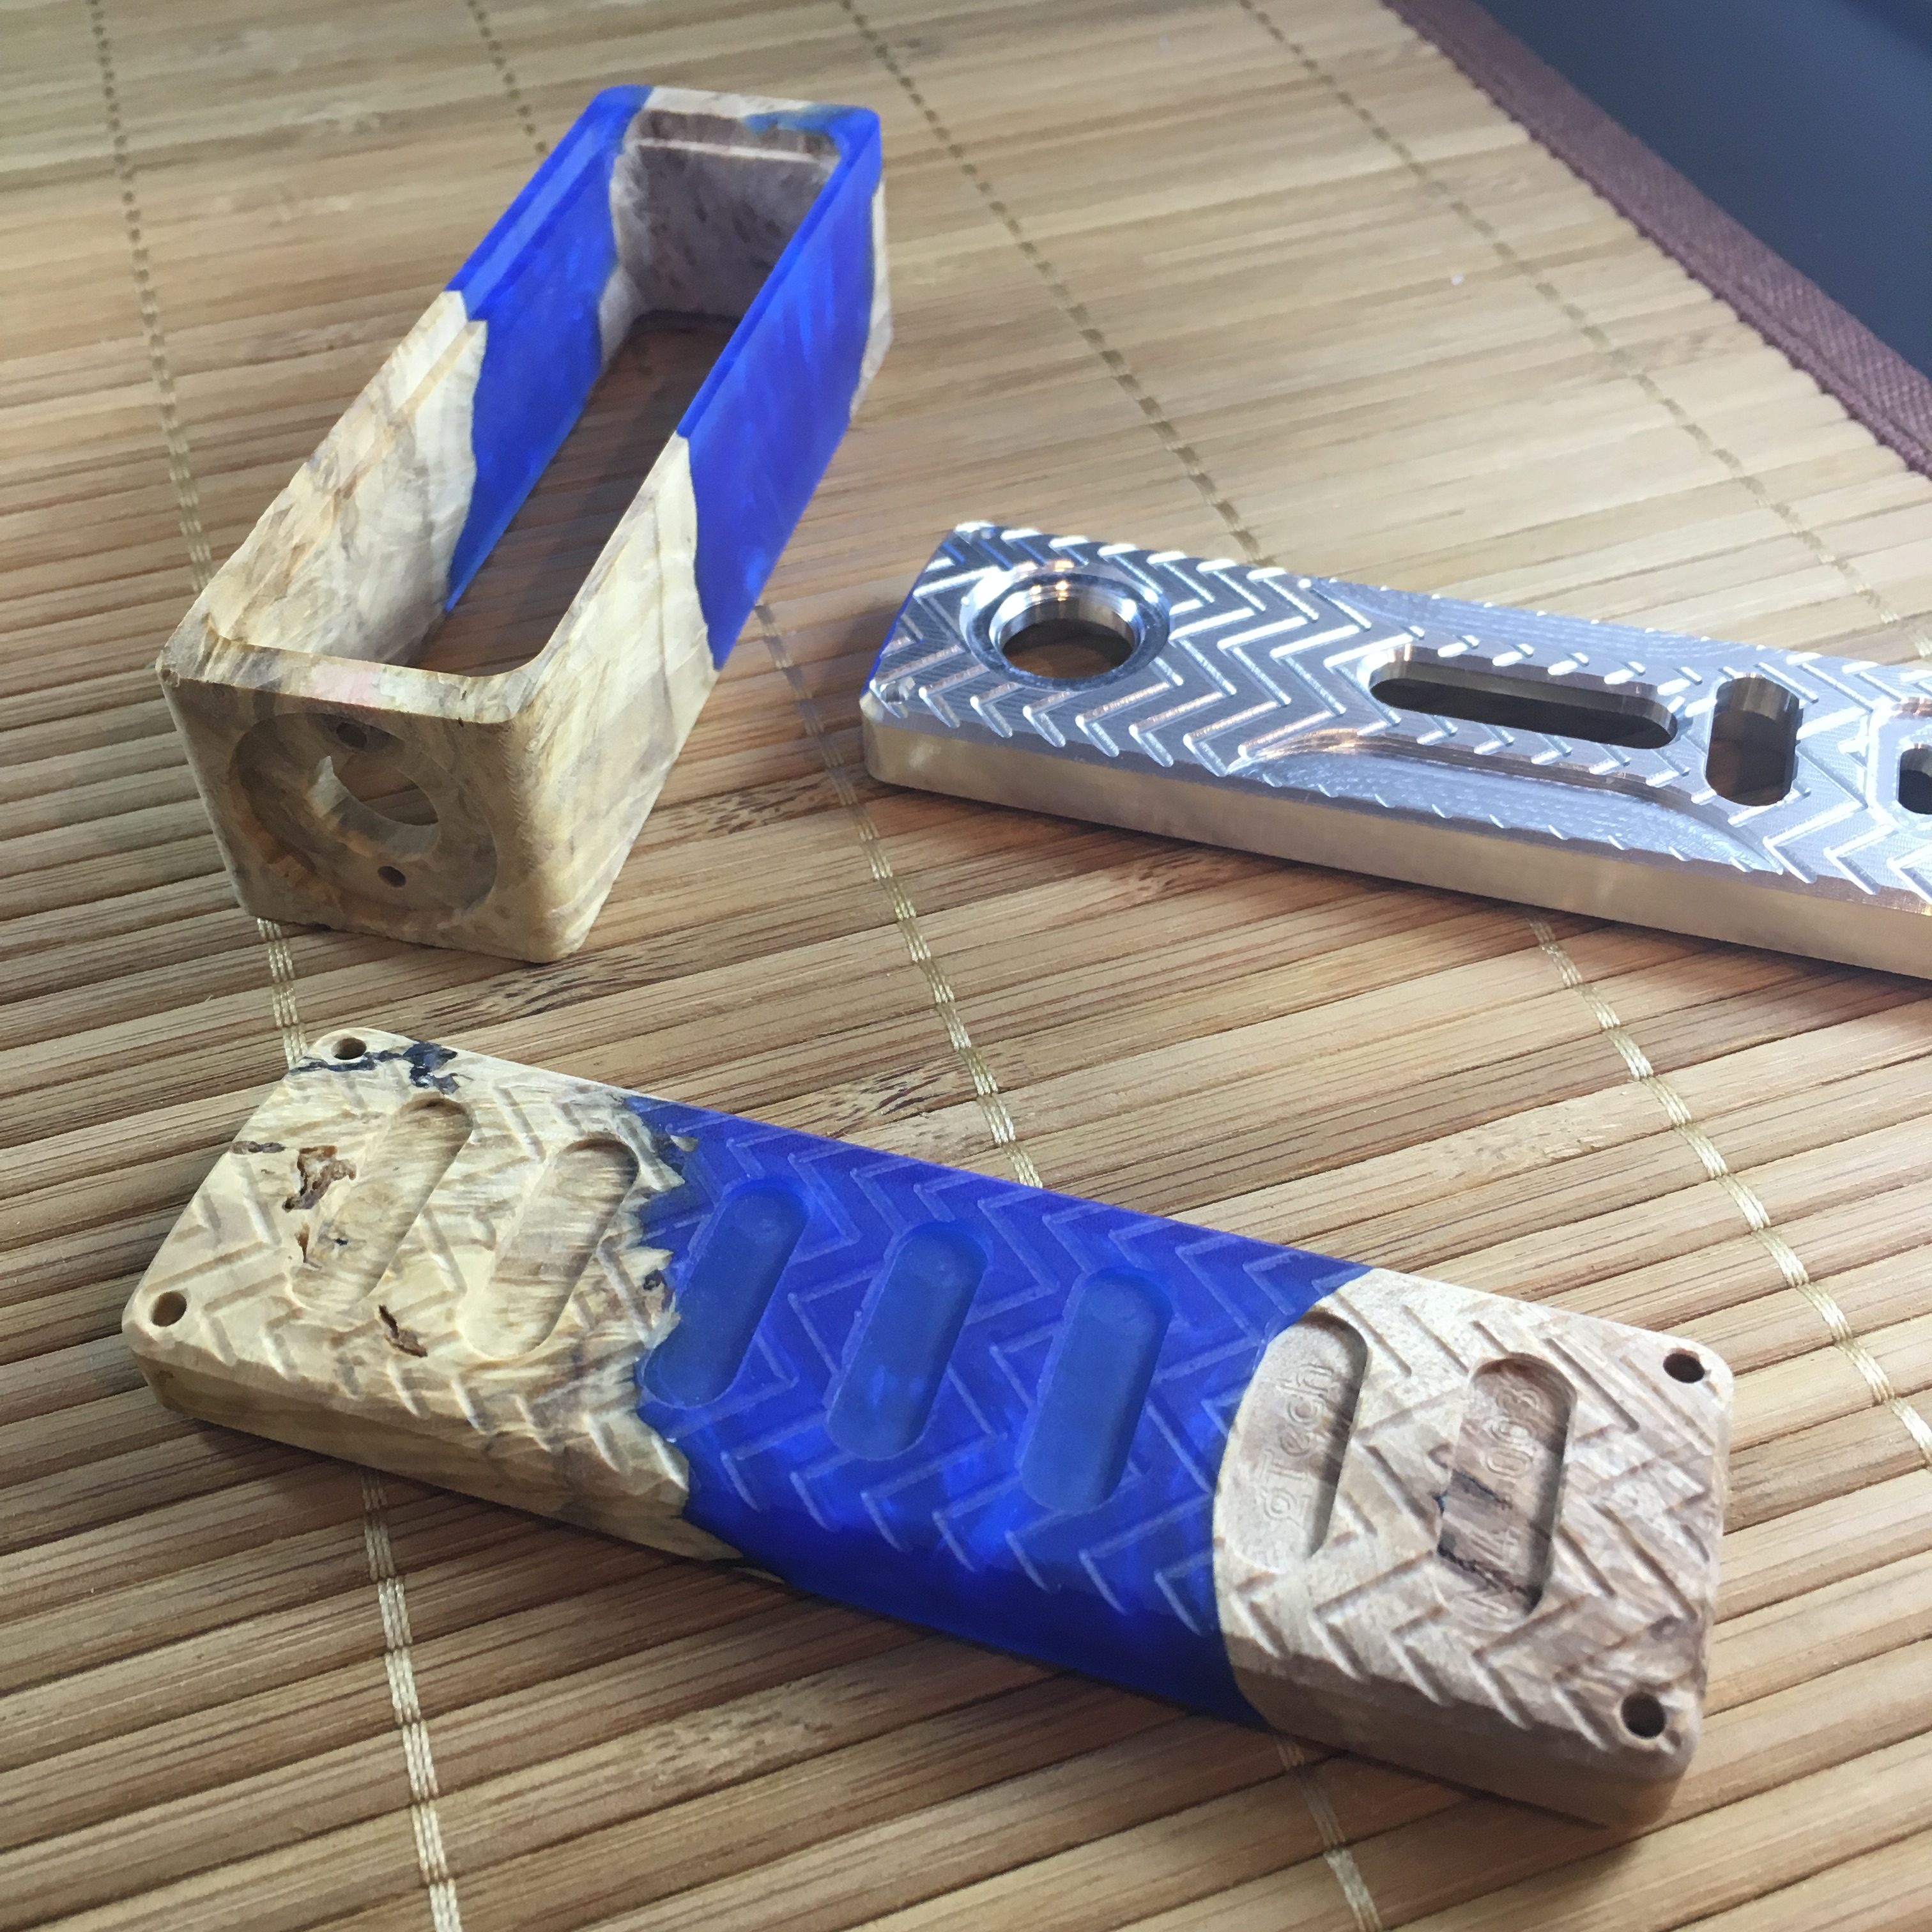
@BlueridgeDog, the design of this box is very nice, my only assessment is the 90 degree angles on the back... if those were rounded it would "feel" much more comfortable in the hand. I'm not a fan of the hard sharp 90 degree angles.

This enclosure and battery (Gens Ace 1300mah) fit's well, I originally thought a large capacity (taller) battery might fit too...but I'm not familiar enough with Lipo's or LiFePo's to know personally. But there seems to me a taller battery might fill the rear of the box and offer slightly more Wh ? but again, I'm no designer.

I would also like to point out how impressed I am with the overall design and print quality of this box, printed at Sculpteo in polished finish, with the exception of sanding the buttons, it was painless. The battery door locking with the clip was brilliant, and REALLY WORKS!! I can't take it off without prying the bottom end up a bit - so two thumbs way up on the design @BlueridgeDog

Here are my pictures.... (AGAIN HUGE THANKS TO @Steamer861 WITHOUT HIM, THIS WOULD STILL BE SITTING IN THE DRAWER)

2jKZ8L9.jpg

pM0Tk0U.jpg

(that mark is a melted spot when I wasn't watching my iron close enough while attaching the 510 wire to the board)
xu0zuzv.jpg

iCTLGuN.jpg


Last quick note on the FDV v4 510, this is the second one I used, and the brass nut that holds the spring ALWAYS comes off (has happened on 2 different v4) and I have to solder weld them back on. Next time I buy 510 I'll get try the Varitube, I've read they're better. And thanks to @turbocad6 for assisting me on the evolv forum with the balance port polarity question I had. THANKS EVERYONE!
 

fishwater

Ultra Member
ECF Veteran
Verified Member
Sep 22, 2015
1,087
2,329
53
New Hampshire
Thanks to all for the idea's & recommendation of Mamu Mods I finished my SteamCrave DNA 200 Squonker. Special thanks to the squonking man @Subohmies for paving the way on this mod, it's my first mod & I couldn't be happier with the end result!
20160411_091637-1200x1617.jpg
 

jonniemac

Senior Member
ECF Veteran
Verified Member
Dec 24, 2012
278
1,026
57
Rosemount, MN
jmgcoder.imgur.com
Finished up the milling on the main body and covers for this one today. It's kind of funky ... did a herringbone or tire tread type pattern on the front and rear covers. It will have brass trim rings and buttons. Front cover and probably the 510 connector will be cerakoted blue.

4NbMNq5.jpg
 
Status
Not open for further replies.

Users who are viewing this thread